How to draw beautiful Roses for a Still Life
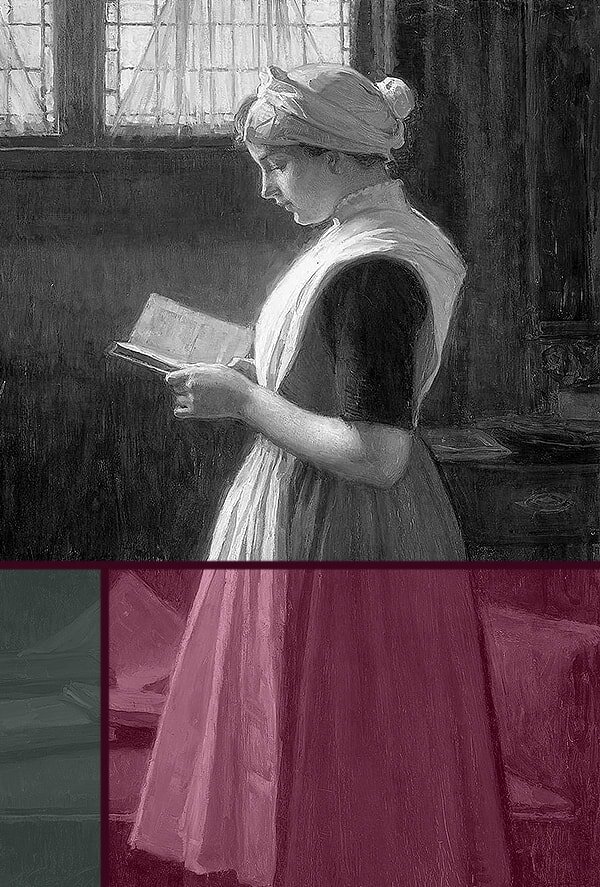
It’s taken me quite a while to decide what kind of flower to start with in this still life series. But, having lived in the UK for so long, I have grown so accustomed to the country’s love and admiration for roses that I decided to follow suit.
An English country cottage without at least a few rose bushes would be unthinkable!
There is hardly a country cottage around that does not have at least some of its garden space reserved for the most beautiful array of rose bushes, from shrubs to climbers.
A good rose, with a perfect array of petals in a luscious colour and a lovely, subtle scent really does deserve it’s nickname the queen of flowers’. And they look as amazing outdoors as they do in a vase on our mantelpiece. Even wilted they can still hold our interest.
Roses have been popular as decoration, in art, heraldry and literature for thousands of years. For good reason.
Be that as it may, almost everyone here has some sort of memory related to roses. And in most cases it will be a pleasant one.
The language of roses
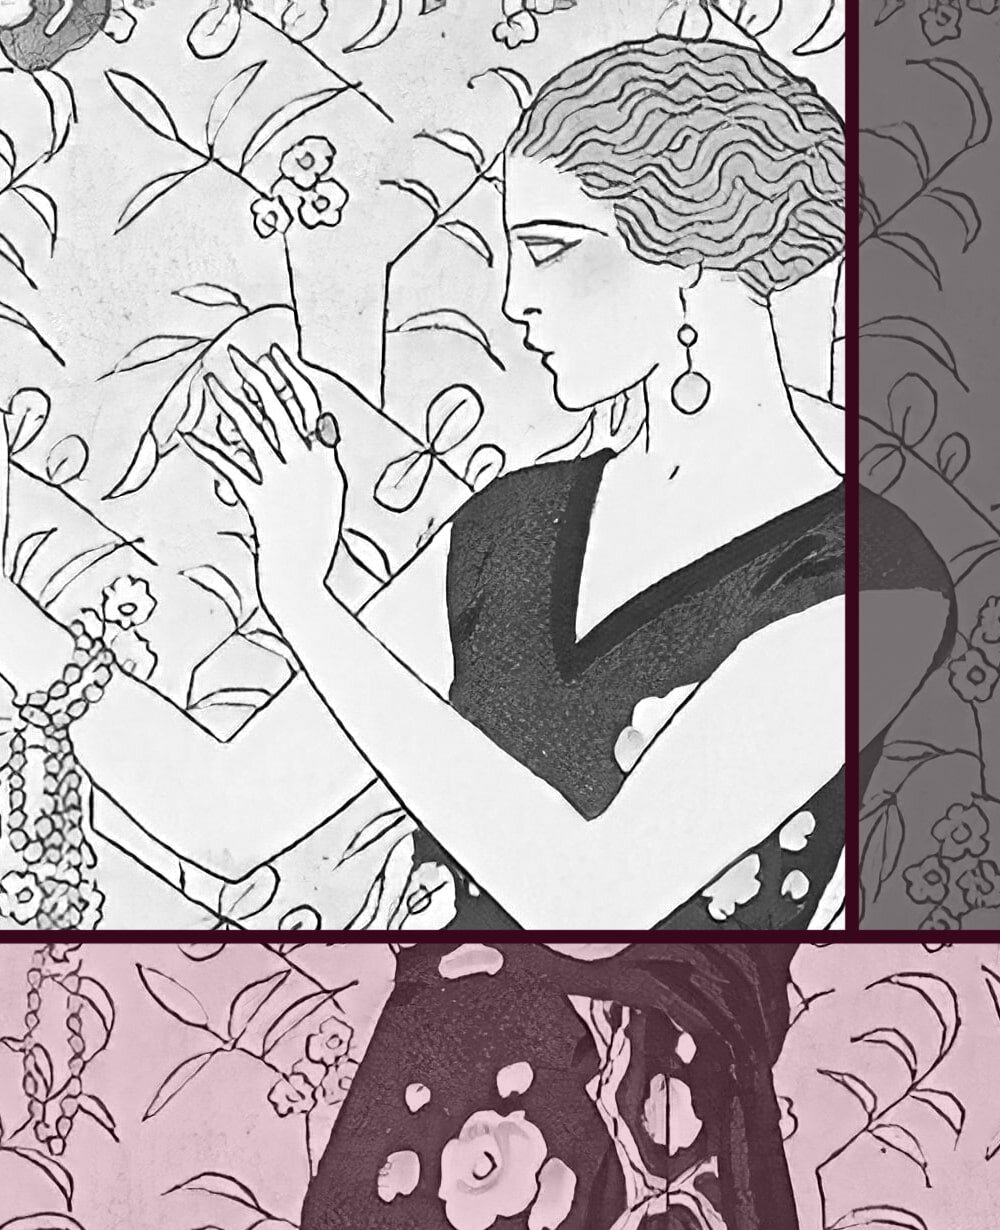
Flowers as a form of communication have been used for many hundreds of years.
In the UK floriography (the language of flowers) became especially popular in Regency and Victorian times, where expressing one’s feelings openly was just not the done thing to do.
With books about meanings of specific flowers freely accessible it became quite common for men to send their love interest a blossom or two, relaying secret messages.
Which came especially handy if you were not supposed to court (such as servants). In that case a small flower was much less conspicuous than an open love letter. Each colour of rose has a different meaning, with pink symbolising happiness, red desire and so on.
Roses today are, of course, the ultimate symbol of love and passion. But it’s also quite a contrary flower, with its petals and thorns, its wild and cultivated forms.
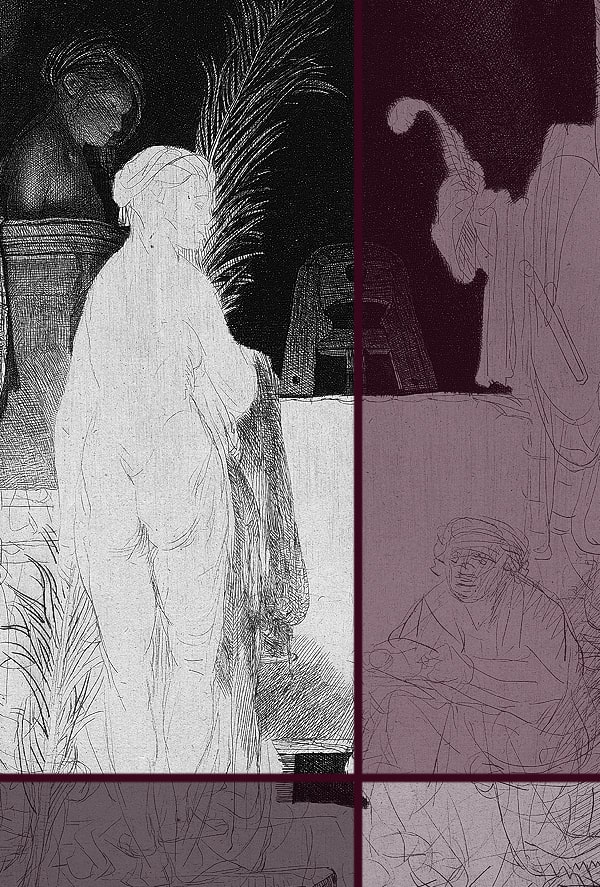
Wild and cultivated varieties
We usually think of roses as expensive flowers, noble, classy, luxurious. They’re pristine, striking and obvious.
But there’s also that other side of the coin, that we so often forget exists at all, the wild roses. Much less flashy, with fewer petals and more imperfections the dog rose (Rosa canina) and its relatives are the ancestors of the cultivated varieties.
They’re more traditional, actually, having been used as symbols long before today’s super fancy, many-petalled roses were created.
The Briar Wood by Sir Edward Burne Jones (1890) showing a scene from the Sleeping Beauty story, with the hero having to cut his way through a wall of wild roses and thorns.
Of course, many wild varieties have also been cultivated these days, so it’s more exact to name them ‘wild-looking’.
They were used frequently in coats of arms (such as the Tudor rose), in poems and fairy tales, or as religious symbols since the ancient Greeks.
Either variety, wild, wild-looking or highly cultivated must be picked at the risk of stabbing oneself with their spiky thorns, that stand in stark contrast to their beautifully delicate petals. Not a dull moment with roses, in life as in art.
Rose physiology
Botanical knowledge might not be crucial in order to draw flowers, but it can be helpful indeed.
Let me give you a very quick overview of some parts of the flowers in the Rosaceae family that are most relevant for our drawing purposes.
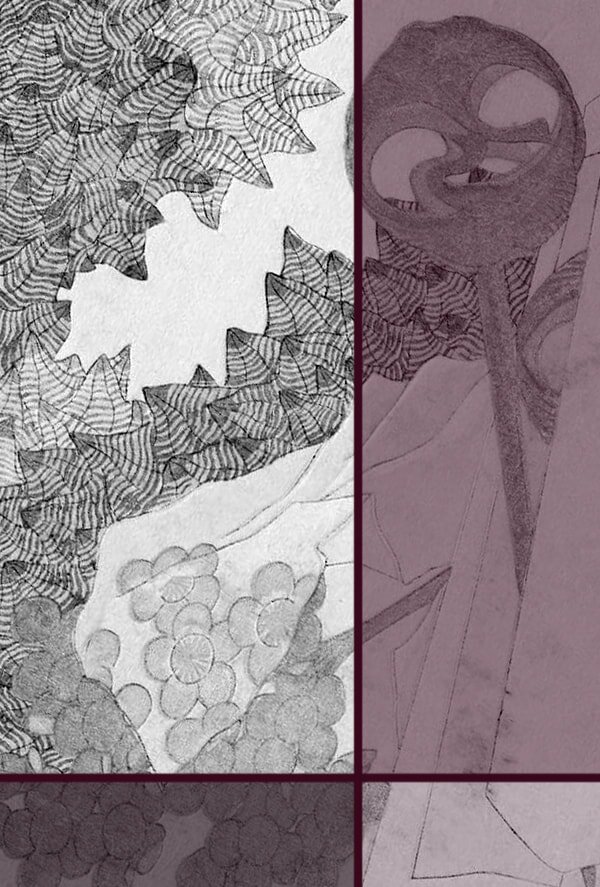
All the yellow little frilly bits you see sticking out along the middle of the flower are the male reproductive organs (stamens), with the pollen at the tip.
The pollen needs to get from one flower to another for reproduction (pollination), so that’s why roses are trying to look and smell as attractive as possible, to attract insects that do the transport work for them.
The part at the very centre of the flower head is the female reproductive organ (pistil). At the tip you have the stigma, which receives the pollen (ideally from another rose via ‘insect taxi’).
Right underneath the coloured petals there's that green vase-like structure, which holds the ovaries.
Illustration of Rosa canina (dog rose)
If the flower is pollinated the petals will fall off, as their main function was to attract pollinators. The ovary, now commonly referred to as rose hip, grows bigger and turns flashy red (or purple or black depending on the species), in order to entice animals to eat it and thus disperse the seeds inside.
The little green leaves beneath the petals are called sepals and are there to protect the flower bud while it develops. Because of that they’re usually a bit harder and stiffer than the general leaves.
Some highly cultivated roses, such as ’Lady Emma Hamilton’ have so many, closely arranged petals that insects have a hard time reaching the nectar glands inside (something to consider if you’re planning a wildlife-friendly garden). They’re usually bred by humans and pollinated manually instead.
Drawing wild roses
Personally, I prefer wild roses to the store varieties, because they’re a little subtler and in my mind more ‘natural’, even though of course ‘wild’ these days is quite relative and even the wild-looking ones are often highly cultivated.
Nevertheless, their simple array of dainty petals, sometimes only with the faintest tint of pink can be very intriguing.
Now that we understand the basic physiology of a rose and we know what the separate parts do we’ll have a much easier time drawing them. Because luckily for us, in nature function and form usually go hand in hand.
Wild rose (Rosa canina)
We already know that the frilly bits inside the flower (stamens) have to stick out in order for pollinators to come in contact with them and carry their pollen to the next flower.
If the flower head is pointing towards you their tiny stems are going to be much shorter than if you were looking at them from the side. That’s called foreshortening, and we’ll get into more detail on that in another article.
For now just keep in mind that it’s always best to draw what you actually see, rather than what your mind tells you you ought to be seeing.
The petals, as a pretty advertisement for the “treasures beneath”, encircle the centre of the flower and can be rather thin and dainty, because they don’t need to protect, nor photosynthesise.
As such, the simplest way to draw a wild rose is to start with the centre (if it is visible) and work your way outward. Do keep in mind that the petals may not all be entirely flat, some might be folded slightly, or leaning against other buds or leaves.
Drawing of a wild rose
Naturally you’ll also want to consider adding some texture to your drawing, such as the veins in the petals or their typical colour gradient, being lighter, almost white, towards the inside.
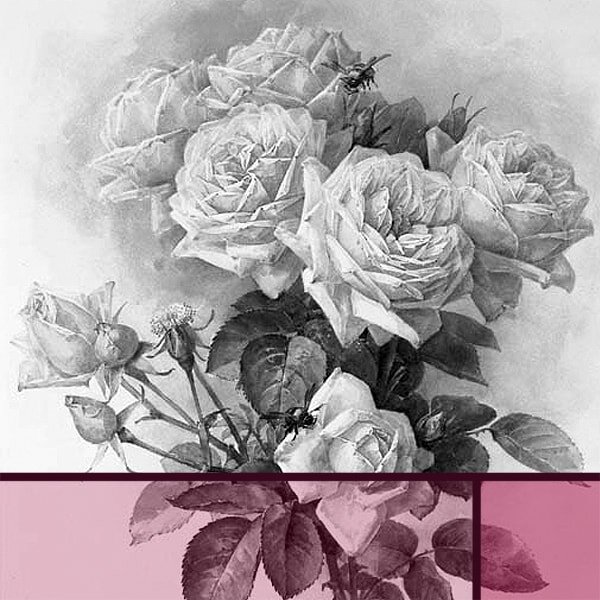
Drawing cultivated roses
While my preference lies with wild roses, I am by no means immune to the quality and charm of a fancy bred variety.
Those dozens of petals with their immaculate velvety surface are admittedly quite the looker in any artwork. But they’re also a little more difficult to draw.
Detailed drawing of a cultivated rose by the Biodiversity Heritage Library via Flickr
The stems and leaves don’t differ much from the wild varieties. But the petals do. There are just so so many of them!
The best way by far to make a start when you’ve never drawn a rose before is to take a picture of one, perhaps cut it out of a garden magazine, and use a pen to trace the outlines of the petals. It’ll help you understand how they’re arranged, in what order, what overlaps what.
Rose with traced outlines, via Flickr
When you’re drawing a rose, you’ll most of all want to make sure you get the position of the petals right, as well as the shading.
Because there are a lot of them and one overlaps the other there’s an intricate, but somewhat difficult play of shadows that might take you a little while to get right.
A good way to start is by marking the position of the stem and head and making sure everything is the right size and in the right place.
Next, you’d mark where the middle is located (if it’s visible to the viewer), as well as the general position of the most prominent petals.
And from there it’s really just drawing (or hinting at) each petal, one by one. Ideally, you’ll start from the outside and work your way inwards, as it’s easier to add more petals in the middle than on the outside, if you don’t get the proportions quite right.
Starting with the basic shape and then indicating the most prominent petals is often the easiest way to draw a rose.
The petals can be matte or shiny, sometimes with darker tips or a slightly different colour on the underside (outside). It all depends on the variety. Either way it’s something you’ll want to be aware of and consider in your drawing.
They also have more or less visible veins (just like the leaves), and possibly imperfections, such as creases or bruises. All of these you can draw, or even just slightly hint at, to give your work some more texture and character. Remember, you want to draw that rose, not a rose.
All in all, getting the position of the petals right and understanding what parts overlap which other parts and which side of the petal is visible to the viewer is the most difficult part.
But don’t worry, it’s really just a matter of good observation, of knowing what to look for and most of all of taking your time and not rushing the initial outlines.
Drawing wilted roses
How best to draw a wilted flower very much depends on the degree of wilt and its cause.
When a flower loses too much water it first goes from turgid and firm to soft and limp. That’s because it’s the water pressure inside the stems and leaves that keeps the plant upright. The head will droop, the petals will lose some of their colour and become dull, or fall off altogether.
When even more water is lost, all parts of the plant will turn hard and crispy, and often a few shades darker. If the wilt is caused by a sickness, such as a fungus, there’ll often be brown spots on leaves and petals.
That means, if you do plan to draw a wilted rose, it’s important to work out what kind of wilt and at what state. Do remember that if you’re drawing from life an hour or two in the sun can make a huge difference to the freshness of your flower.
Wilting rose drawing by Hillel Eflal on Flickr
I find that the easiest way to draw a wilted rose is to begin with the stem, especially the dropping part at the top, as that’s what determines the position of the flower head.
And from there the principle is much the same as for any fresh flower, just that you’ll want to change the texture of the petals and leaves (either limp or crispy) and adapt the colour as necessary.
Drawing leaves, stems and hips
The leaves of most roses are toothed and quite waxy. That means that light will reflect off of them and water droplets form on them quite readily.
This is something you can use to your advantage for your composition. You might spray the leaves with some water or direct them towards the light source to add interest.
The leaves are usually lighter on the underside, and quite a few varieties have a very thin darker edge along the margins, often slightly reddish.
The best way to draw the leaves is to follow what you probably did as a child. Draw the little stem (rachis) first on which the leaves are located, then the middle vein (midrib) of the individual leaves, and only then should you start outlining the actual leaf margins and drawing the other veins, shadows and reflections.


While most roses have thorns on their stems, that is not the case for all of them. However, if they do, they can come in different colours, shapes and sizes, sometimes on the same stem.
The stems themselves are round and can be matte or shiny. They tend to have a slightly visible vertical margin, if you look closely, which is something you can use in your drawings to make it look less flat and more realistic.
The degree of “woodiness” depends on the age of the stem, so your average cut rose will have a flexible, succulent stem, but the shrub in your garden will also sport some older, rigid, brownish ones.
Quick sketch of stem, thorns and leaves of a rose.
Rose hips, as we’ve learned, are the matured ovaries with the seeds inside. In most cases they’ll have a bright colour, to attract birds from far up in the sky.
They can be shiny or matte, round or oval, immaculate or somewhat bumped and bruised, depending on how the weather and bypassing animals have treated them. Especially the bright red variety can be an enormous eye-catcher in an artwork.
Rose hips are not difficult to draw, just be aware of their three-dimensional shape (think globe, not circle). That means you’ll have to add some shading to give them their form and perhaps some clever highlights if you’re drawing the extra-shiny ones.
I hope this little tutorial will help you make use of these fascinating and ever so pretty flowers in your artwork.
Roses are not the easiest flowers to draw, it’s true, but they’re some of the most rewarding and most versatile and should be part of every artist’s repertoire.
For more tips and tricks have a read through my other still life-related articles.


Did you enjoy this article or feel like you have anything else to add? Feel free to leave me a comment below!
If you like this post, please share it, so others may like it too!