The foolproof way to a beautiful Portrait Sketch (in 8 simple Steps)
Drawing the human face can be tricky, with all those features and the need for symmetry. These steps will make it a lot easier for you to create a good likeness, so let’s dive right in.
1 Find the right subject
Contrary to drawing architecture or still lifes we don't usually have entirely free choice in what person to draw and how.
Mostly we’ll be taking subjects from our select circle of friends and family. If we're looking for a less familiar face it's not quite that easy. Few of us have the self-confidence to stop a complete stranger on the street and ask them to stand still and model for us.
Vincent van Gogh was a master at choosing subjects for their interest, rather than beauty, such as in the Portrait of the Postman Joseph Roulin (1888)
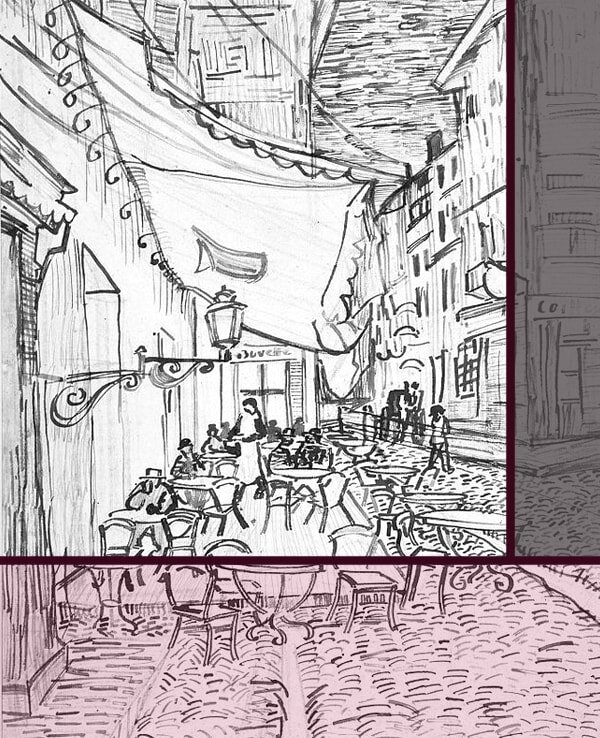
Oftentimes we come across good subjects for our artistic attention by chance, so it helps if you always have a small sketchbook with you, maybe even a portable watercolour set.
Then, when you sit in a café or waiting for your train and someone strikes you as interesting (and holds their position long enough) you can do a quick sketch. Pop by my article How to quickly Sketch People without them Noticing for some handy tips.
Few of us dare asking a stranger to sit for us and that’s fine. We can improvise.
But even when your choice is a bit limited, keep in mind that the right subject isn't necessarily the prettiest. Instead, look for a face, or a facial expression, that speaks to you, catches your eye, in whichever way.
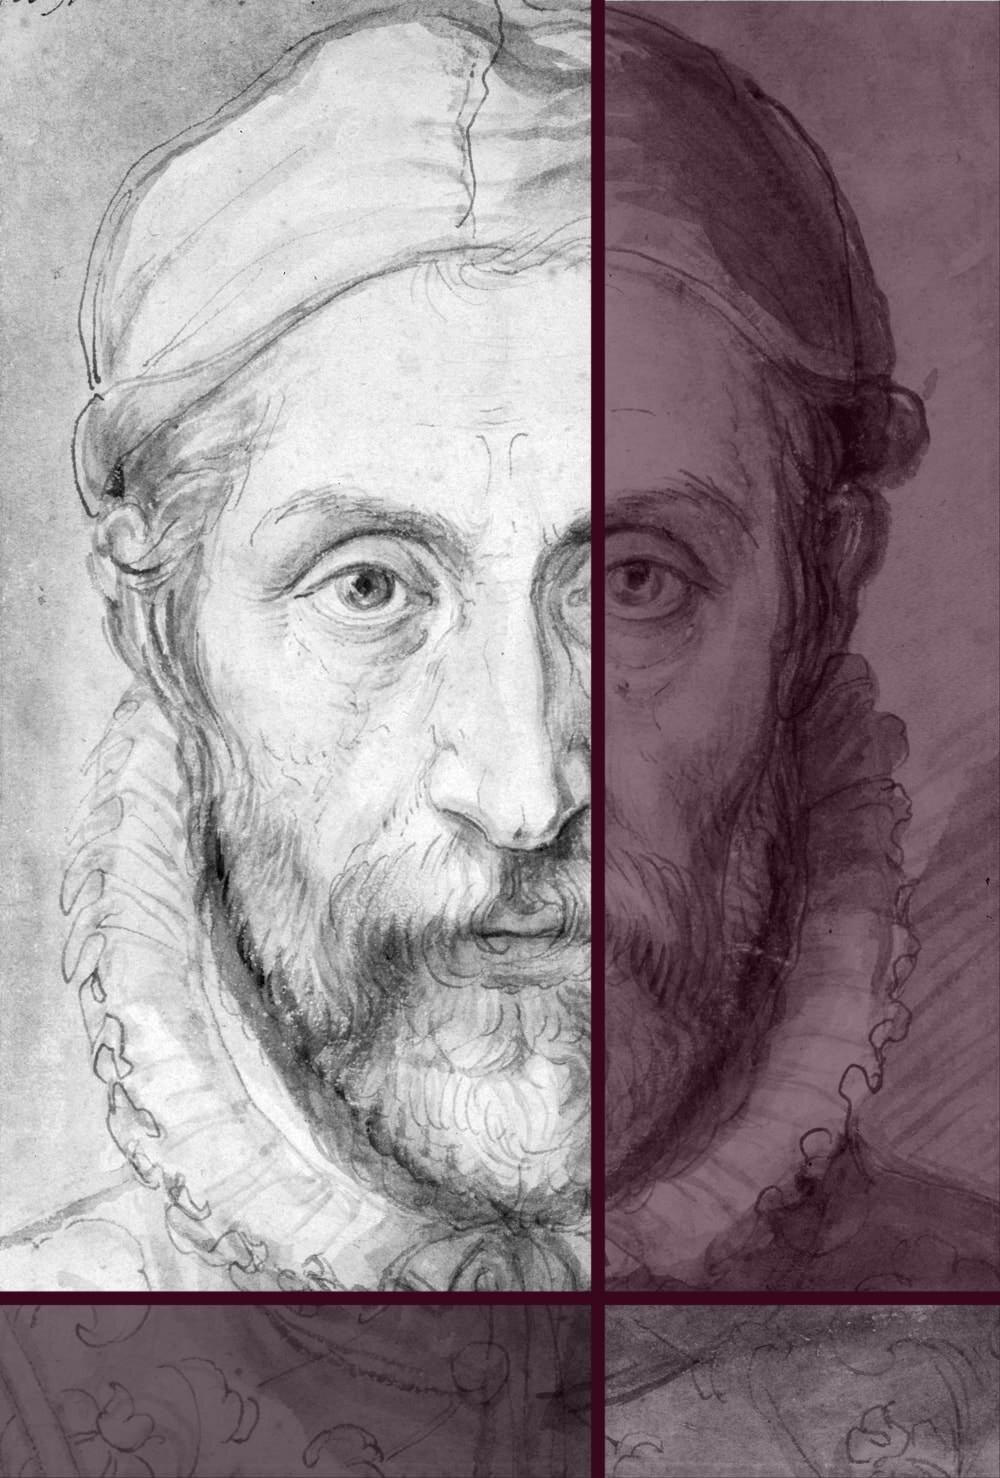
A wrinkly, experienced face can be just as fascinating to work with as a beautiful young woman.
2 How does this make you feel?
In portrait drawing in particular it's incredibly important to remember your own point of view, as an artist. Ask yourself why this particular person has caught your attention. Was it the face itself, the gesture, the light?
It's all well and good to draw a pretty face, a baby sleeping, a worker going about his business. But it's essential to know why you were touched by the view and how, in order to convey the feeling to the sketch.
What your subject makes you – the artist – feel is much more important than what the subject looks like.
Find out what the person made you feel, rather than drawing just what you see. Do you feel calm, happy, sad, intrigued, uneasy even?
Once you've understood this and realised what it was that made this a good subject for you the knowledge will flow into your work and make it much more accessible and interesting for the viewer.
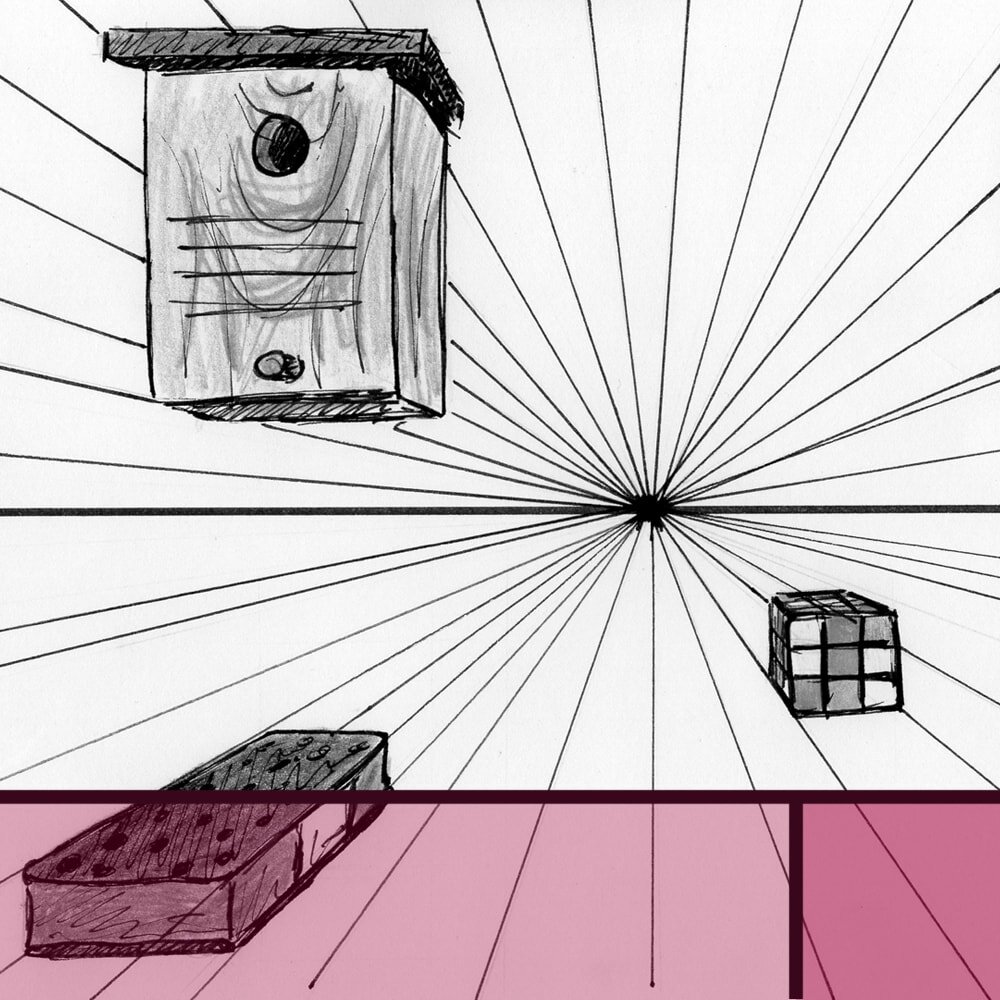
3 Work out your composition
Once you've chosen a good subject you should give your composition some thought. It doesn't need to be overly complicated, often simplicity makes for the best work, but a little consideration can go a long way in portrait drawing.
If you're sketching your friend or your spouse of course you have a lot more options. You can decide on an interesting position for their head, for example. Even just a slight angle to the side or up or down can bring a drawing to life.
This sketch by Marie Ellenrieder shows how a slight tilt of the head can make for a surprisingly interesting composition.
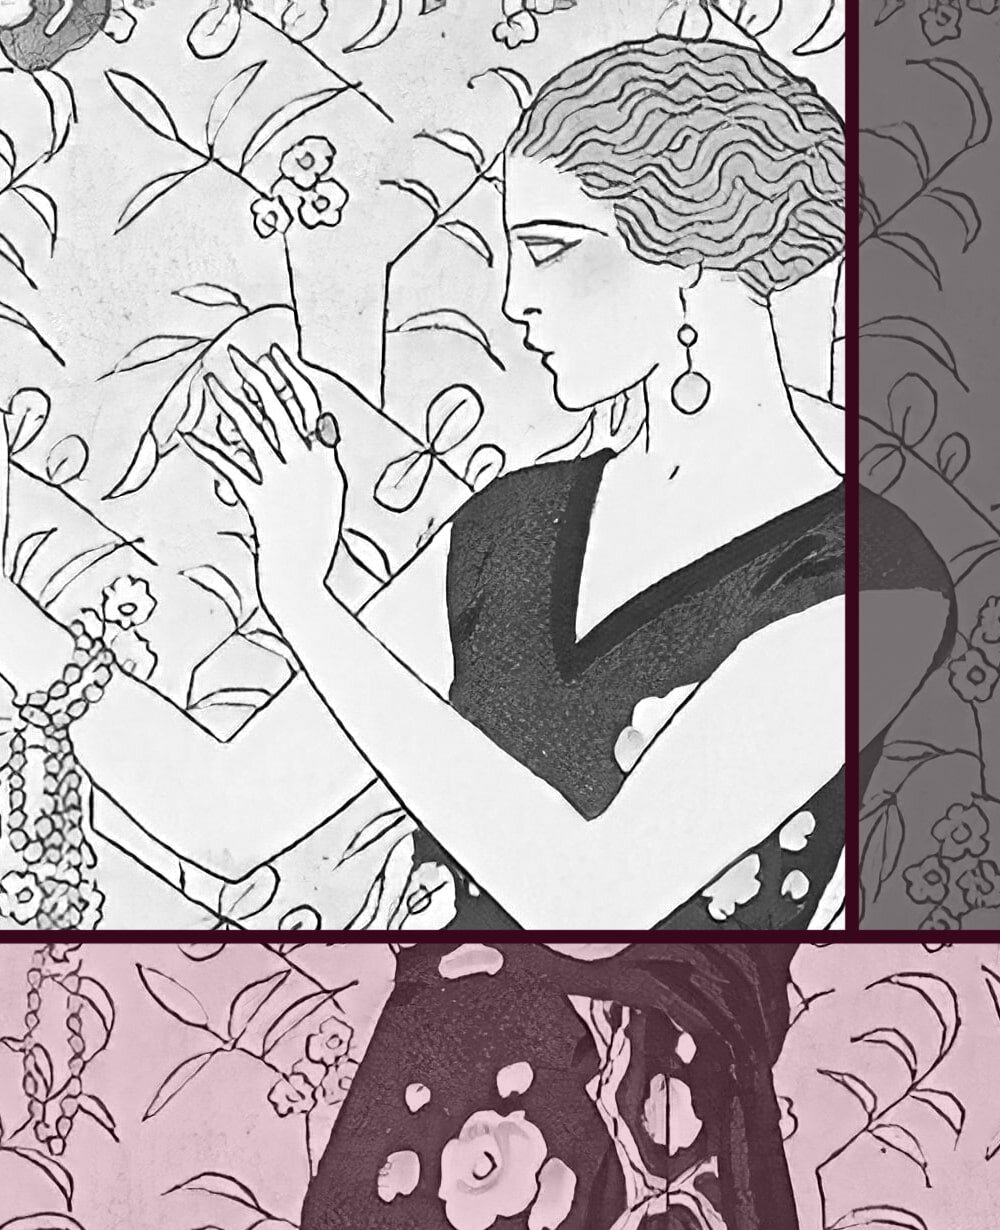
What your subject is looking at is another impactful way of creating a striking composition.
If the subject gazes right at the viewer there can be a stronger connection, as the viewer turns from neutral witness of the scene to participant. If the model looks to the side or perhaps at an item they are holding the viewer remains an observer.
How about their facial expression? Would you have them looking serious, neutral, smiling or frowning? A more expressive look, such as a laughing face can give a flat portrait personality.
Think about what kind of photos would be most likely to catch your attention on an online dating profile. It’s not the static headshot, is it?
A slight change in the tilt of the head or the rearranging of one strand of hair can make a huge difference to the interest and thus quality of a portrait.
Even if you draw a stranger without wanting them to notice you have some compositional choices to make. Such as what kind of background you want to include, if any.
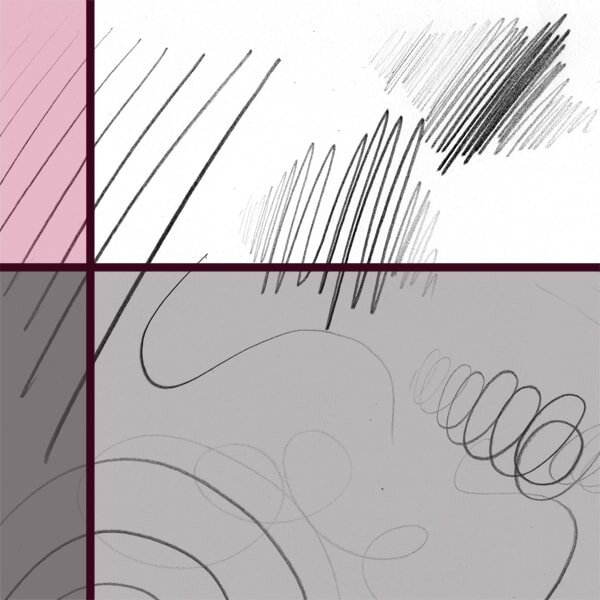
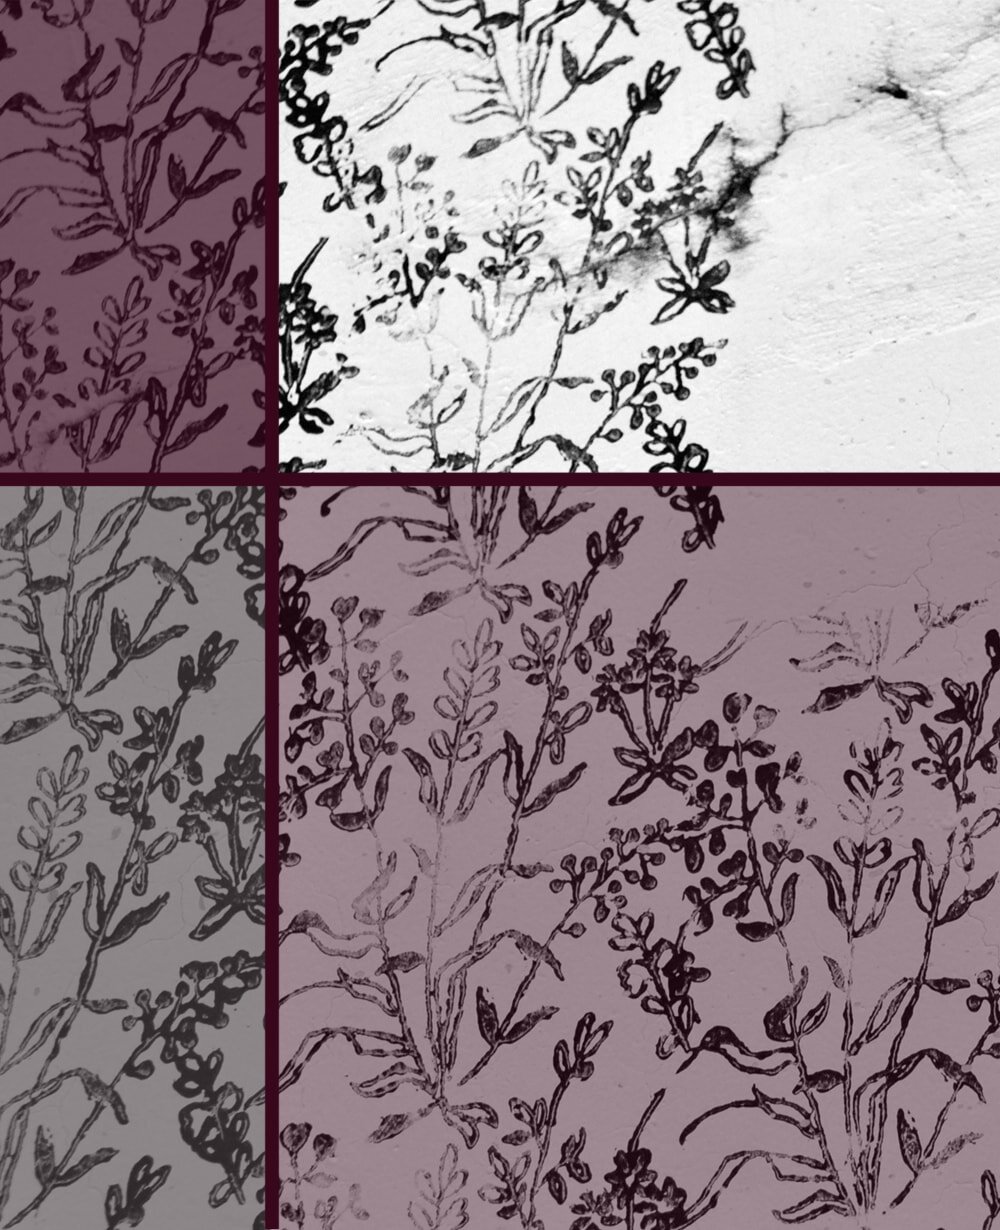
Choose your drawing style, technique, even medium wisely, ideally pick one that works with what your subject makes you feel (see above). If this sounds all very novel to you have a look at my Fire and Water exercise from my article 5 simple Drawing Exercises for Beginners and Pros.
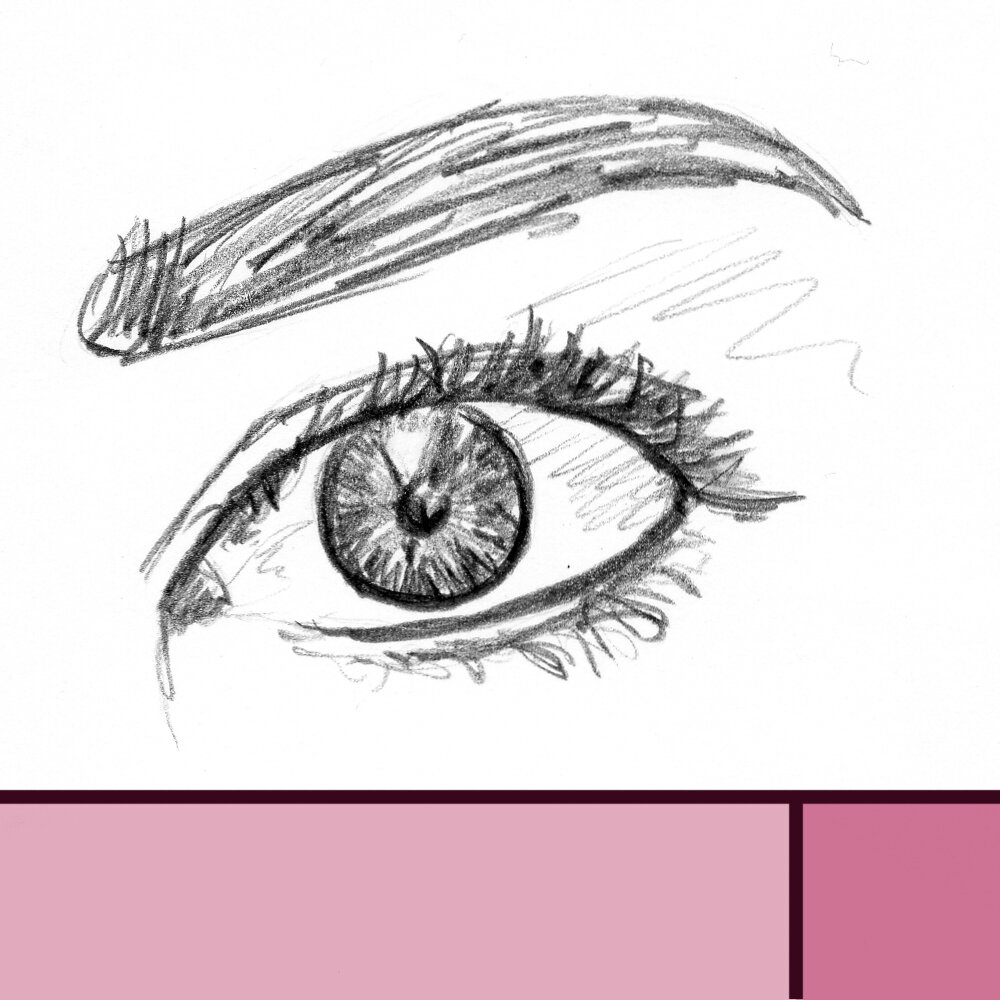
Also think about your focal point, which is the element of your drawing you want viewers to notice first, so you’ll spend the most time on it. Traditionally that’s often the eyes, since we humans are biologically drawn to look at them first, but it doesn't have to be.
A very easy way to get better at portrait composition is to copy portraits from your favourite artists and learn from them. My article 5 simple Exercises to teach you how to Draw amazing Portraits has some good practice on this matter.
4 Make a thumbnail
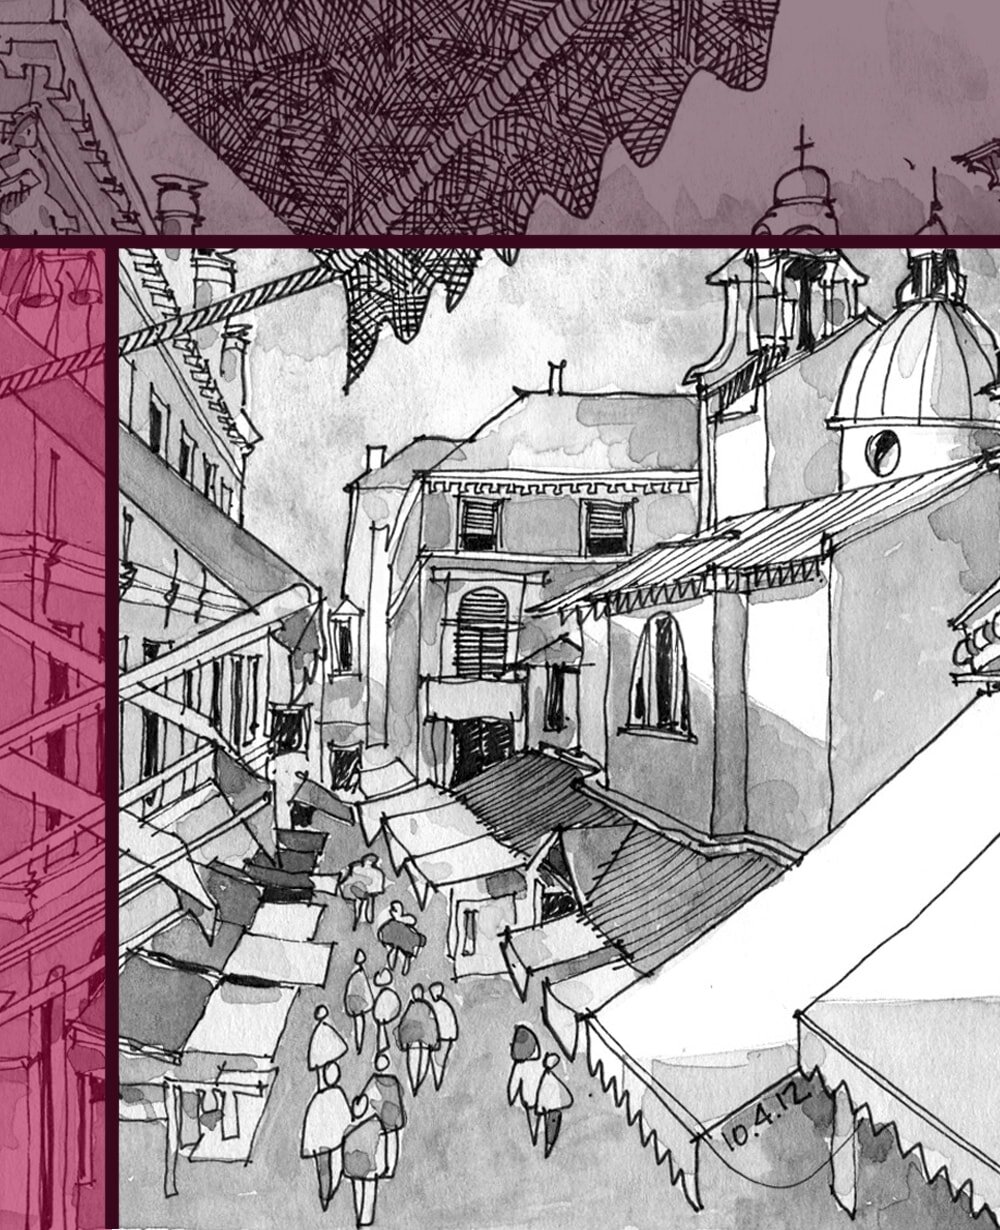
If your final portrait is going to be a very rough and fast sketch, such as in urban sketching, you can skip this part. But if you're planning on a more elaborate piece this step is super useful.
Before you start working on your actual drawing create a very quick thumbnail sketch of the subject on a scrap piece of paper. This shouldn't take you more than a minute, but it’s a very valuable minute indeed.
Not only will this help confirming that the composition you decided on in the previous point is interesting enough and works well on paper, it'll also help you find your points of interest.
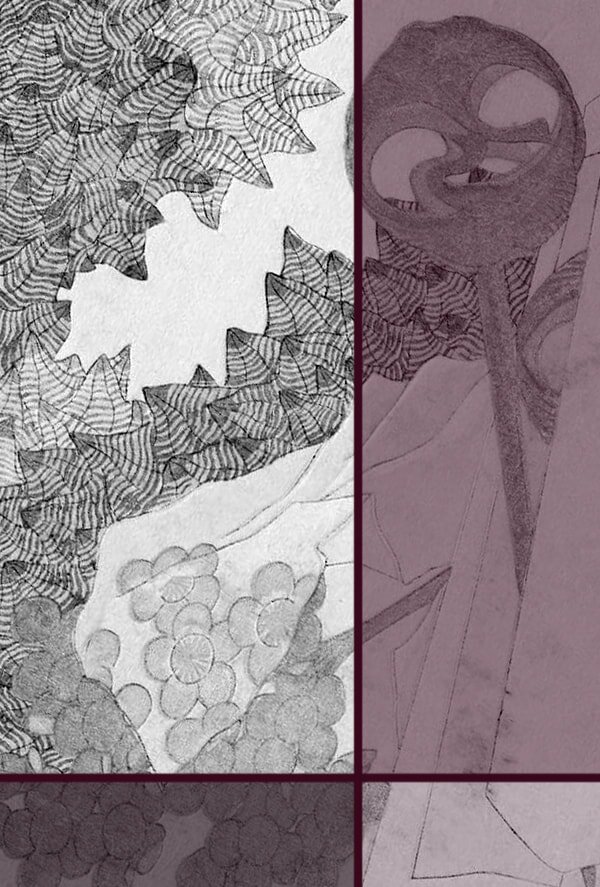
Points of interest are specific parts of your subject that are, well, interesting to you (and hopefully the viewer), other than the focal point.
My article on 101 Drawing and Painting Terms will give you more detail, but the main difference is that there is usually only one focal point, the main element you put most work in, but there can be several points of interest.
In a portrait that might be freckles, birth marks, curls, a hat, an interestingly shaped nose even.
ThisSelf-Portrait (1945) by Henri Matisse is a great example for the kind of simplified thumbnail you can use to find your points of interest.
When you draw your quick thumbnail, you'll often find that you quite naturally start to include the points of interest, if not much else, which will help you decide what to emphasise in your final work.
To practice this, you can have a look at my post How to Simplify your Drawings, which includes an exercise that leads you through drawing a simplified thumbnail of yourself.
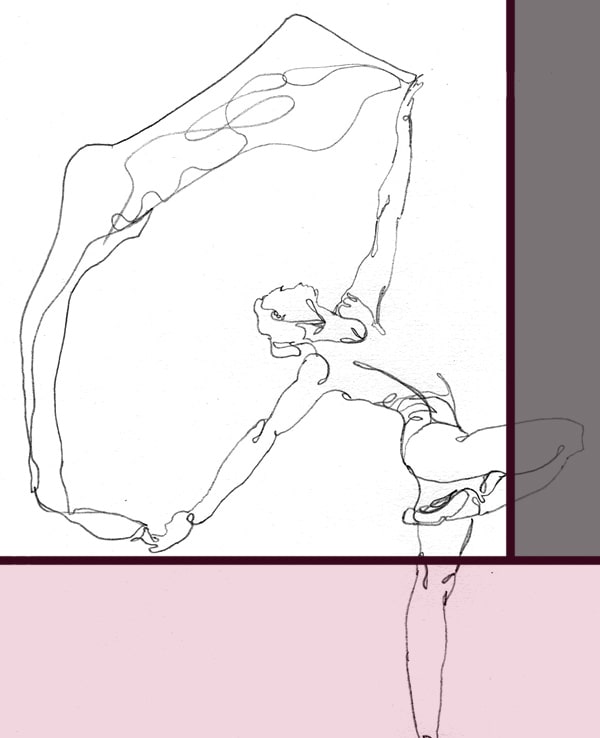
5 Draw the main structure
Now that you've decided on a subject and composition it's time to get down to business and actually start drawing.
In a portrait that means sketching the main form of the head with some indications as to the rough position of eyes, nose and mouth.
In order to do that it's best to forget for a moment that your subject is a person and think of it as a collection of basic three-dimensional shapes.
A head really just consists of a ball (sphere) with the sides flattened and a little addition for the chin. Sounds odd? Have a look at this article by Clayton Barton that'll explain the concept in a lot more detail and check out my 12 simple Warm-Up Exercises for more practice.
6 Place the main elements
Now that you've got your basic structure down you can start placing the main elements of the face, like the eyes, nose, lips, ears and hair.
Even if you generally draw fast you should take your time with this step, it's the most important one. The correct placement of these elements will decide on how good a likeness you're creating and if anything looks ‘off’.
Unlike with other subjects, such as architecture, elements in a human face ‘off’ even by a few millimetres can make the entire portrait look oddly wrong.
Because of this difficulty I always recommend starting to learn portrait drawing with rough, quick sketches that don't necessarily need to be a good likeness. It'll help you get used to the concept without the added pressure.
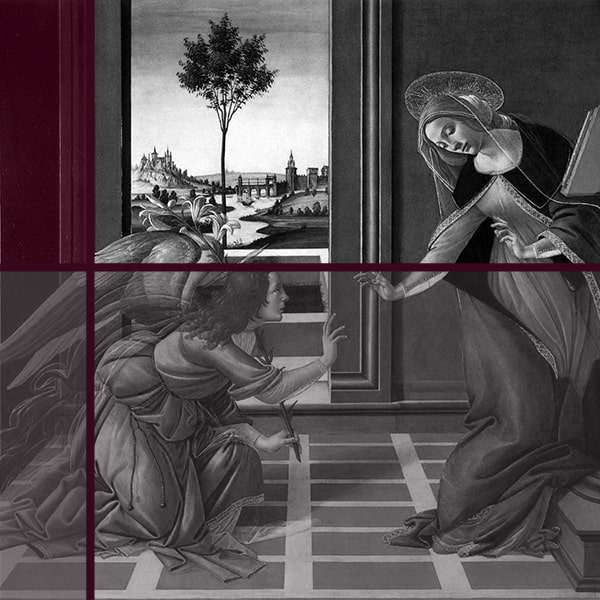
7 Looking for shadows
Another point in which portraits differ from other subjects, such as landscapes or still lifes, is that shadows are a lot more important.
The reason for that is that shadows are often the only border between elements in the human face. So you need to create some good shading to add structure and depth.
Without shadows you would be unable to recognise the nose, for example, as a three-dimensional element, especially if viewed from the front. All you'd see is two lines where the nostrils are and not much else, since there isn’t much difference in texture or shade of the skin between the nose and the cheeks.
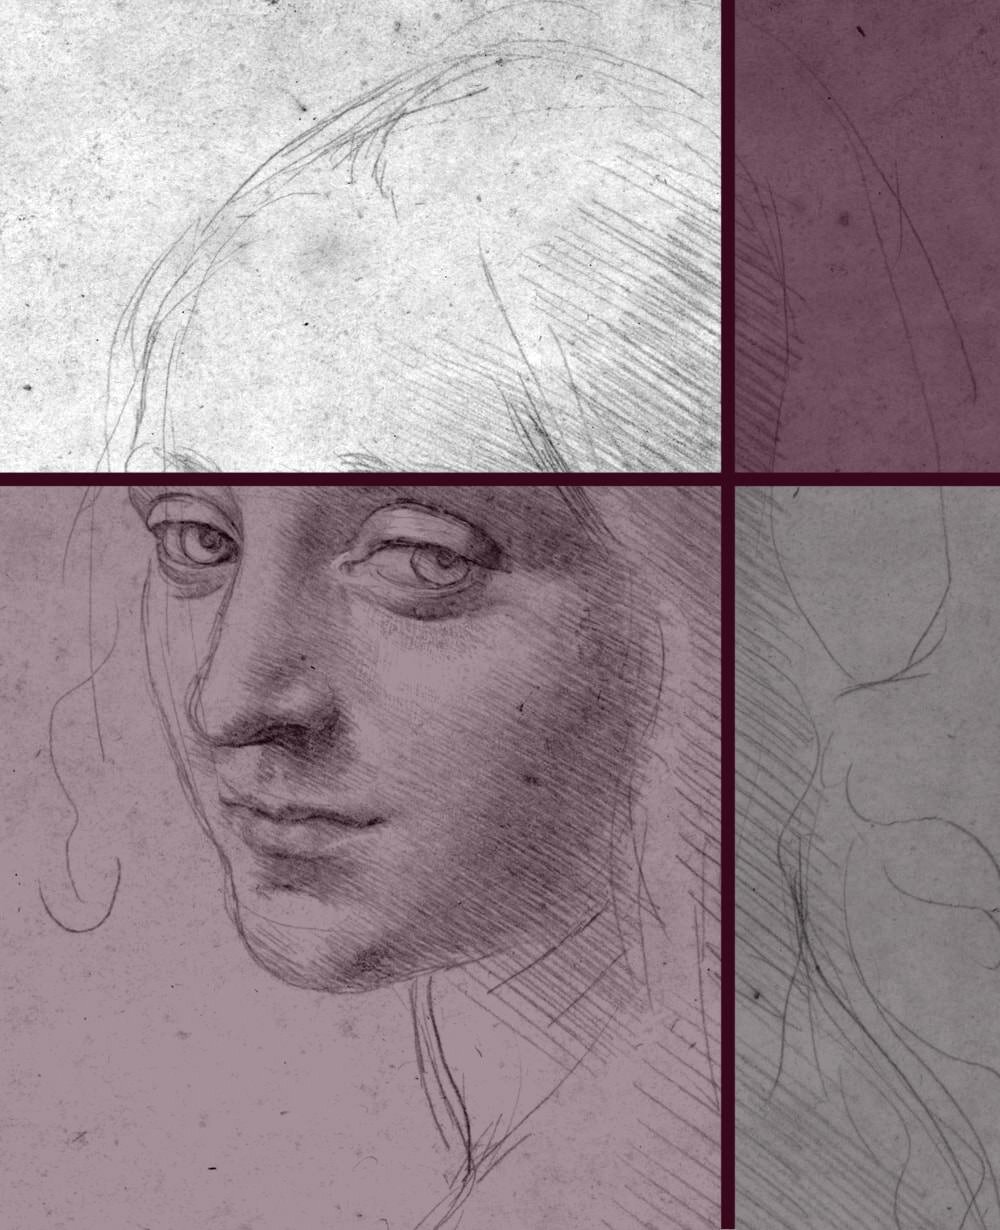
Looking at this sketch by Leonardo da Vinci you’ll notice that shadows make up the majority of 3D structure of the face, there are few hard borders.
Because of that it's important that you firstly work out where the main shadows are, even if the light is bright and they're relatively subtle. And then you need to decide which of them you want to include in your work, depending on how detailed it will be in the end.
Sometimes even just very rough shading is enough to create the depth you want.
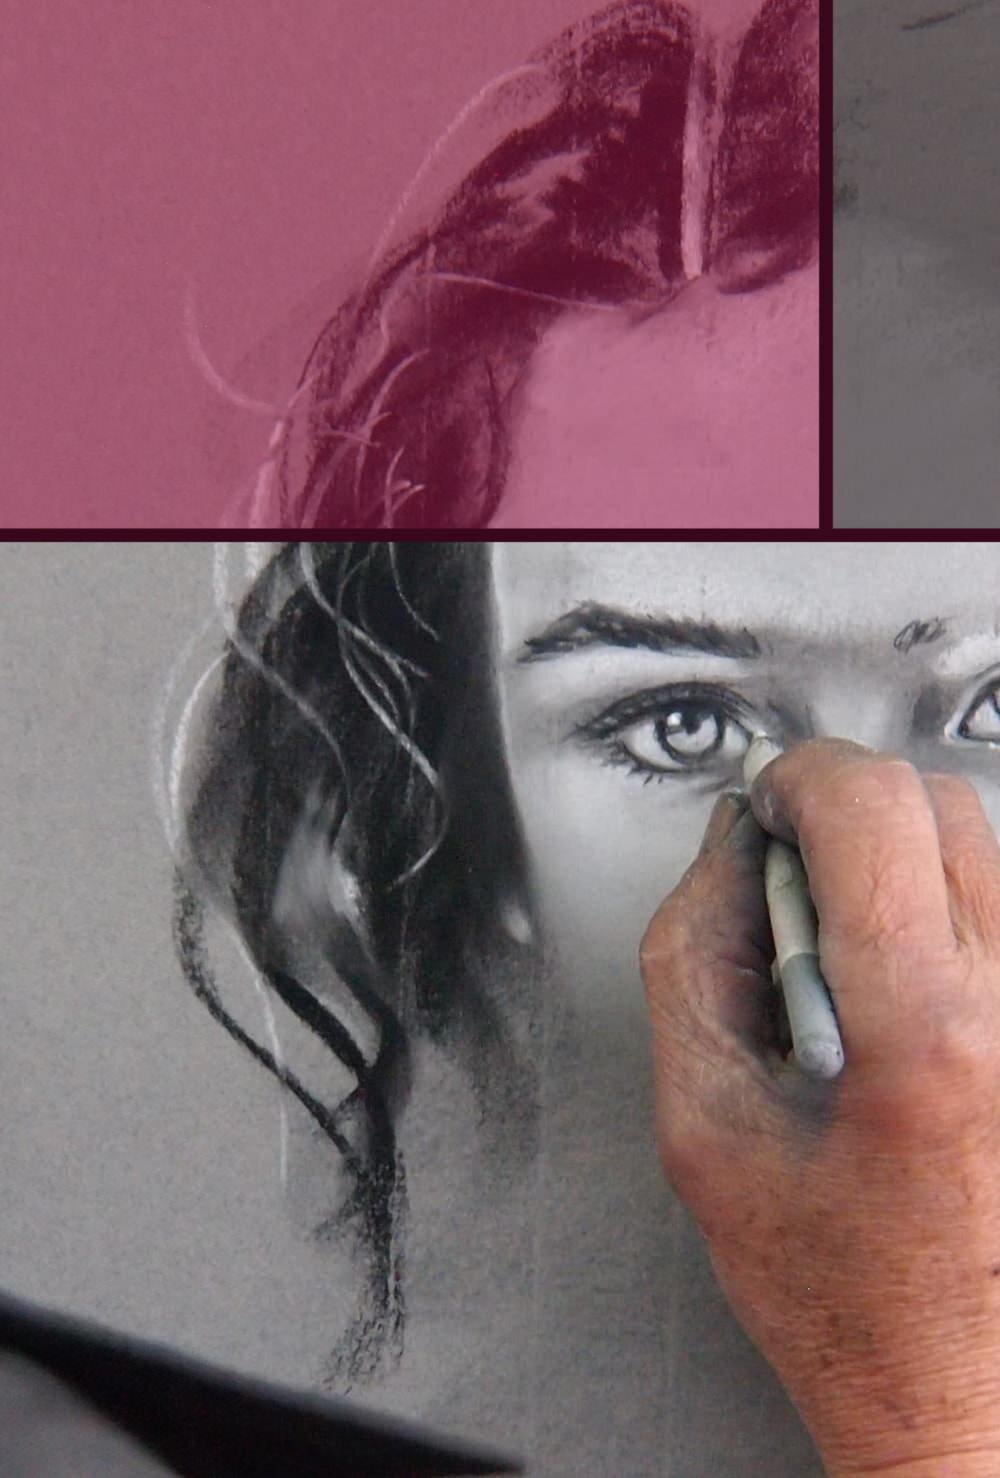
8 Filling in the blanks
Once you're confident the main placement of elements (see step 6) in your drawing is correct, and only then, can you start adding as much detail as you like, or have time for.
If you're sketching a stranger on the street that may only hold still so long this could take you a few seconds. If you're drawing a very elaborate portrait of a model that will sit for you as long as you require you could be at it for hours.
Either way, now is the point where should you mentally switch back from seeing only the basic geometric shapes to recognising your subject as a person and remember why you chose them as a model in the first place.
Look at the face like an artist would, with all the interest and wonder and try to let it flow into your sketch. Your viewers will be much more likely to connect with your work if you connect with your subject, I promise.
For more tips and tricks have a look at my other portrait-related articles.


Did you enjoy this article or feel like you have anything else to add? Feel free to leave me a comment below!
If you like this post, please share it, so others may like it too!