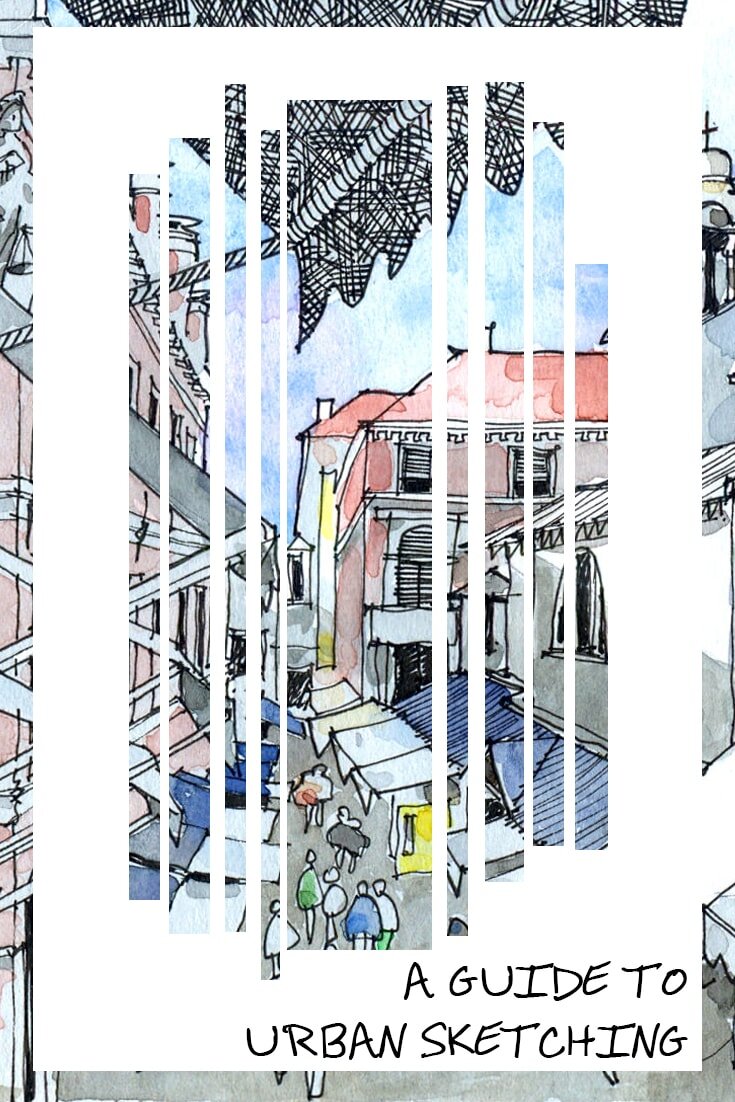
The ultimate Guide to Urban Sketching (and how You can Start Today)
Urban Sketching is all the rage these days, and for good reason. There are local and international groups, workshops, websites, articles, books and videos about it. Let's find out what it actually is, why it's so popular and how you can join the movement.
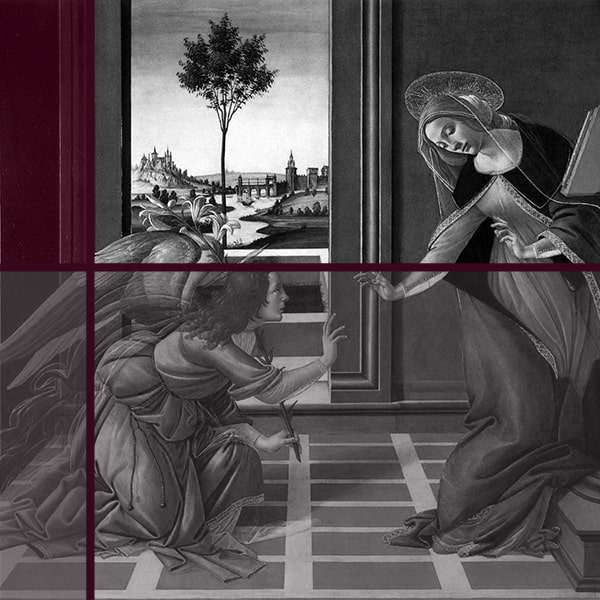
What is urban sketching?
Urban Sketching is revolves around three main points:
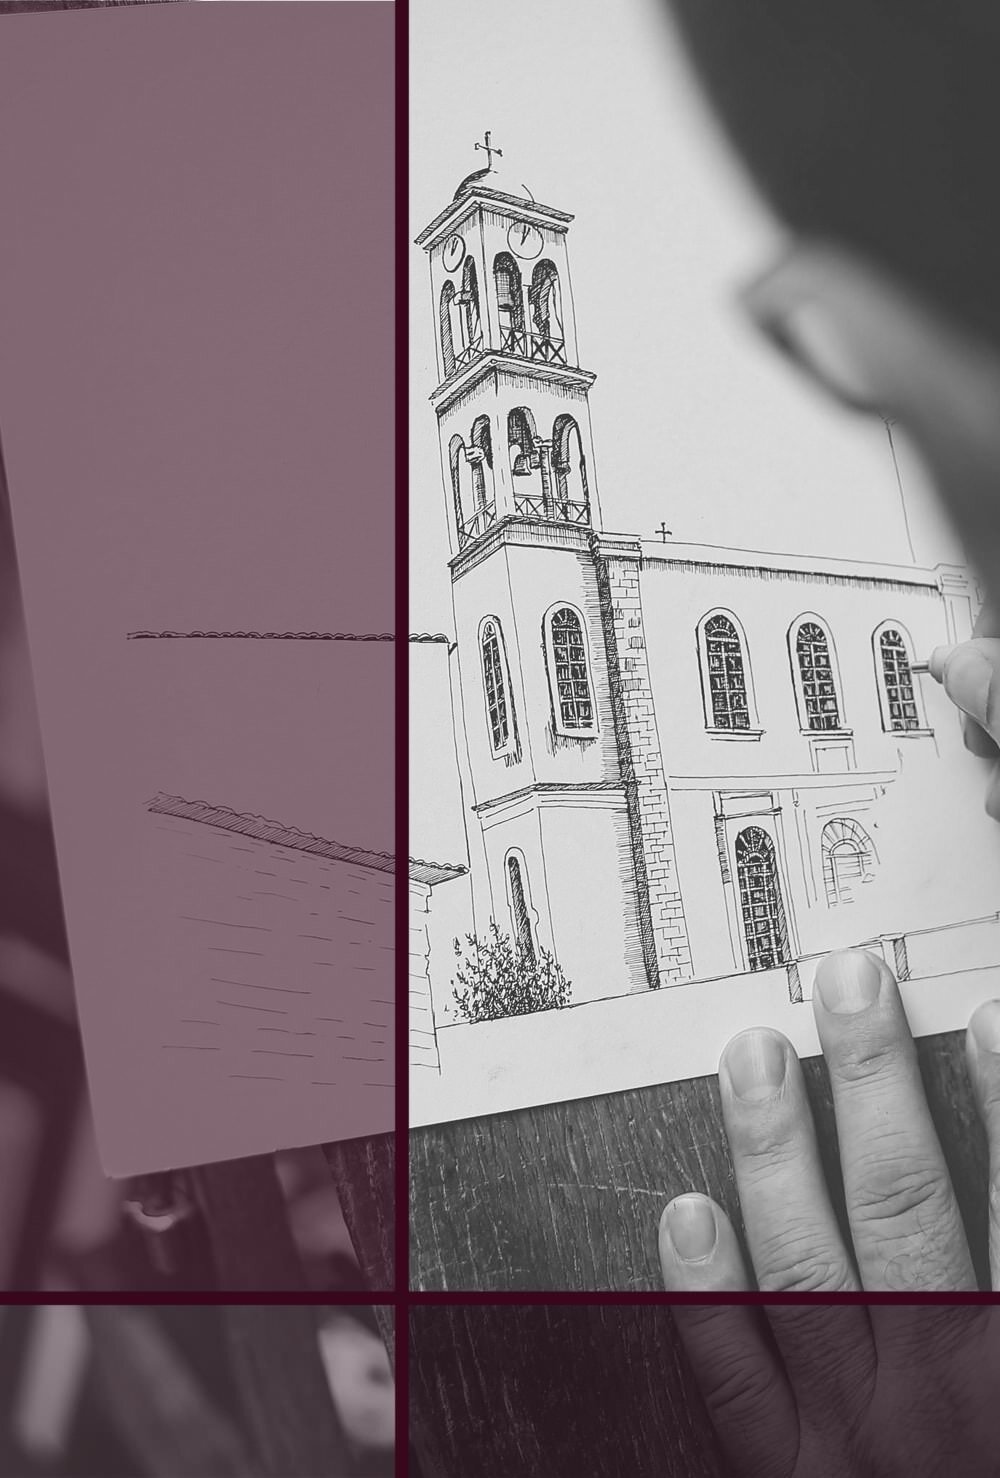
1. It is done on location, or ‘en plein air’, if you want to sound fancy. This means that you take all your materials with you to your subject (e.g. a pretty cathedral) and draw it there, rather than at home in your studio.
As the name suggests, this particular type involves urban areas - cities, towns and villages - rather than the countryside far away from civilisation.
Because of that the subjects are quite often streets, buildings or other man-made landmarks, but they can just as well be objects, individual people or groups, animals and so on.
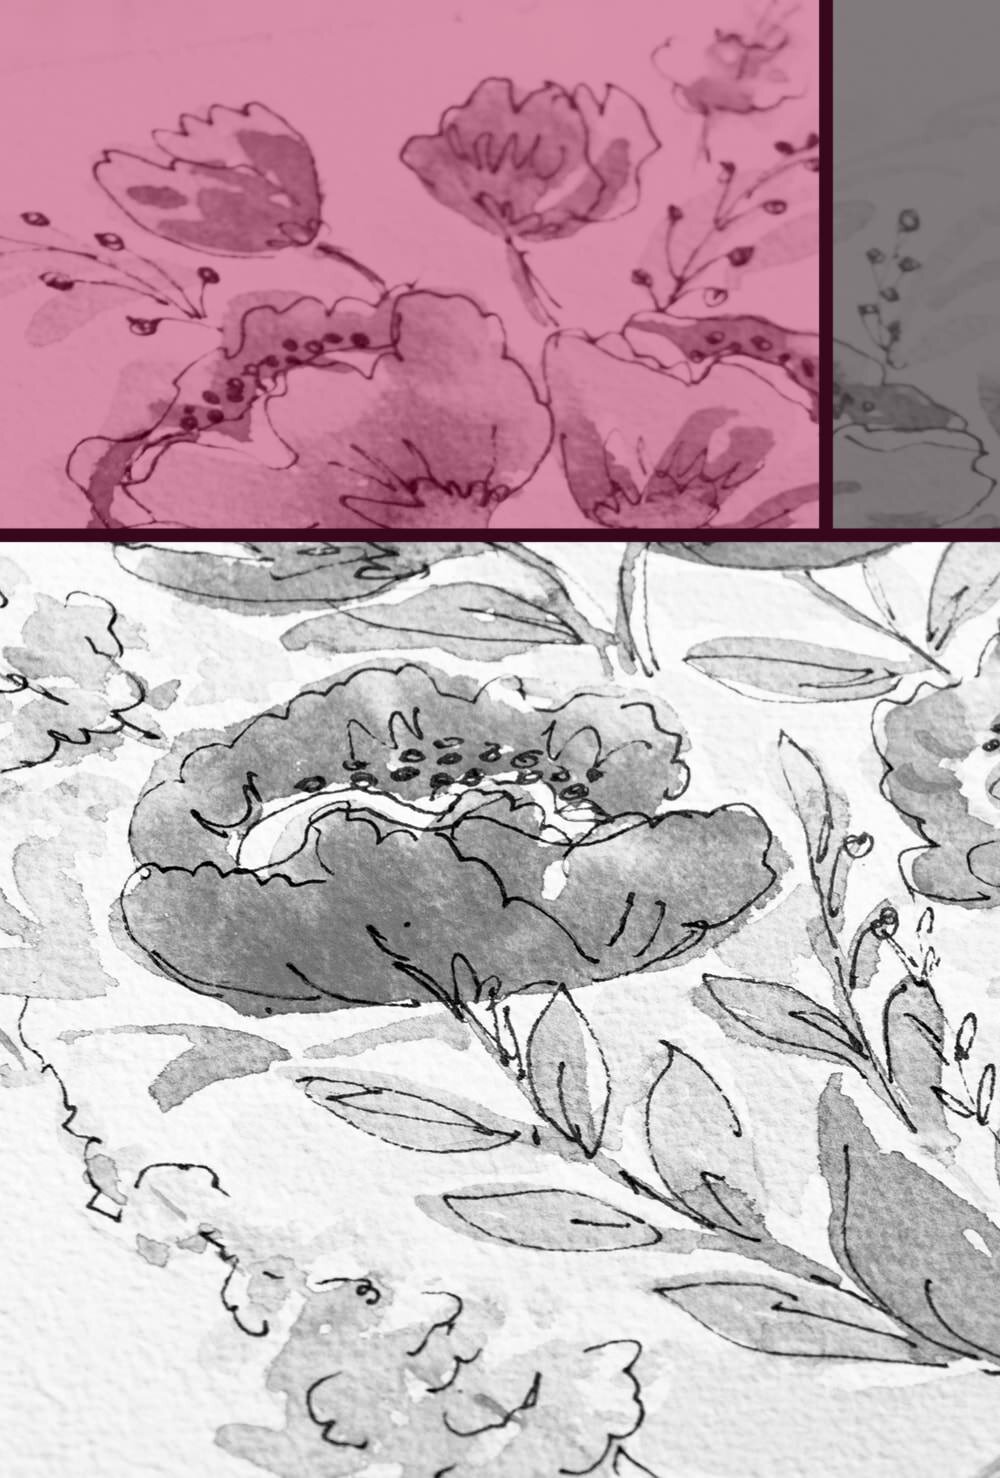
One thing to notice is that “sketching” in this sense refers to the roughness of the work, not the medium. A lot of urban sketchers paint with water colour or even acrylics (oil tends to dry too slowly for this form of art).
2. It’s meant as a visual diary, but with sketches instead of words (though you can totally write accompanying notes as well).
You record, as a sketch, anything you find interesting, inspiring, pretty or just noteworthy. The sketches can be detailed and elaborate, but most often they're done relatively quick, with spontaneous lines and rough colouring.
Have a look at my article How to Learn Sketching to Improve your Art for more tips on how to sketch, rather than draw.
Urban Sketching means keeping a visual diary and record anything you find inspiring, pretty, or just noteworthy.
The subjects are left as they are, rather than purposely arranged as you would in your studio at home. Though that does not mean that you cannot make use of some great compositional tricks (see below). In fact, you totally should.
3. It's a group activity. This is not a must, but a major focus of the movement. You can find local groups of artists that meet up, on location, and draw together.
You can join sketchwalks, where a group of artists move from place to place for an afternoon, drawing what they find there. Often there will be some more experienced sketchers around to help out the newbies by sharing tips and tricks.
Some people prefer to sketch solely on their own and then go online to share their work and communicate with others instead. Many urban sketchers these days use both approaches at different times.
What to sketch in urban areas
As mentioned above, you can sketch anything at all that you find interesting and worthy of your time.
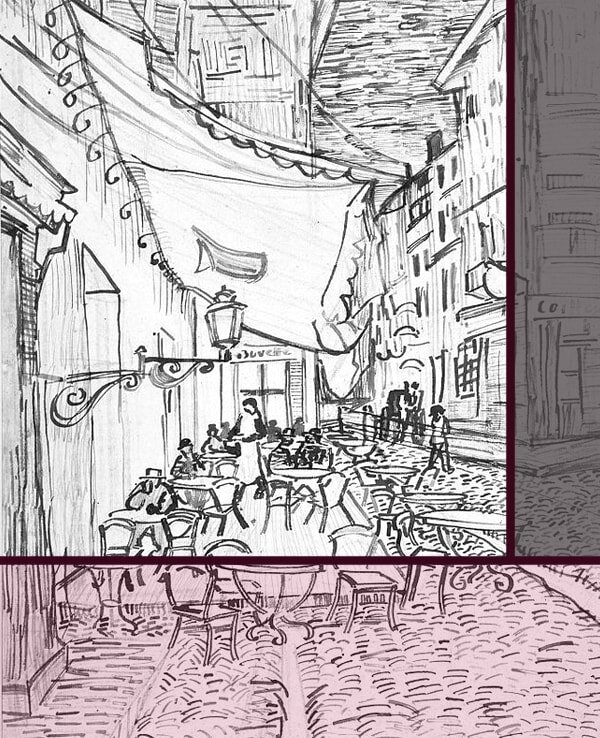
You can draw outside, for example a street view or an individual building. But you can also sit in a café or on the train and sketch what you see around you.
Your subjects can be architecture, people, objects, animals or plants, or all of these together, it's entirely up to you. For more specific tips on how to draw strangers out in the wild pop by my article How to quickly Sketch People without them noticing.
There really are no rules, because the entire point of Urban Sketching is to record your experiences during the day, however you experience them.
Why urban sketching is so good for you
It's not a coincidence that Urban Sketching has become so popular over the last decade.
The quick, free style of sketching has no formal rules, which takes a lot of pressure off. You don’t have to worry about creating a realistic copy of what you see with perfect shading and perspective.
Urban sketches are meant to be rough and spontaneous, rather than accurate, so it takes a lot of pressure off.
Naturally, walking around, ready to draw, also means that you will look at the world differently. You'll start noticing details you usually wouldn't have and you might be surprised how interesting everyday things can be, if you actually open your eyes.
You will also notice the quality of your work improving. That's because when you draw on location you see your subject in three dimensions, rather than flat on a photograph. You can move around to get a better angle, as well.
You'll use all your senses, not just your vision. You'll hear the noises around, smell whatever is in the air and all that will flow into your linework and make the finished piece all the better.
And lastly, if you do decide to join the occasional group sketching activity, you'll be surprised how incredibly inspiring and beneficial it can be to be around other artists.
You can share the love of the subject, compare approaches, give each other tips and ideas.
Books about urban sketching
If you want some more specific tips why not get one or two of these super popular and highly-rated books on the topic? The Urban Sketching Handbook: 101 Sketching Tips was one of my favourite reads this year, so useful!
The Urban Sketcher by Marc Taro Holmes

The Urban Sketching Handbook: 101 Sketching Tips by Stephanie Bower

5-Minute Sketching: Architecture by Liz Steel

Sketching People: An Urban Sketcher’s Manual by Lynne Chapman

You can also find some great online courses on my Recommended Resources page.
How you can start urban sketching yourself
Because of its emphasis on spontaneity urban sketching does not require much to get started. You don't need to plan a sophisticated composition or create preparational sketches.
Really, all you need is a few materials (see below), a couple of minutes of time and an interesting subject you have stumbled upon, for example on your way to work or waiting for your friends at the bistro.
Now, I do always recommend having a look at other urban sketchers and gather some general tips and tricks on the subject, but that's something you can do along the way, rather than before you begin.
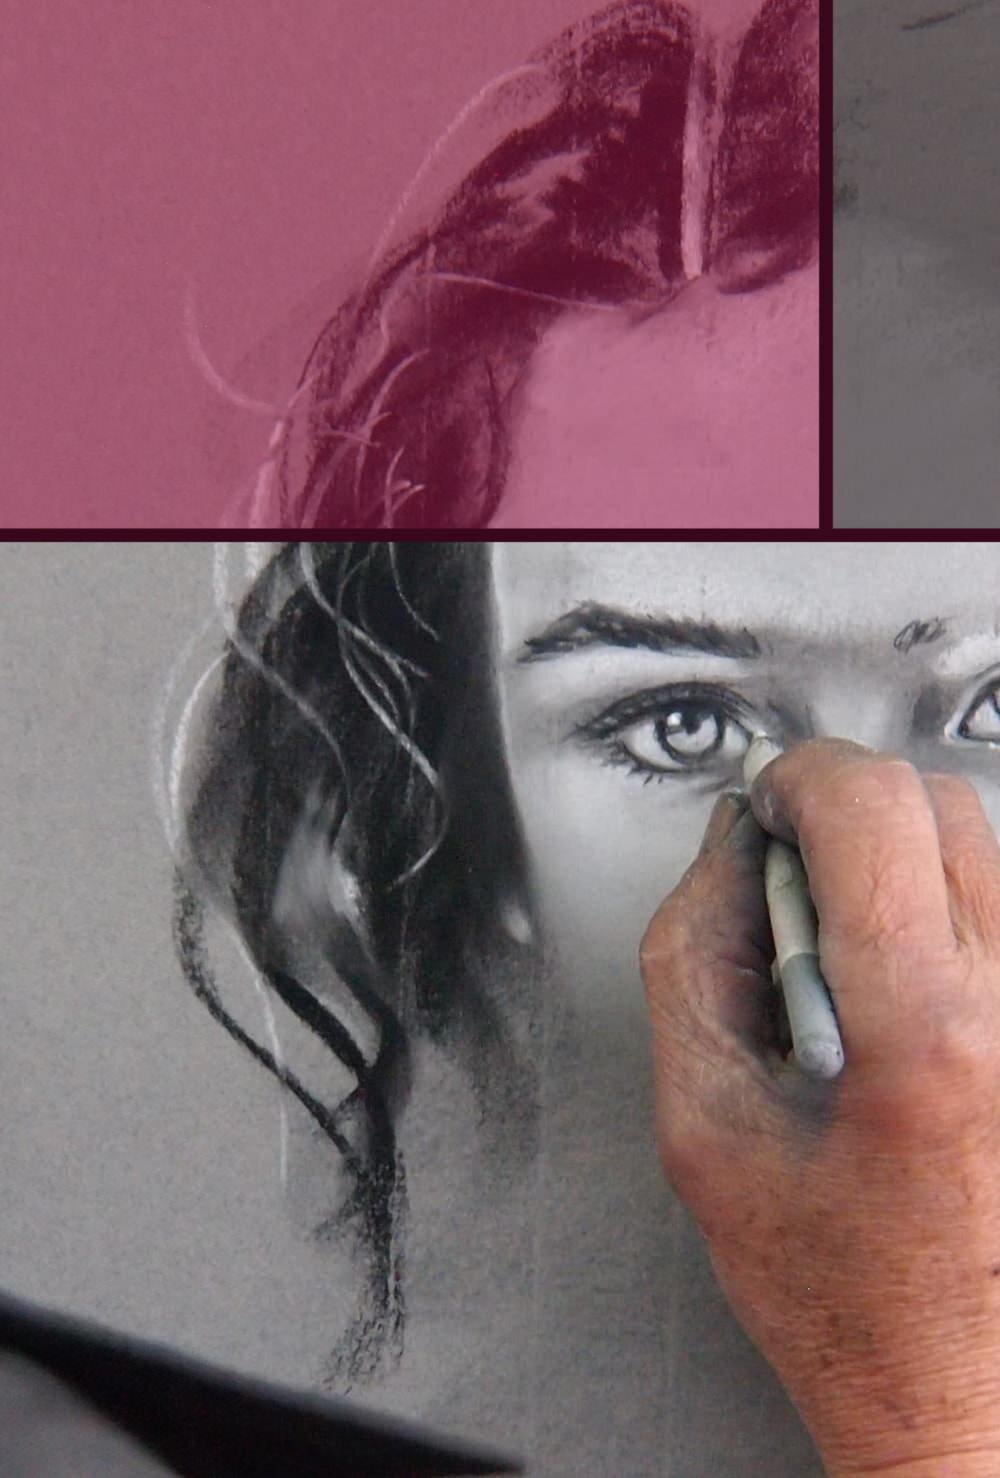
I have recently interviewed sketching artist Ch’ng Kiah Kiean, who has been drawing outside for decades and travels the globe to hold lectures and join sketchwalks. The perfect example of how to do it right.
Don’t forget my collection of architecture drawing posts, as I have written them specifically with Urban Sketching in mind. A little bit of simple perspective knowledge can go a long way if you're planning to draw streets and buildings.
In the spirit of the movement you might want to seek the company, online or in real life, of other urban sketchers.
One of the easiest ways to get in touch with other urban sketchers is to search social media for local groups near you.
Facebook is great for that, but you can also check meetup.com, which lets you search for groups by topic and distance to your location. For more tips visit my article How to Meet other Artists when you feel like Company.
The main Urban Sketching website is ideal to stay up to date about local, national and international events, such as symposiums, special lectures or publications. And it lets you keep in touch with urban sketchers all over the world.
Materials
What materials you bring depends on your own preferences for sketching media. The only guideline is that they should be portable, so you'll want to look for things that are compact and relatively light.
Ideally, you’ll be carrying your sketchbook around with you at all times, so it's best to spend a little bit more and get something robust. My personal choice of brand is Moleskine, because they come in many different sizes and the quality is amazing.


You might prefer loose paper, in which case you can just grab a good quality sketchpad. The last thing you want when working outside is some cheap paper that starts rolling up like a scared hedgehog with the smallest bit of humidity in the air.
There are specific sketch boards you can buy for extra support, but personally I do quite well with a simple piece of 3mm thick plywood (from the hobby- or hardware store) that I cut to size.
If you plan to use water colour or acrylics, you'll often find pocket-sized boxes specifically designed for mobile painting. Winsor & Newton have a nice selection.
To save some money you could build your own little set from an empty tin box, such as the ones that mints come in.


A bit on the heavier side but still super practical is this portable table easel, in case you don’t mind carrying or you’re usually out by car anyway. I actually own that easel myself, but for home use (so much better for the neck).
I do also recommend some bulldog clips to secure the kit and your sketchbook pages in case it’s a little windy out.
For more super useful materials have a look at my article 8 handy Tips for Drawing and Painting Outside and visit the tools-section on the website of sketching artist Ch’ng Kiah Kiean, who I’ve already mentioned above.
What’s a good location?
When sketching in urban settings there are a few things to look out for. If you like your peace and quiet when working it can be a bit of a challenge to draw outside, especially in bigger towns or cities in the summertime.
First of all, know and accept that there'll be people. Everywhere. Especially when you're naturally shy it's best to pick a quiet spot, a bit off the main walking routes.
I always try to sit with my back against a wall, because there's nothing more distracting than someone looking over your shoulder while you work (and a lot of people do).
This kind of sheltered position also comes in handy to avoid the elements, for example if you live in a naturally windy place.
You'll also want to stay away from roads with a lot of traffic, due to the CO2 you'd be breathing in if you sit there for any length of time, and the noise of course.
When you draw people, be extra careful not to offend. You won't disturb anyone's privacy or make them feel uncomfortable if they don't notice they're the subject of your artistic attention. But it can take a little practice to look without staring.
I don't usually ask permission when I draw someone, because it changes their natural posture if they know they're being watched. That's where those quiet nooks and crannies come in handy again.
A sheltered position, with your back against a wall will protect you from wind, noise and nosy bystanders.
Be mindful and discrete, but don't overthink it. If in doubt try train stations or shopping streets, where people are busy with their own tasks and often too distracted to notice you drawing them.
And finally, make sure you're welcome where you want to draw. Some places do like people loitering, or don't want you working with paints that might spill (just ask, if you're not sure). You'll always want to make sure you're not accidentally disturbing someone with your presence.
Some popular styles and techniques to try
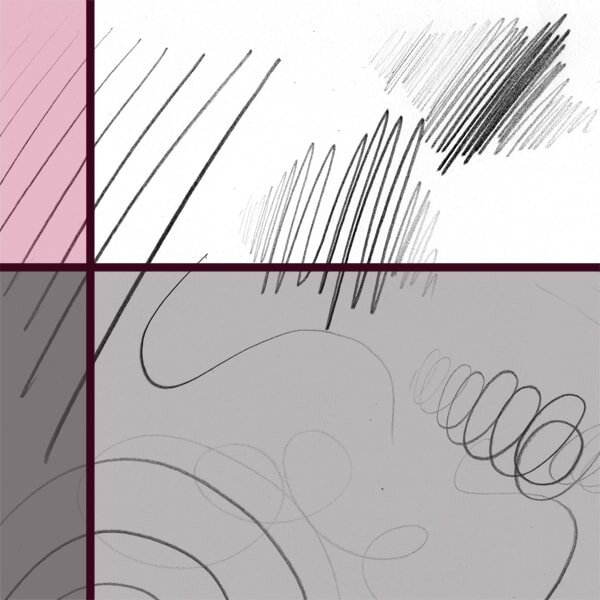
One technique that's super popular currently and looks really nice is to give lines purposely a bit of a squiggly look. Instead of drawing a line as straight as you possibly can try to draw it as if you were super cold and shivering a little.
It'll add interest to your work, especially when you're drawing architecture that is made up of a lot of straight lines, which can seem a bit boring on the page.
Another option is to draw lines a little crooked. This way any building you draw will almost look as if it's moving. Remember, Urban Sketching doesn't require accuracy, it's all about interest.
Lines that are completely straight in real life can often look more interesting on the page if you give them a squiggly or crooked look.
Sometimes the main focal point of your work will be a specific detail, like a pretty window or an elegant archway. In this case you'll want to spend most of your drawing time on that part, of course.
Other times it will be about the entire scene and its impact on you, so you can spend an equal amount of time on each part of the sketch.
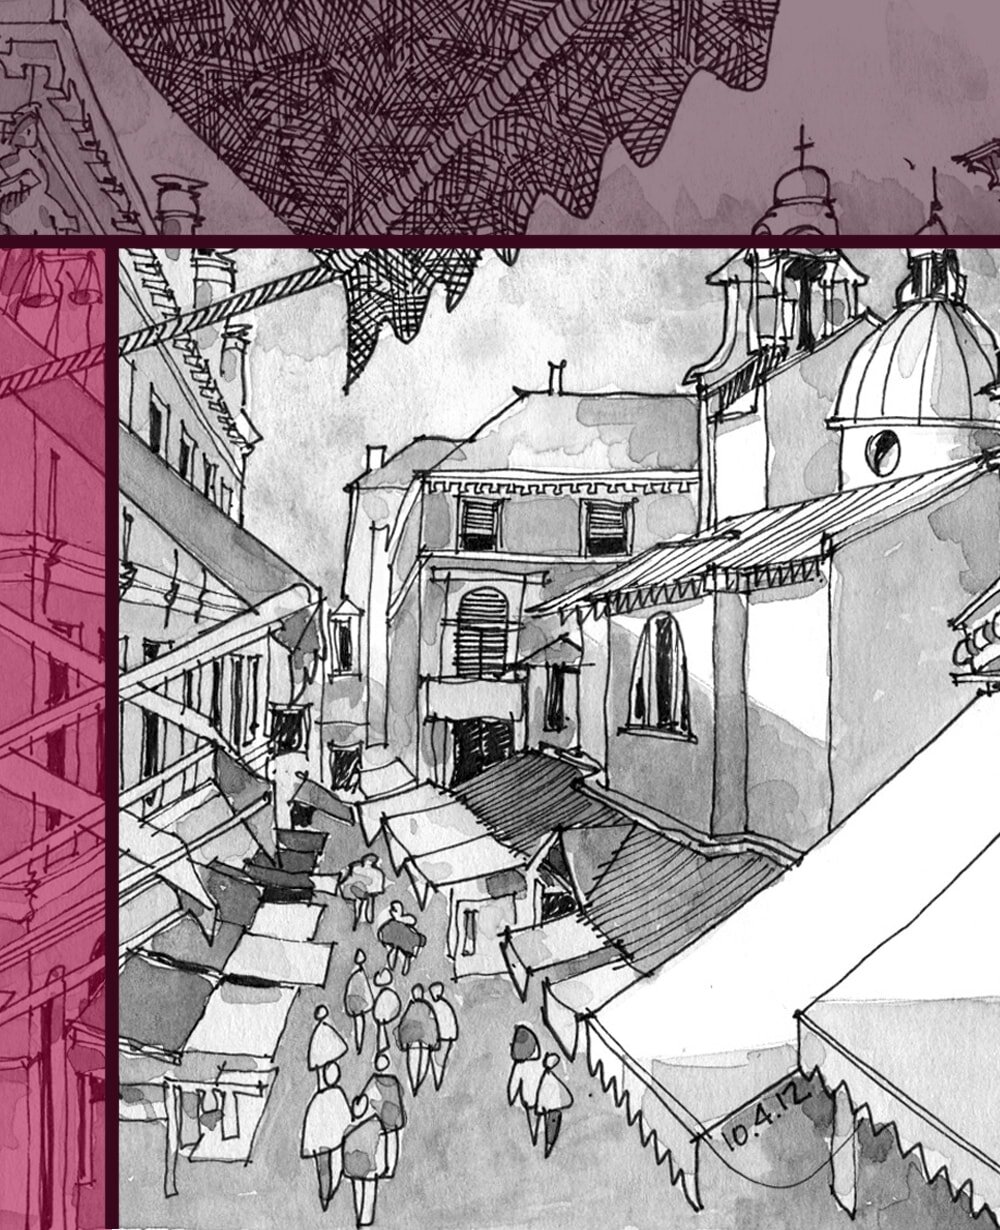
For example, it can work really well to go a little overboard with the detail for a busy outdoor market or bazaar. The busier your sketch the better you can convey the feeling of the bustling, lively atmosphere.
That said, leaving some parts to the imagination and only drawing some of what you actually see looks absolutely amazing and can often be a lot more intriguing than drawing every little detail.
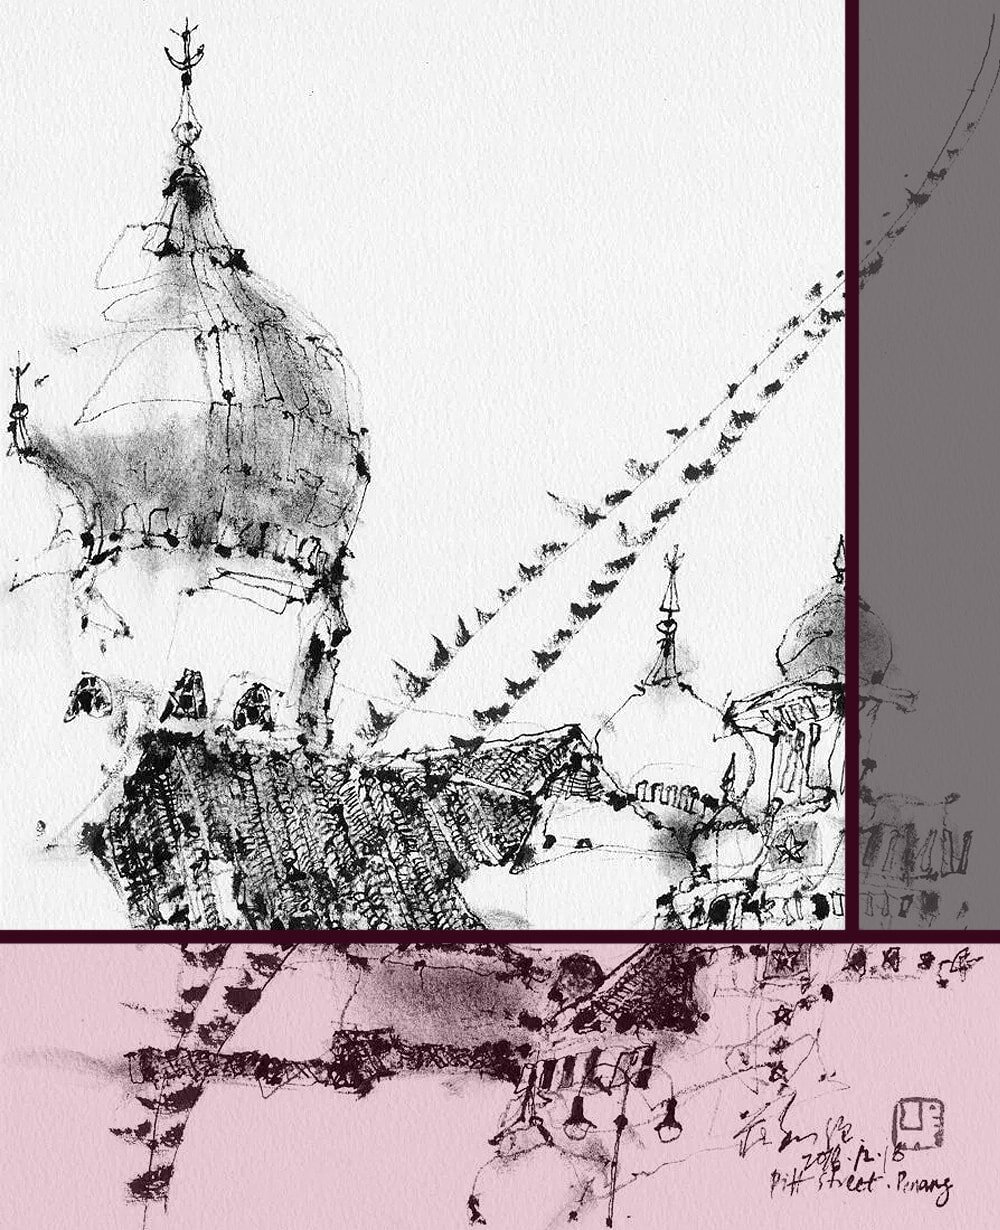
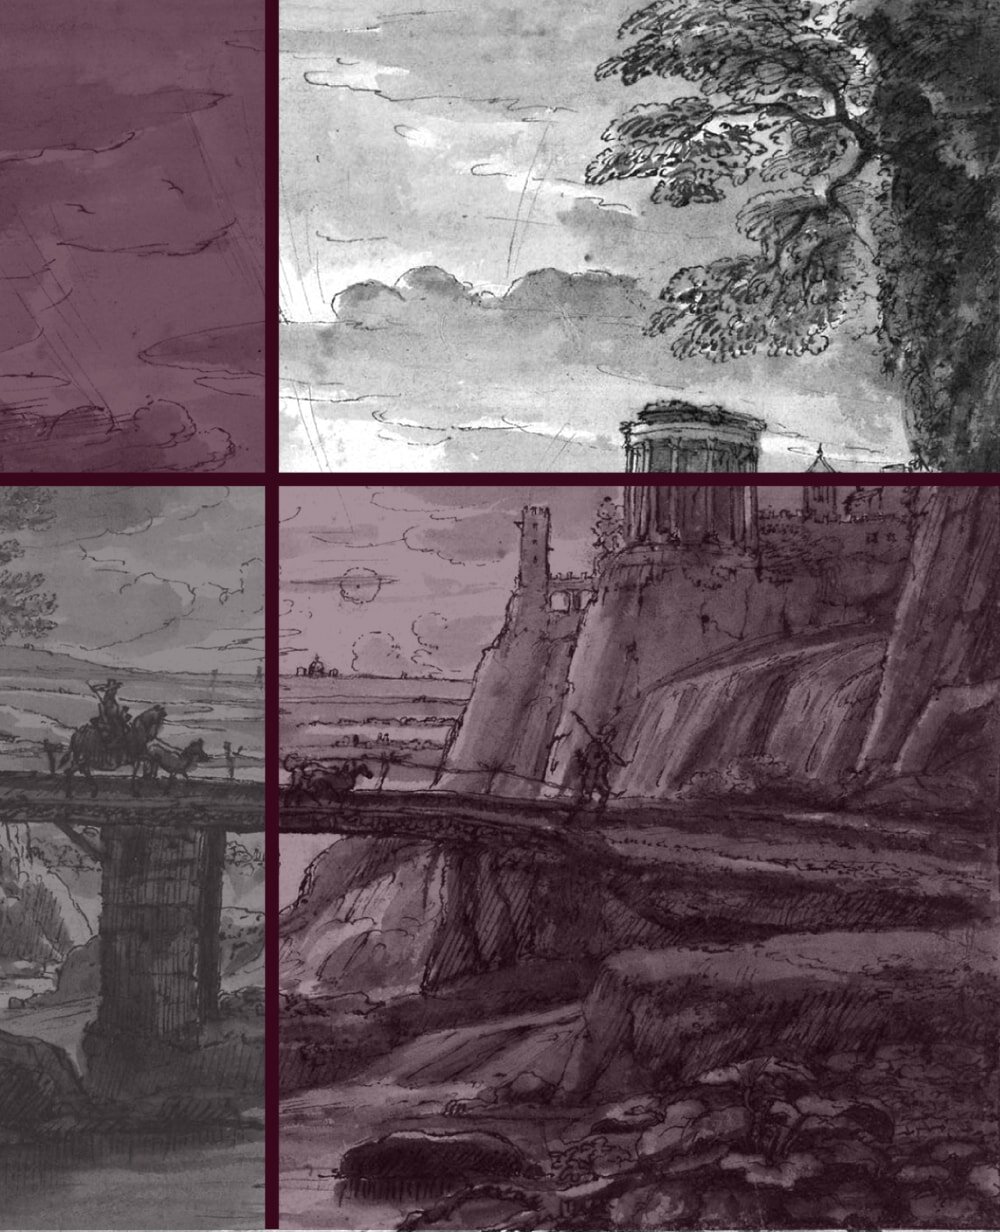
Standard Charted Bank, Beach Street, Penang (2010) by Ch'ng Kiah Kiean is a great example for a composition that leaves some parts to the imagination.
Close-ups of certain details are another great subject for urban sketches. For example, specific architectural details, even if the rest of the building doesn't interest you.
For more tips pop by my article 8 simple Steps to Draw interesting Streets and Buildings.
An urban sketching exercise
Especially in urban areas there is a lot of information coming at you at all times. You'll hear traffic, sirens, construction noises, there'll be smells, people walking past you and just a lot happening all at the same time.
And the subject you've chosen might be just as busy. You might see many houses, signs, cars, pigeons, more people. There are things lying on the floor and hanging on the walls. If you were to try and draw all that you'd need all day for just the one sketch.
Urban scenes can be a bit overwhelming and it needs some practice to decide what you want to focus on, and block out what you don't need just now.
Before you start take a moment and have a good look at what you're about to draw (or paint). Take it all in, don’t rush. Then describe the scene in two or three full sentences.
For example: ”I can see a row of pretty, historic English houses with brightly-coloured shop fronts on either side of an uneven cobblestone road. Ground, walls and windowsills along the road are decorated with lush plants. It's a sunny day and there are walkers in the distance.”
Once you've done that it'll get a bit more difficult. Try to shorten the description to 3-5 independent words.
In order to do that you'll need to be able to identify the most important parts of your description. That is, important for your sketch. What is it that you find most interesting about the scene? What do you want to focus on?
In the above case, the words might be: uneven, cobblestone, lush and sunny. It could have been “brightly-coloured” as well, if you are using paints.
See how most of these words are adjectives? That's because they're super useful to stir the sketch in the right direction and they can best help you capture the essence of your subject.
This exercise shouldn't take you more than a few minutes, but it'll make all the difference in your work later on.
For more tips and tricks have a look at my other Urban Sketching articles.
Now then, happy urban sketching!


Did you enjoy this article or feel like you have anything else to add? Feel free to leave me a comment below!
If you like this post, please share it, so others may like it too!