How to create a Drawing or Painting in 9 simple Steps
Following a tried and tested workflow to create a piece of art can be immensely helpful and a huge time saver for hobby artists and professionals alike.
It sounds restricting, but having your own set process will actually give you more scope for creativity, and lead to better results.
Especially beginners often have trouble working out what to do first when starting a new drawing or painting. They end up trying to do too many things at once and completely overlooking others.
You can find a free one-page summary of this article to print out at home on my Buy Me a Coffee page.
What is this workflow for?
This workflow, from observation to the finished piece, can be used for any work of art that isn't a quick practice sketch. Even then, a lot of these steps still apply and can give you a better outcome if you take a few extra seconds to go through them.
It's based on a very simple principle. The process of making art involves a lot more than just applying pigment to paper, no matter how skilfully. The head plays as important a role as the hands; and it should start working long before your fingers.
Claude Monet Painting by the Edge of a Wood (1885) by John Singer Sargent. Photo © Tate, CC-BY-NC-ND 3.0
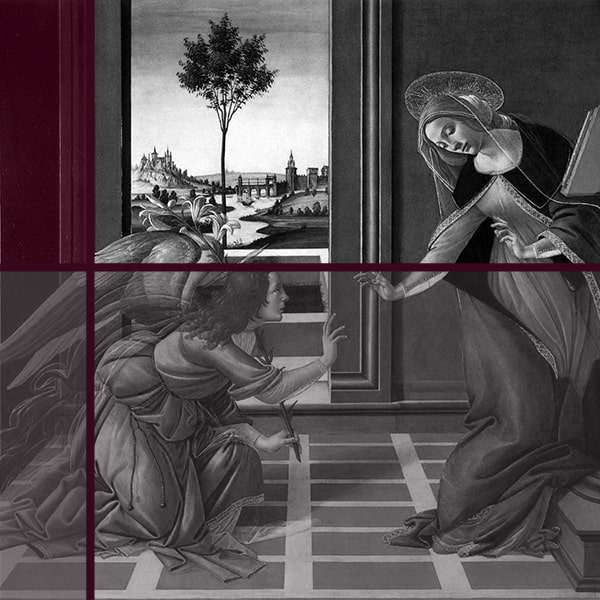
First, you should just observe your subject. Then you’ll want to think about how to draw it, and only after that should you start setting down the basic shapes onto paper.
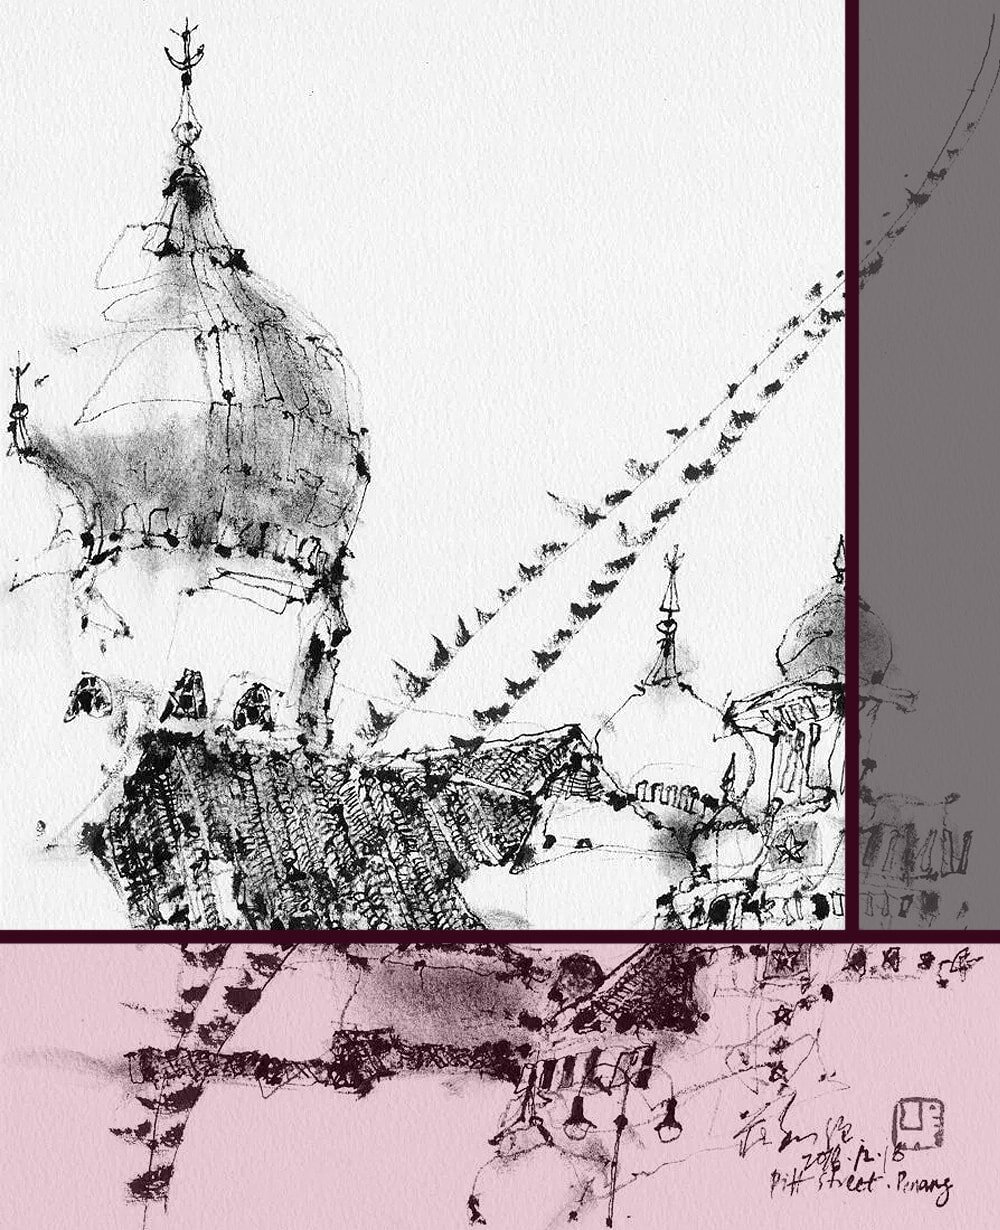
Or, as professional sketching artist Ch'ng Kiah Kiean would say: "See, think, draw".
These steps will work well for drawing or painting anything you see in front of you, be it a basket of fruit, a landscape, or a person.
But they're also incredibly useful when you're working strictly from your imagination. Just that, of course, in this case the 'seeing' part happens inside your head.
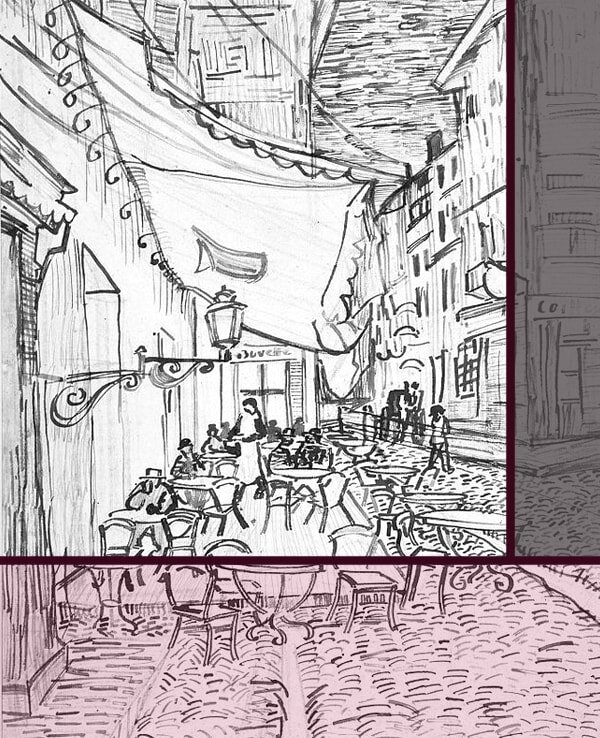
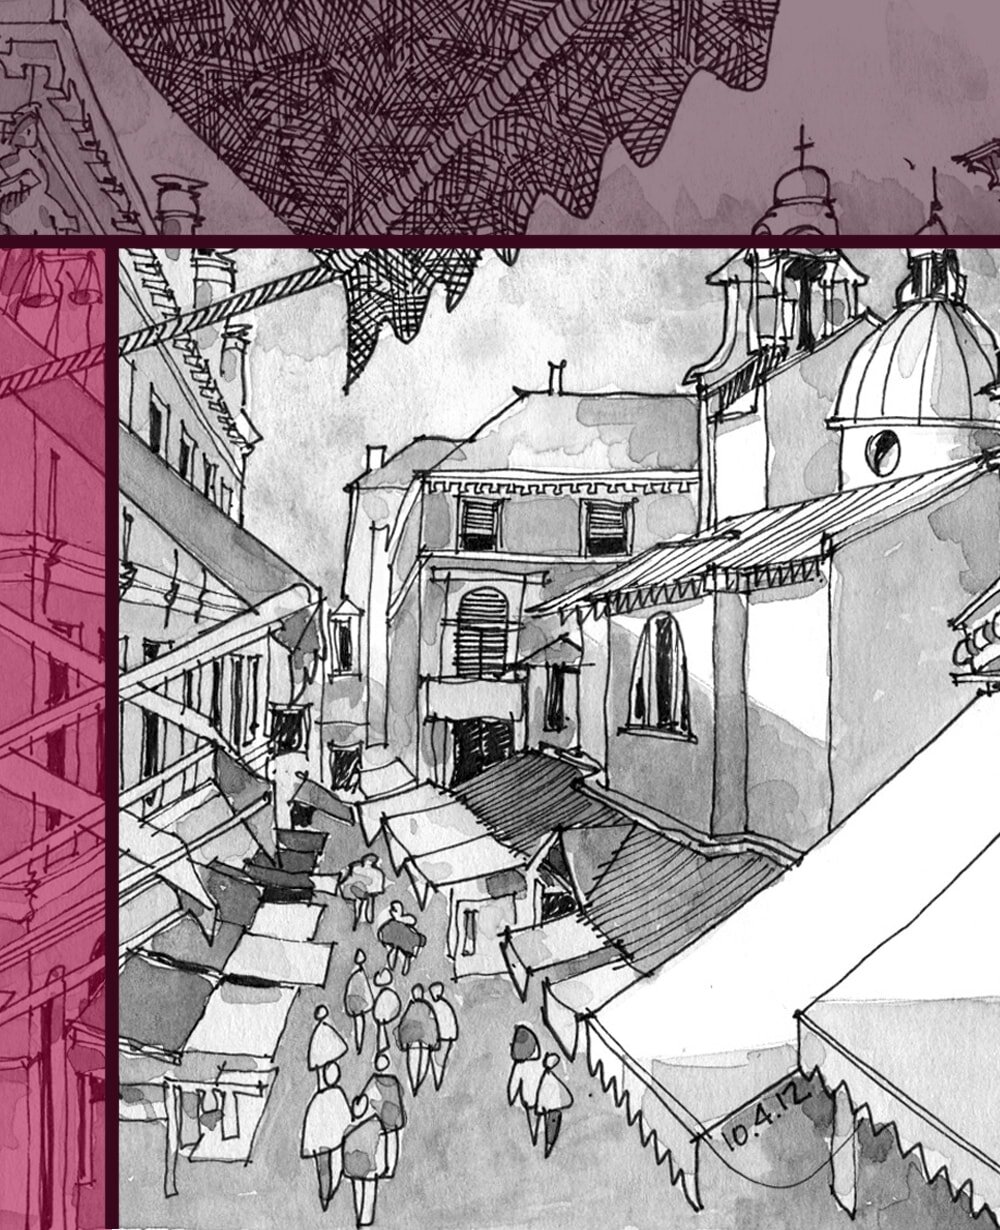
If you are looking for some extra advice on how to work with specific subjects, I have written some supplementary articles. 6 Easy Steps to Draw a captivating Still Life and 8 simple Steps to Draw interesting Streets and Buildings are an excellent addition to this post.
For the process of making art, your head should start working long before your hands.
I have divided the workflow into nine Steps, that I hope you’ll find helpful. Some of these steps might take only a few seconds, or they might take quite a while. It depends on your level of experience, your preferred way of working, and how elaborate your composition is meant to be.
1 Take it in
One of the most common mistakes in making art is to take up the pencils or brushes the second you find an interesting subject.
Instead, before you even think about making the first stroke, give yourself a moment to take in the entire scene, not just your subject itself.
Try to feel, rather than see. You don't want to draw a house, but the effect of that house on you.
Taking the scene in first, with its sounds and smells, will improve the quality of your linework later.
It's super helpful to try and describe the scene in a few words. Adjectives, such as ‘smooth’, ‘calm’ or ‘gloomy’ work particularly well.
Your lines and strokes should transmit this feeling, so what you draw is as important as how you draw it. If you want to convey a feeling to the viewer, you're going to need to do more than just faithfully copy the subject.
Try to feel, rather than see. How does the scene make you feel? Calm? Excited? Anxious?
Concentrate on your other senses as well, especially when you’re drawing outdoors. What are the sounds that surround you? How about the smells? If you're drawing from a photograph, try to imagine all of these.
The simple process of taking in the scene and letting your hand be guided by your senses will flow into your work and make it all the better.
2 Observe
Now that you have ‘connected’ with your subject, you should consider its potential as a piece of art. Give your mind a moment to adjust and look at the scene like an artist would.
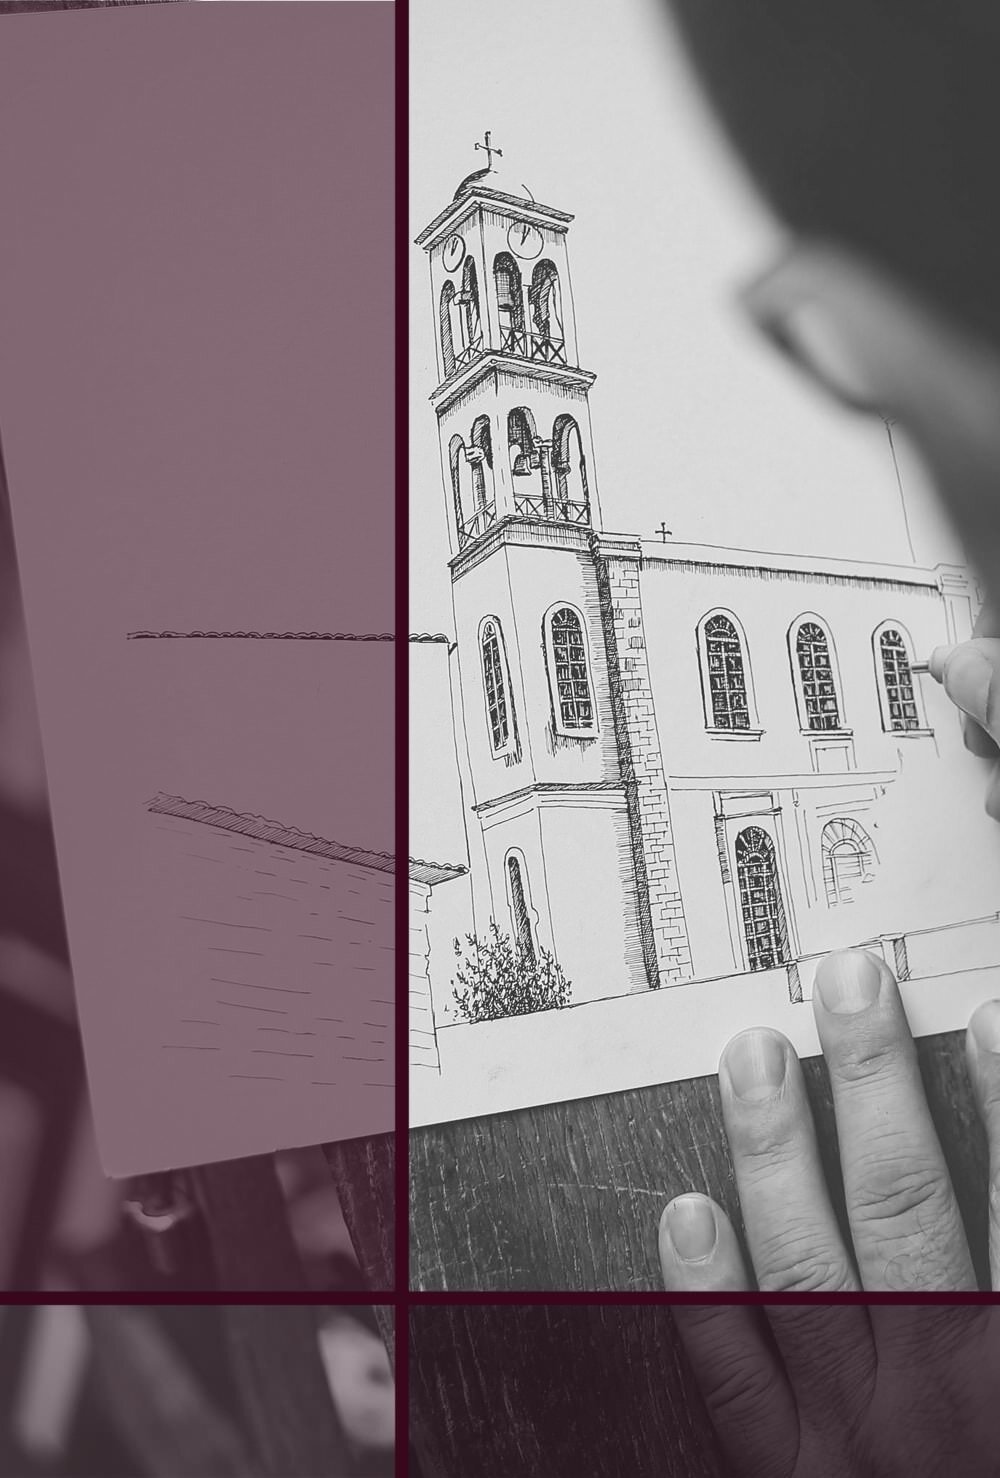
Take your time to visually observe your subject, from the main shapes to the smaller details.
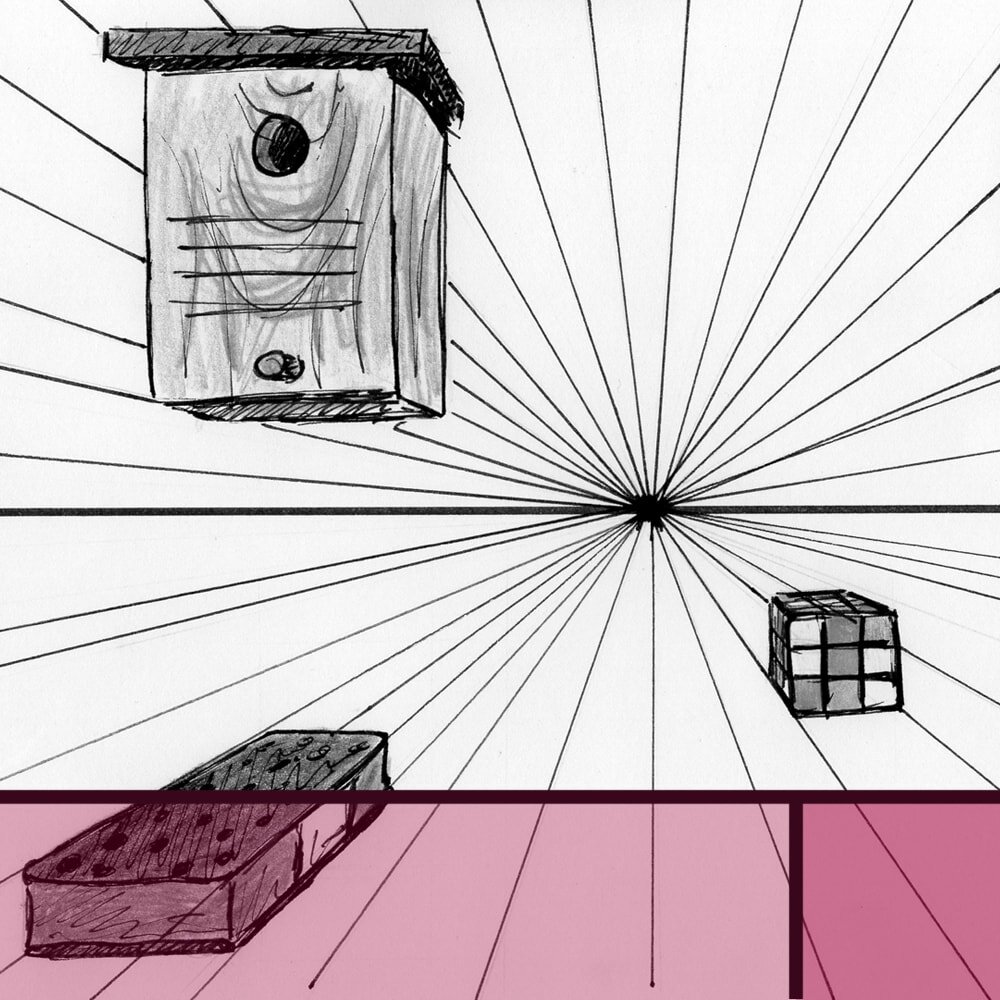
See if you can figure out the eye level, vanishing points, and main convergence lines. If these terms are new to you have a look at my article about One-Point Perspective.
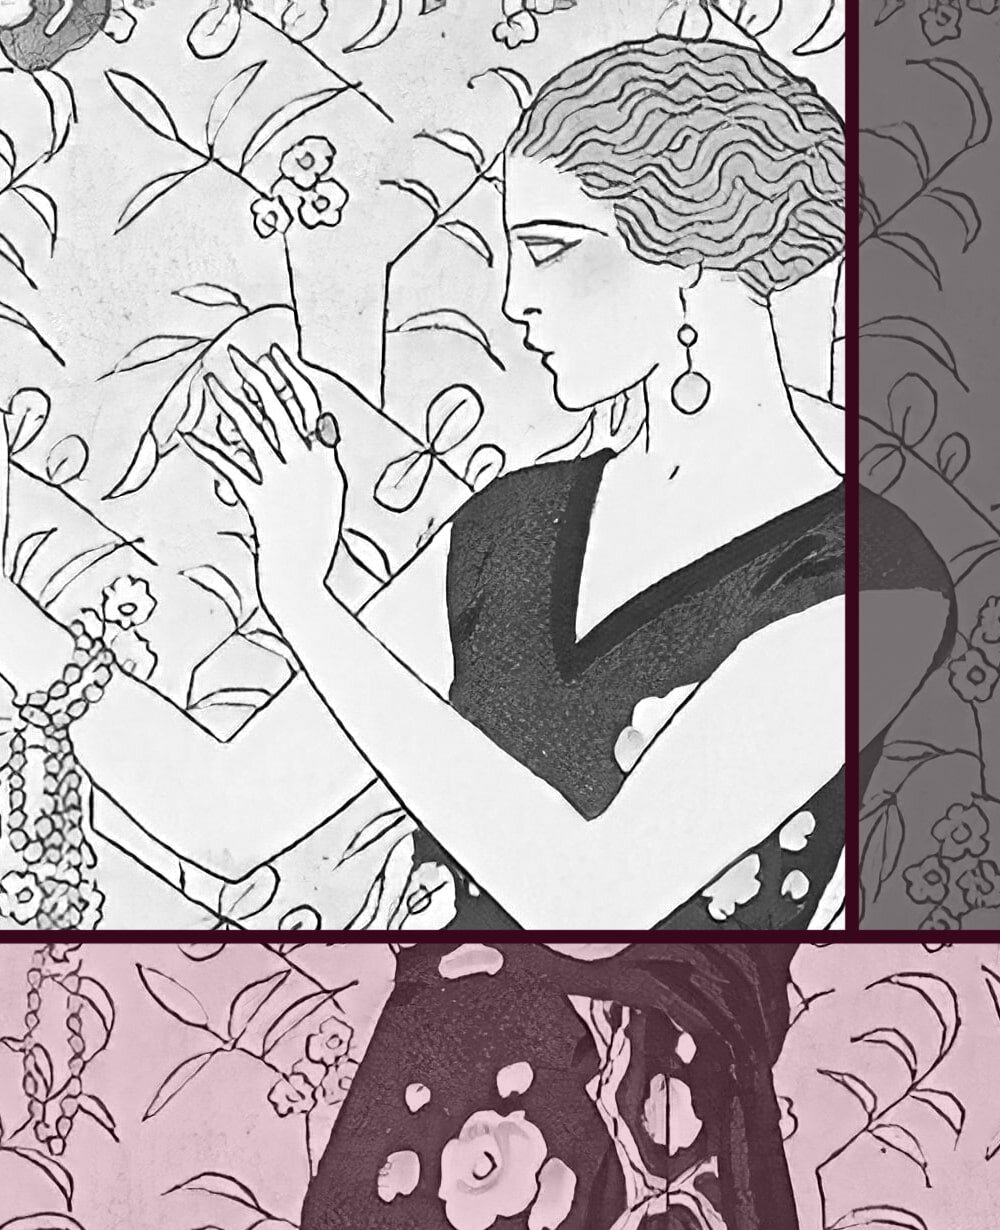
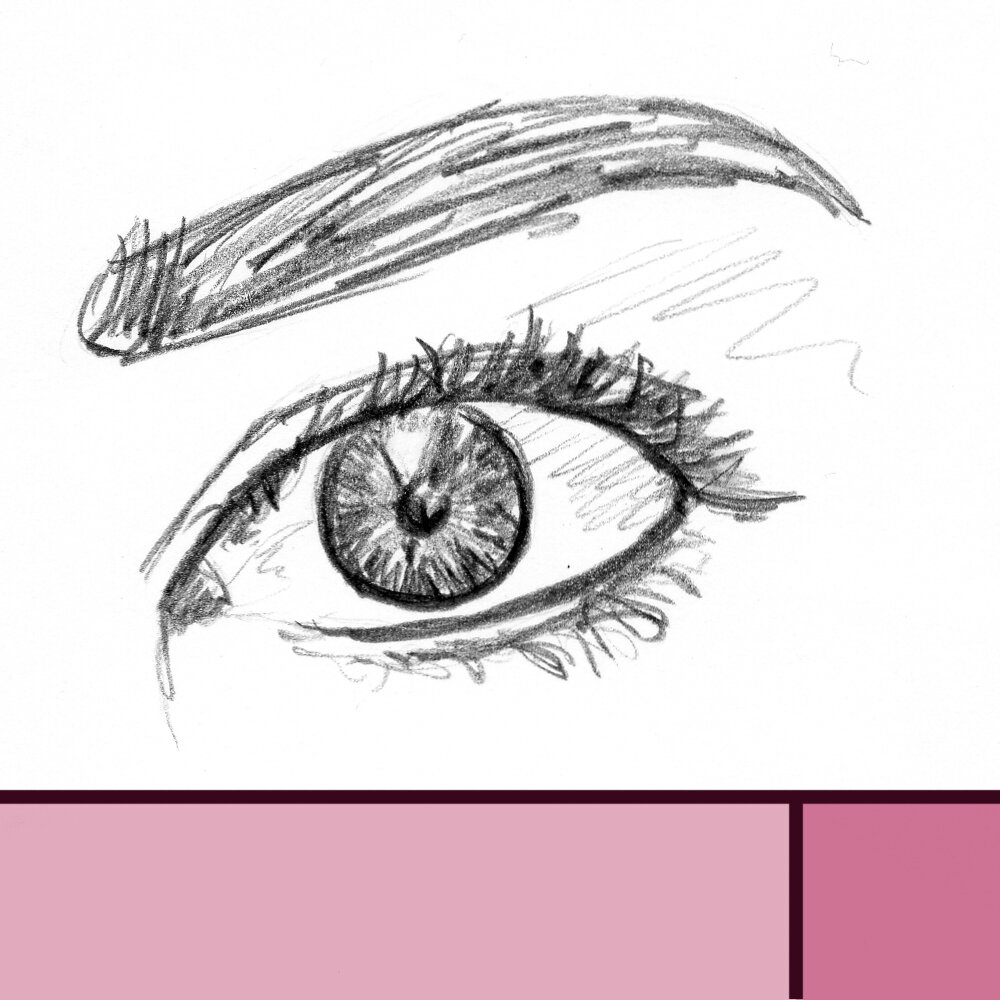
Are there any natural focal points you want to work with? If you're drawing a house, perhaps it has pretty shutters or flower decorations on the windowsills. If you're drawing a person, what's the feature that first caught your eye?
Consider what makes the subject intriguing to you and use that to ‘lure’ the viewer in.
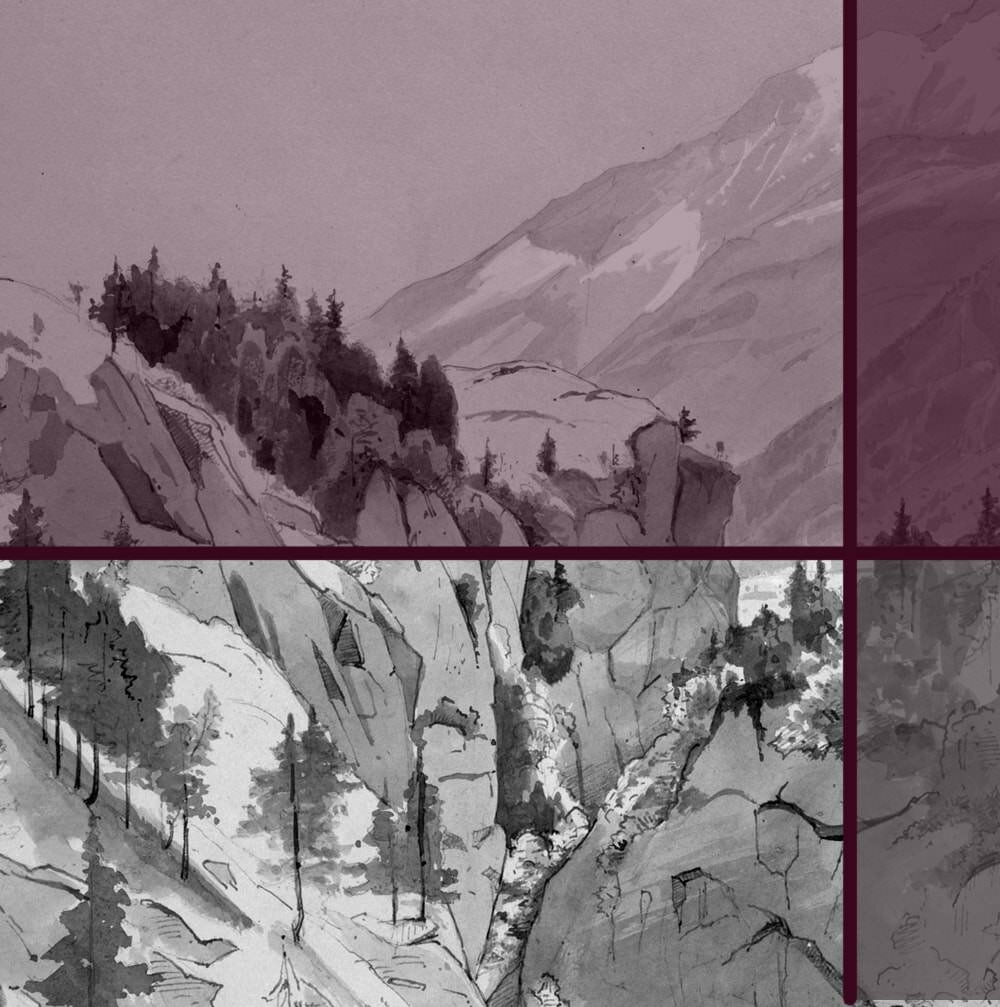
You'll also want to work out which direction the light comes from, as that'll be an important factor later. Is there one light source or several? What kind of light? Is it crisp afternoon sun or a fuzzy fireplace?
What are the colours like? Are they dim and muted or bright and vivid? Is there a lot of contrast?
It can take a while for your brain to switch into ‘artist-mode’ and notice all these things.
We tend to block out a huge amount of visual information in our everyday life, because it is not important for going about our day and would overload our system, so to speak. Imagine you'd see every detail, every texture and convergence line of every building you walk past on your way to work. You'd arrive at the office exhausted.
But for making art you do want a lot of these details, so it's good to give your brain a heads-up and ask it to switch gears.
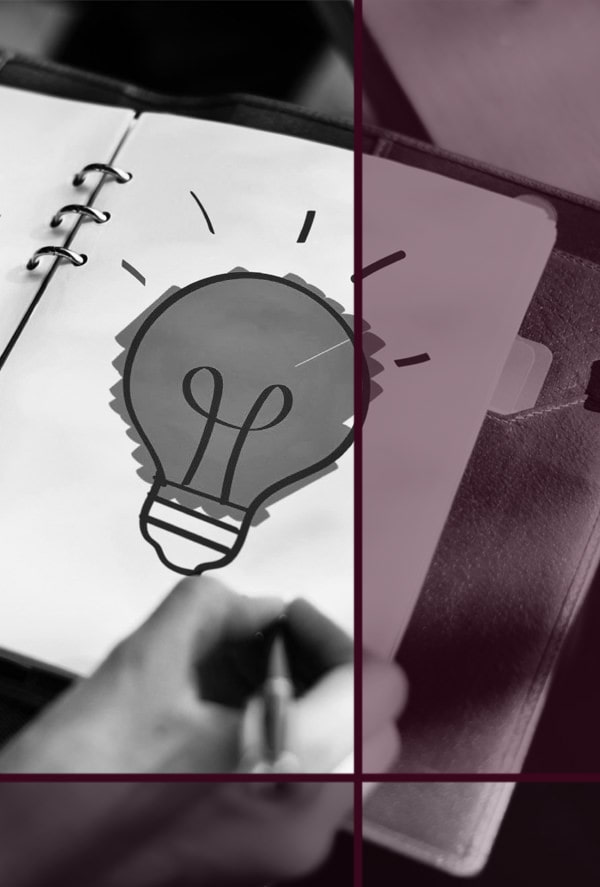
3 Think
You know your subject pretty well by now, so it's time to make some artistic decisions. This step is proof that making art involves a lot more than just copying what you see in front of you. You need to think about your composition, and decide which parts you want to focus on, hint at, or leave out completely.
What style, techniques, and media will you use? Even though you might have your favourites: experiment. Adapt your style and materials to suit your subject. Which will best bring out its essence? It'll help if you refer back to the words you described your scene with in Step 1.
Once you’ve got to know your subject, it’s time to work out how your viewers might get to know it, too.
What kind of colours will you use, if any? Will you go dark and strong, light and fuzzy, or something in between? Will you stay true to the original or change the colour palette? Should you follow any mathematical design rules? What will your viewpoint be?
There are endless points to consider, but a successful composition does not need to be overly complicated. Think about it, but don’t overthink it. If in doubt, the artist in you will guide you, as long as you’re open to listen.
Pop by my article Composition in the Arts: How to plan a Drawing or Painting if you want more detailed information and specific tips and tricks.
4 Prepare
At this point your next masterpiece is already well on its way, and you haven't even sharpened your pencils yet!
Now it's time to ensure you can work in a productive environment without too many distractions. So, we're going to make some preparations.
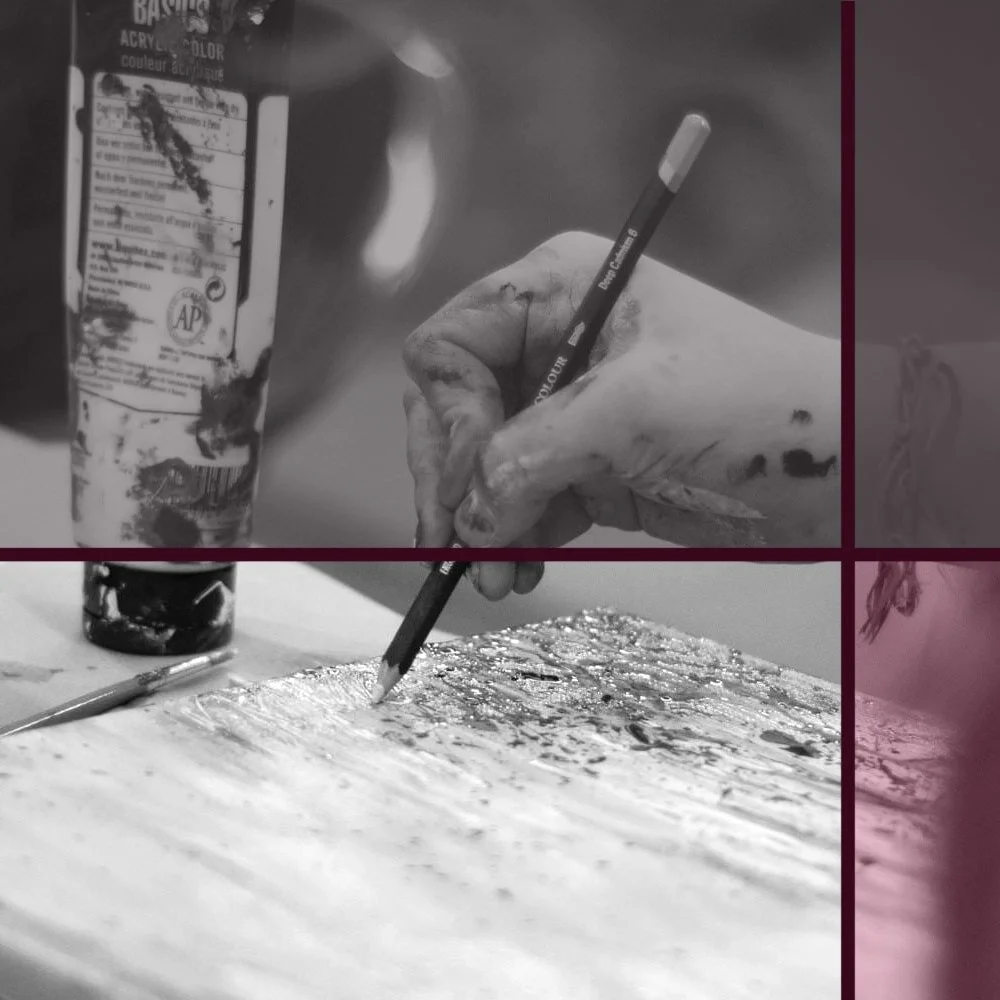
First of all, you'll want to collect all the materials you need (or might need) and arrange them so they’re easily accessible. That includes your pencils, paints, brushes, canvas, scrap paper for practising, sharpener, whathaveyou.
Nothing is worse for concentration than having to constantly get up and find stuff you don’t have handy.
Personally, I prefer to have everything ready to go in a portable box that I can just take from the shelf, but caddies (such as IKEA's RÅSKOG) are also great for that if you need more space.
Naturally, you’ll also want to try and find a relatively calm and quiet spot to work. If you’re drawing outside, that might be away from too much foot traffic and adverse weather conditions.
Having all your materials ready is important for concentration. Store them handy in a box or a kitchen trolley.
If you're planning to draw or paint for quite a while, I also recommend having a beverage and snacks at the ready, just in case you're feeling peckish halfway through (I love my thermos flask for a nice cuppa while I work).
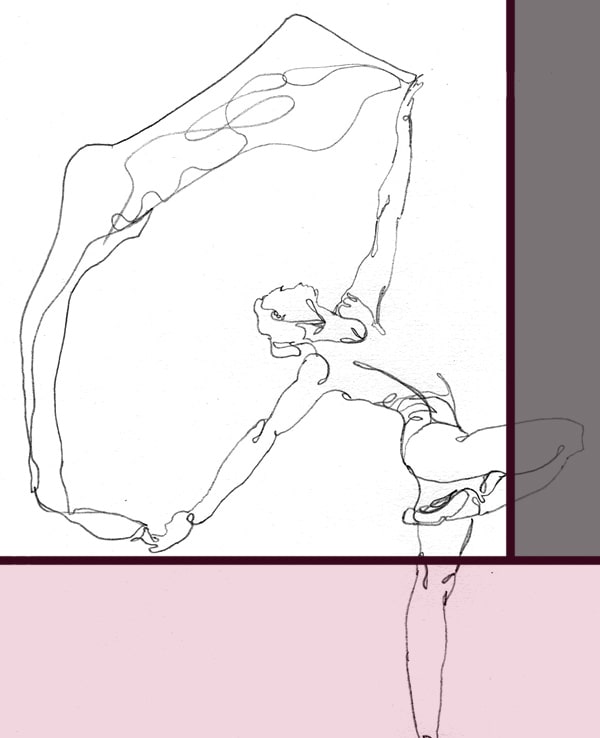
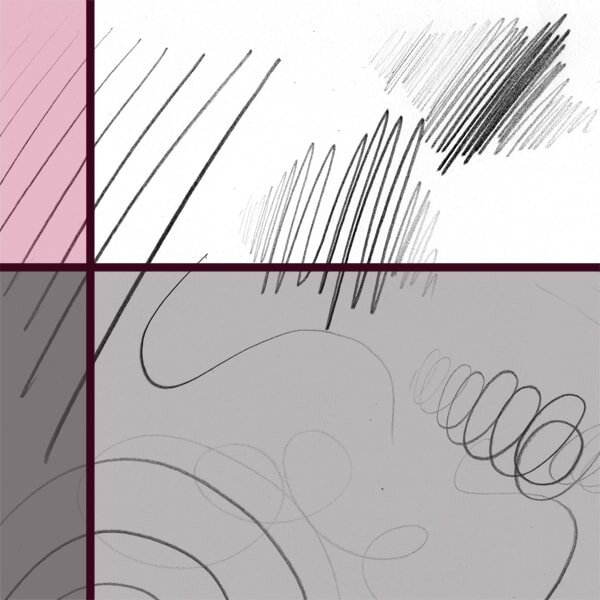
And of course, as my regular readers will know, I'm a great advocate of the ‘warm up before you go go’-principle. Nothing improves the quality of your linework like a couple of easy warm-up exercises.
5 Remember
Now that you're all prepared and ready to go, it's best to take just a few more moments to remind yourself of some important points you're likely to forget while you're working.
Any artist should have a list of the best pointers and advice they have ever read or received and keep it somewhere visible, to refresh your mind. Sort of like a cheat sheet.
It's much the same thing as reminding beginner athletes to breathe correctly, or to keep their leg turned out the right way. After a while you'll do it automatically, but until then it's good to have it regularly pointed out.
A cheat sheet with a couple of pointers can help to refresh your mind before you start working, and improve your art in the process.
What you want to remember depends entirely on you and how you work. It can be things like "work from the shoulder, not the wrist" or "keep up the speed", or it can be much more specific.
One or two artsy motivational quotes can also do wonders, if you're likely to get frustrated somewhere along the way and might need a reminder to see it through and not give up.
6 Basic shapes
Now you can finally begin the more manual part of making art. In most cases you’ll want to start by making a rough underdrawing to get the basic proportions right.
Thinking of your subject in terms of simple geometric shapes will make this process a lot easier. Almost any subject can be simplified with standard shapes, such as spheres, pyramids, or cylinders. They don't need to be super precise or make up your subject entirely, but in most cases they'll cover a fair chunk of it.
Simplified geometric shapes are great for getting basic proportions of any subject down on paper.
For example, if you're drawing a mosque, you might have a cuboid (rectangular cube) for the main building, perhaps a couple of cylinders and cones for the towers, and half a sphere for the domes.
If you have trouble seeing any shapes, try squinting your eyes. It'll blur out a lot of distracting detail.
Keep your movements free and your lines light, relaxed and flexible (make use of that "draw from the shoulder" pointer from Step 5).
Then, bit by bit, you can start making corrections. You can break larger shapes into smaller ones and go over your work several times until you are sure you have the basic placement, perspective and composition right.
The Blue Mosque in Istanbul, Turkey, is essentially just a collection of cubes, cylinders, cones, and half-spheres.
Simple underdrawing of a mosque showing the basic shapes. Lines have been darkened for clarity.
It pays to take your time with the underdrawing. Don't move on until you're sure you have the basic proportions right, or it'll cause trouble later on.
Keep in mind that too much detail in your underdrawing can make the finished work look a bit stiff. Unless you're creating hyper realistic art, it's better to be a little less precise at this point. Make sure you add just enough ‘markers’ to guide you and keep you from having to stop and reassess the placement of major components later, but no more.
Not everything needs to be exactly in the right place in the end. Remember, you're making art, not creating a faithful copy of reality.
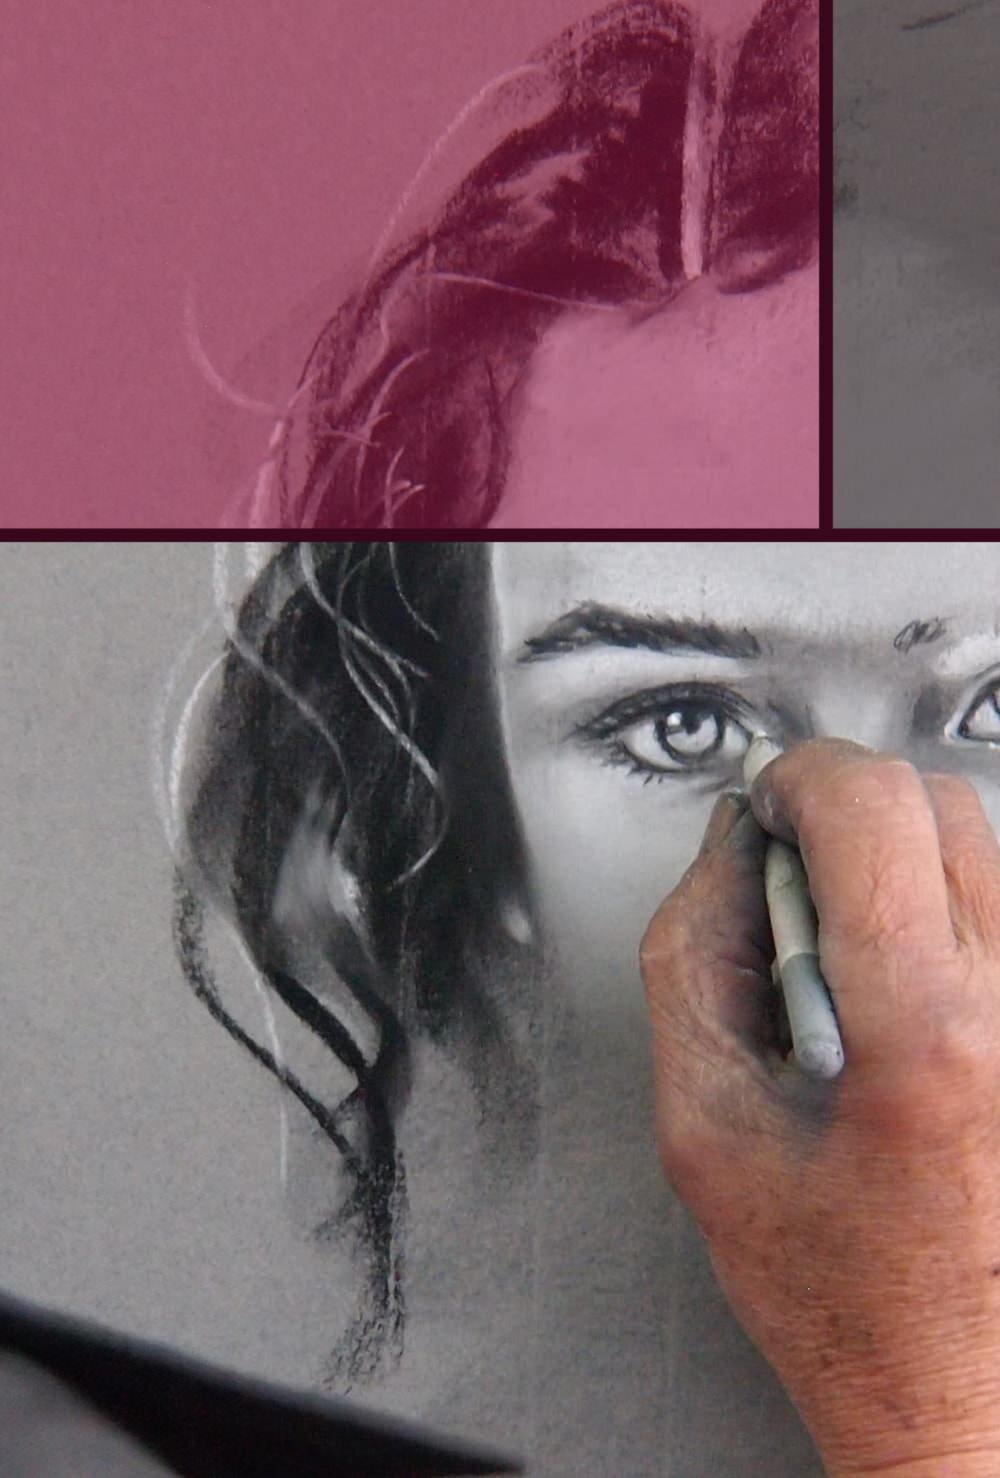
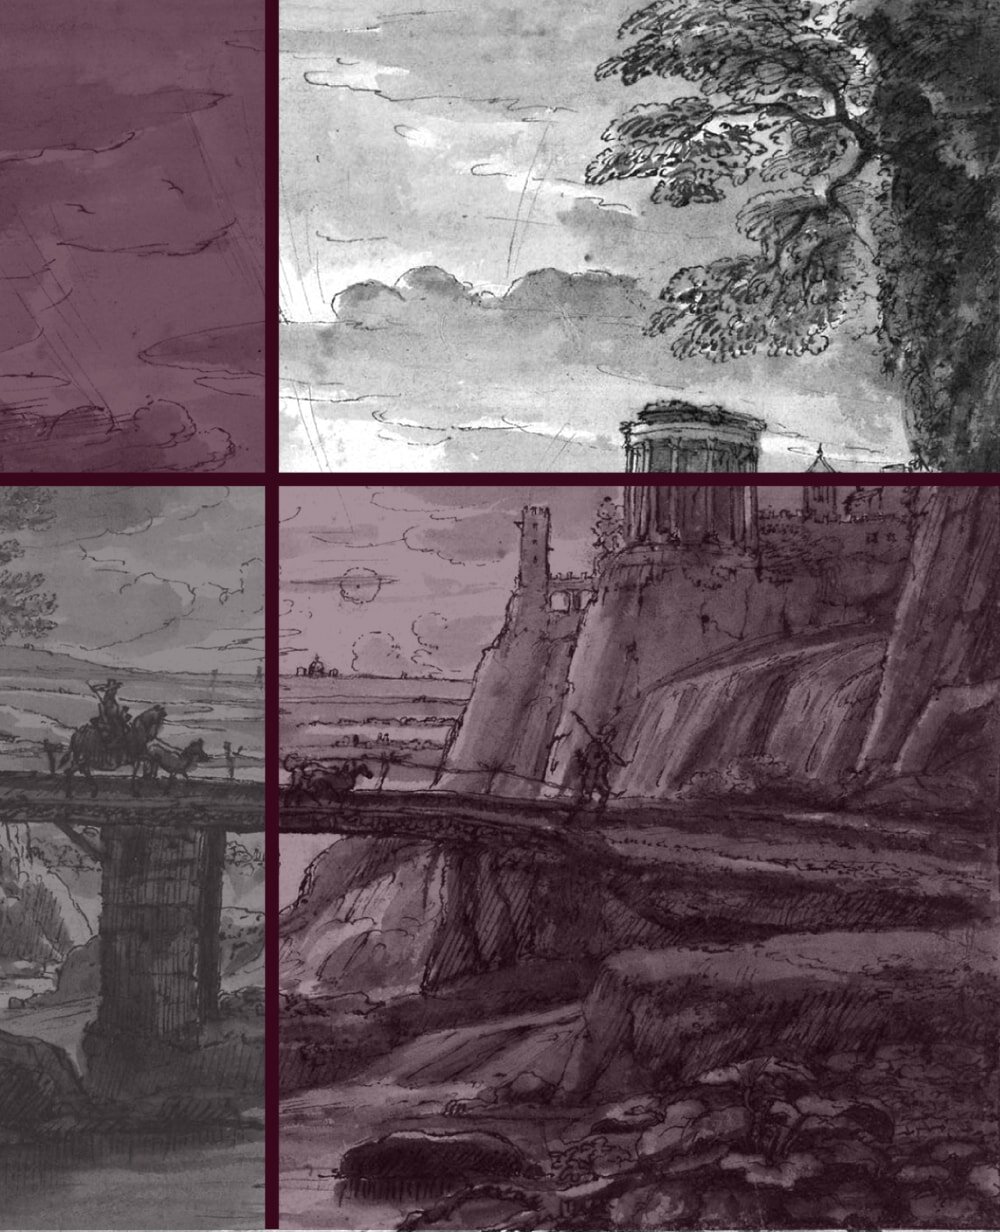
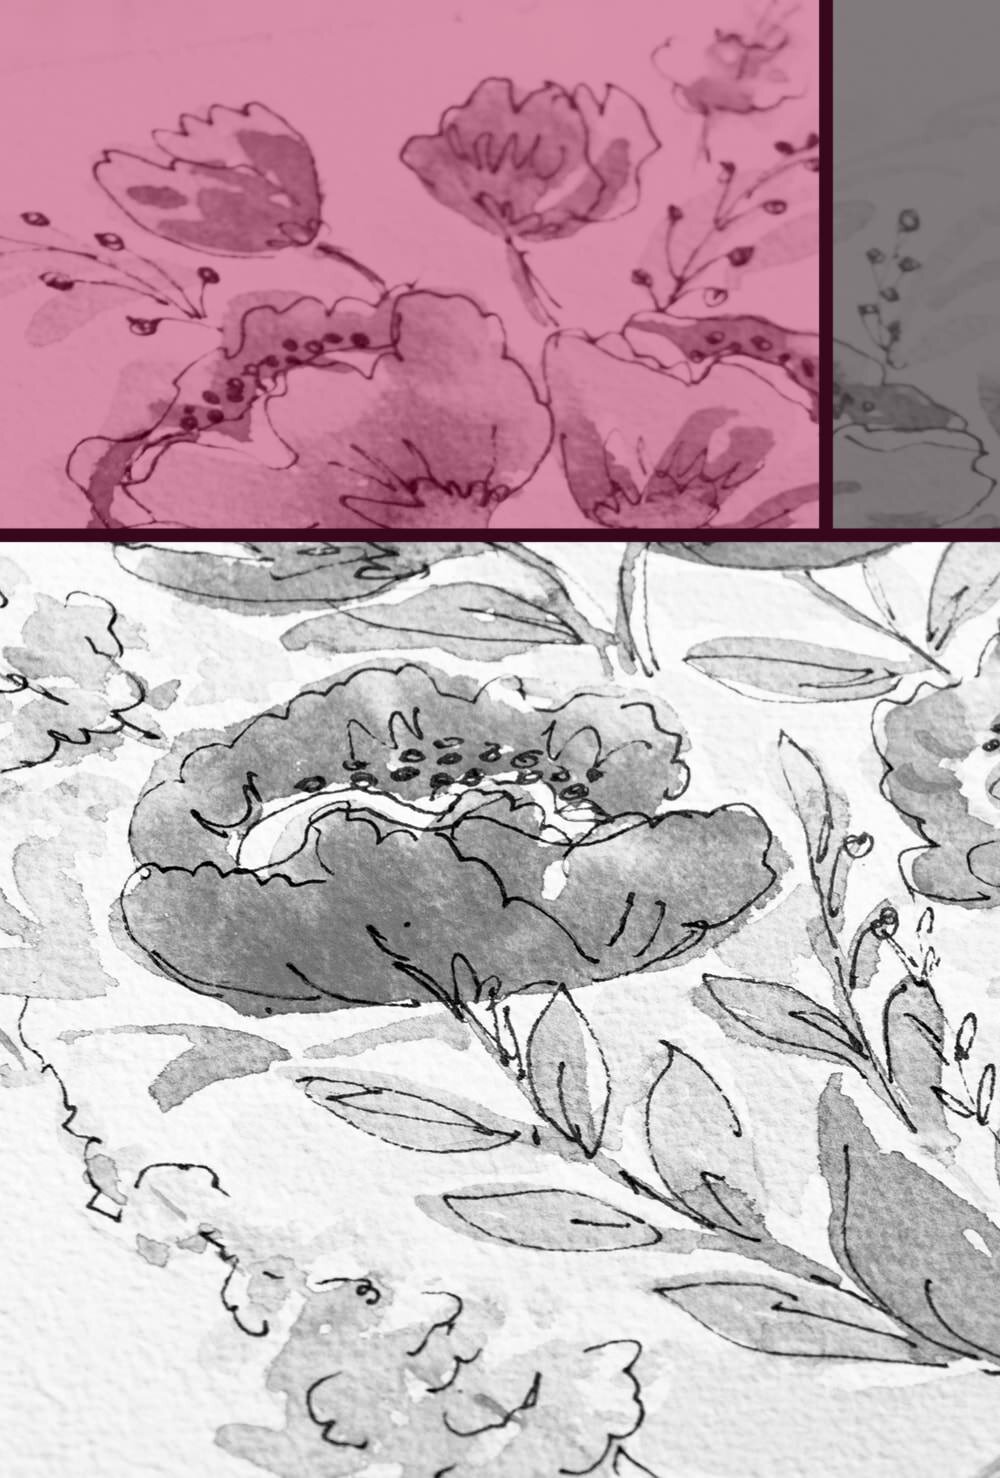
7 Refine
This step will likely take you the longest as it entails everything between your underdrawing and the final touches.
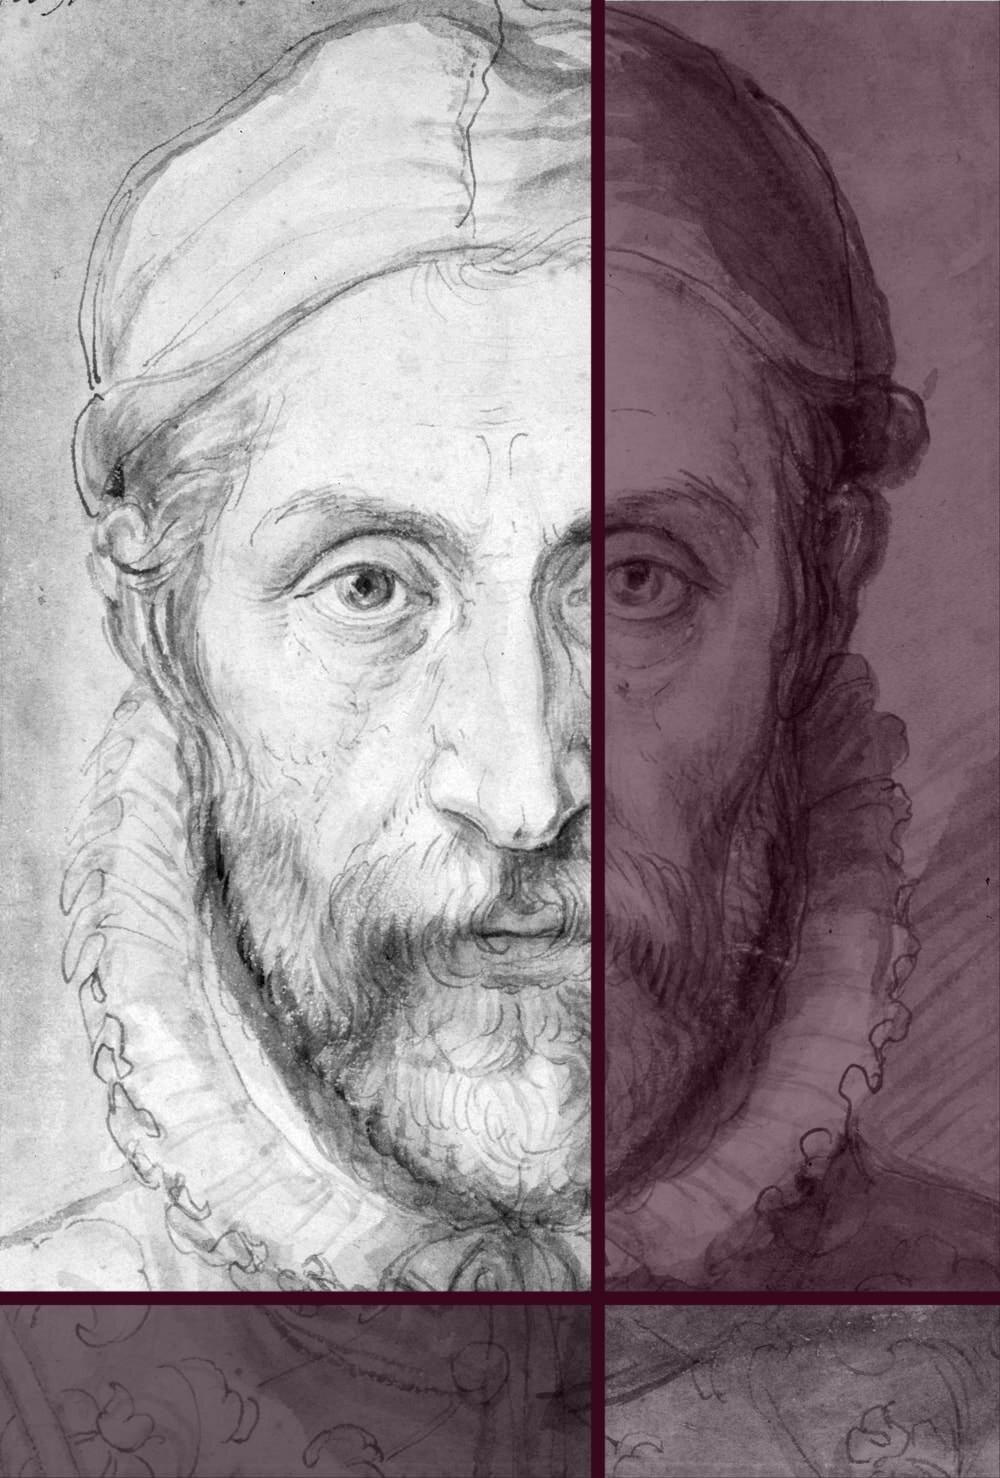
You'll now start using darker lines and gradually adding more and more detail.
I won’t go over every step of this process as it is unique to each artist and depends a lot on your style, medium and technique (for example, you may or may not use shading in your work).
Whatever the style, it's usually a good idea to work in layers. This means that you'll add more and more detail to the entirety of your work in several stages, rather than concentrating on one specific feature after another.
No part of the work should ever be more finished than any other (unless it's part of the composition).
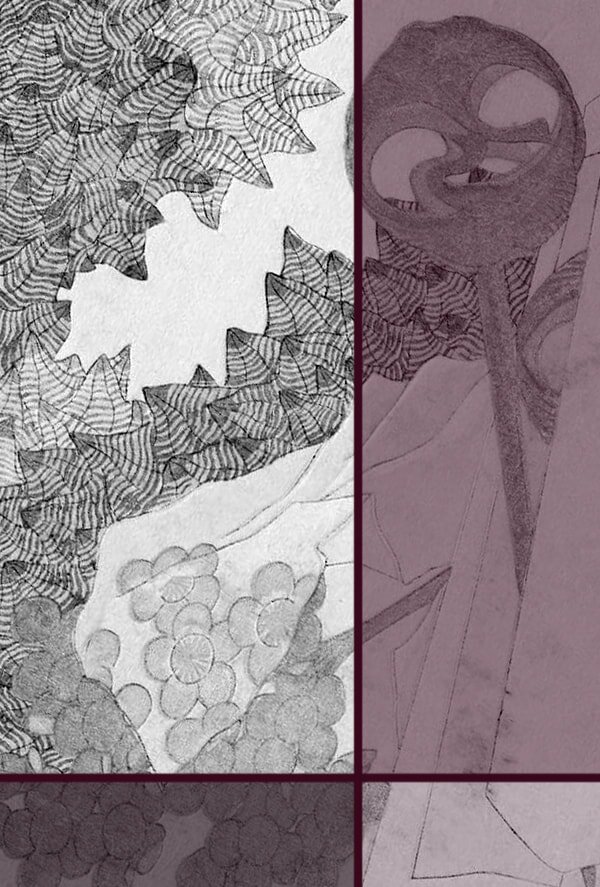
I do have one special tip for you though: Always keep some scrap paper handy to quickly practice some of the more difficult bits. That might be a particularly tricky texture, such as a cobblestone road, or a certain kind of spatter and sponge technique to get tree foliage just right.
It'd be a shame to ruin your final piece just because you didn't take two minutes to try if your approach works on a sample, before committing to it on canvas.
8 Finishing touches
My goodness, you're almost finished already! By now you'll have your colours, your details and textures done, and all that remains is some last bits and bobs to perfect your work.
As in the previous step, what exactly that entails depends a lot on your style and medium.
It could be adding some highlights or darkening some areas. Maybe you'll intensify a colour that doesn't pop the way you wanted, or correct a line that isn't quite right yet.
If it’s an important piece for me, I find it beneficial to move the artwork out of sight for a couple of days, then come back to it at a later point. This makes it a lot easier to spot mistakes and possible improvements.
Moving the piece out of sight for a few days will help you come back to it with fresh eyes and see things you overlooked before.
All that said, it is important to set yourself a limit on making corrections. Art need not be, and should not be, perfect.
Don't delude yourself into thinking you have to create the next Mona Lisa or Starry Night, and anything less excellent is not worth the time. Embrace the imperfections in your art and realise that they are exactly what makes it unique.
9 Sign
Obviously, you don't necessarily need to sign your work. However, I recommend it, because the signature is what marks the end of the creation process.
Have a strict rule of never touching work that has been signed. It’ll prevent you from being tempted to making never-ending corrections and never being satisfied.
Any artist with a little experience knows that at a certain point any further amends will either not make a difference or make things worse.
Vincent van Gogh’s signature on his Sunflowers (F458), 1889
My article How to create the perfect Signature for your Art will give you some tips and tricks to find the signature that’s just right for you.
Once you declare your piece ‘finished’, sign it immediately. After that, you can take care of the preservation and display your particular piece requires, such as spraying it with a fixative or framing it.
And that’s it. You’ve finished your newest artwork. Well done!


Did you enjoy this article or feel like you have anything else to add? Feel free to leave me a comment below!
If you like this post, please share it, so others may like it too!