6 Easy Steps to Draw a captivating Still Life
Concentrating on Still Lifes for a while is just such a fabulous way to enhance your drawing skills. But how do you start and what do you need to pay attention to?
As explained in my post on How a Still Life can improve your Drawing Skills, sketching still lifes, with their inanimate objects, is the perfect way to learn important drawing and painting foundations, such as shading, reflections, composition.
The versatility of objects will allow you to make great progress and enhance your skill set as well as experience and visual library.
Contrary to a landscape or an animal drawing, which are usually captured as they are, the composition in a still life, and thus its difficulty, is entirely up to you.
If you’re a beginner and just starting to learn basic shading and how to recognise your dark, middle and light tones, you can ease yourself in with simple objects, like mugs or chairs. Once you’ve understood all the basic principles you can then move on to more complex shapes.
In general, I find it best if you start any drawing with the ‘big picture’ in mind and concentrate on the correct placements of objects on the page and the general play of light and dark. Only once you’re satisfied with that should you go into more detail and work on each object separately.
1 Choose your subject
If you’re unclear what exactly counts as a still life, let me help you out here. Still life art involves any non-living or inanimate (still) objects, either natural or man-made.
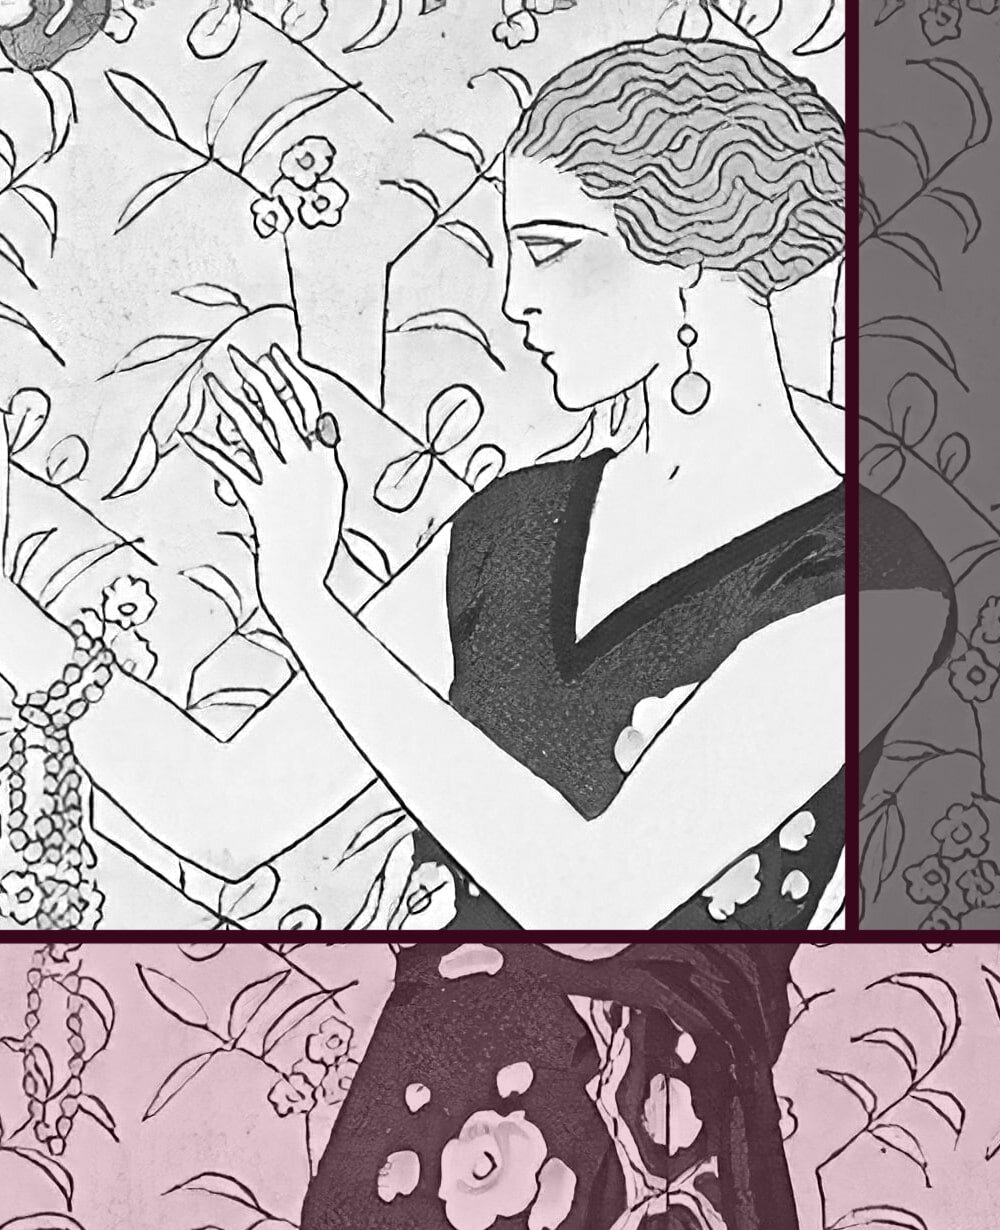
That means it doesn’t have to be your obligatory bowl of fruit at all. If apples and grapes are not your thing, just find something else that catches your interest. You can choose musical instruments, shoes, houseplants, your button collection or spice rack.
This (seemingly) random combination of hammer, rusty nails and wooden board makes for a hugely interesting still life subject. No bowl of fruit needed.
And we’re not just talking about objects inside your house either. You can find inspiration outside, such as your watering can or garden fence with stray grass sticking through. Or you can go on a trip to the city and sketch arrangements in stores windows (Selfridges would be perfect for that).
The only important thing is that you choose something to work with that you think is worth looking at for a certain length of time. Remember, if you find your subject boring that’s all the viewer will see, too.
In order to create an interesting work of art, you need to have interest in your subject.
When you're looking for a new subject, don't think about what would be best to draw. Try to shut out that calculating part of your brain for a little.
Instead, walk around your house, your garden or the streets and shops until something naturally catches your interest. Wait for something that you'd notice even if you didn't plan a drawing just now.
Something pretty perhaps, or something odd. If you're intrigued by it, you'll find it much easier to bring it to paper and intrigue the viewers, too.
2 Arrange and compose
Composing isn’t just a music topic. In fact, you’ll notice that every famous still life has been very carefully selected and arranged by the artist, even if it looks like a random combination of objects.
There is a lot more to still life composition than just choosing objects to draw. You’ll need to consider arrangement, cropping, angles, colours, lighting and so forth. And all compositional topics will depend on one thing: the message or feeling you want to convey to your viewers.
You can put a great deal of thought into this, or go with your gut feeling, that’s entirely up to you. Either way it is something that you’ll want to consider as soon as may be, most certainly before you start drawing.
The message you want to convey should control your composition, not the other way around.
Drawing something calming and pleasant will look vastly different from trying to portray feelings like fear or anger. Some objects and their arrangement will give the viewer clues as to their owner’s personality, profession or state of mind, such as a lone pair of boots or pumps.
While obviously the choice of objects can have a huge impact, it’s not, by far, the only factor. Lighting is a very important thing to consider, especially since in a still life you often have a lot of influence on it.
Sunshine or bright candles have a much happier, warmer effect on our mood than dim lighting and dark shadows. So, if your message is “autumn is a joyful time of year”, you’ll likely want to wait for some bright daylight to start drawing.
Lighting, colours and cropping can have as much effect on the mood of the still life than the objects in it.
As explained in my general post on composition in the arts, you inevitably see more than you can (or may want to) include in your final drawing, so you’re going to have to make some decisions on the cropping of your motive. And that naturally has an effect on your composition.
You’ll also need to consider what angle you want your drawing to show. If you want to add some extra interest and make the work seem more dynamic, consider unusual angles, such as bird’s-eye-view (from above) or worm’s-eye-view (from below).
Changing the usual angle can add extra interest when drawing objects that have been done many times before, like that bowl of fruit.
Of course you'll also want to think about topics such as design rules (see the related section in my composition post) and colour theory.
If you want your still life to stick out and practically scream at the viewer, primary, maybe even complimentary colours are a good way to go. Or you can use a limited palette or muted shades for a more understated harmony.
A little reminder here: the colours you choose for your drawing (if you do decide on colours at all) do not actually have to represent reality. You’re the artist, you make the rules.
Bright colours of different shades add a lot of vibrancy and dynamic, ideal for this arrangement of bicycles, which involves ‘found objects’.
If you’re planning on showing several different objects you can do more than just select them for their 'meaning' or symbolism. Choosing objects for their individual interest and interplay can be a challenge, but a rewarding one.
There is a lot of fun in playing around with different shapes, textures, materials. Look for commonalities, or differences. See which objects naturally work well together to make a harmonic view, or go the other way and add drama by purposely selecting things that clash.
Experimenting with combining different objects and discovering how this changes the ‘feel’ of the composition can be great fun.
Do you want to create some chaos with lots to see? In this case you’ll want to draw a lot of objects and arrange them close together, perhaps even on top of each other. If you’re looking for a more balanced, calm feel you can restrict the number of objects and give each some space.
This pleasing arrangement conveys the modern man’s love for minimalist design and understated tones perfectly and would be a great subject for a still life.
Something that is often neglected is the background of a still life. Do you want it man-made or natural, smooth or textured, dark or bright? Yes, the objects most certainly play the main part, but what's behind them can support, change or ruin your entire composition.
That said, there are also ‘found objects’, which means objects that are found a certain way (such as the bicycles in the image above). These are drawn as you find them, without deliberately arranging them a certain way. However, you still control lighting, cropping, colour and so forth.
3 Warm up your eyes and hands
Once you’ve found your objects to draw, you’ve arranged them and you’ve got your composition all worked out you could of course just get on with it and start drawing.
Or you could do what the professionals do and take just a few minutes longer. Take a moment to actually study your subject.
Really look at it. Try to see its proportions, perspective, the angles, the relation of one object to the other. Notice the materials, textures, where the shadows fall and where light reflects off a surface.
Of course those are all things you’d notice once you’re drawing, but trust me, it’s a lot easier if you know your subject well before you sketch the first few lines.
You’ll be better able to divide the page, correctly add your shading and draw fluently, without taking long, interrupting breaks to study the next part of your subject. And you can plan for certain details straight from the beginning.
It’s good to get to know your subject before you even draw the first line. Take a few minutes to study its shapes, shading, textures.
Have you ever noticed that the first few sketches you produce during a drawing session are often much worse than what you create towards the end?
Once again, the analogy stands, drawing is a lot like sports. And as such, you’ll do a better job, have surer lines and more control over your materials when you take a couple of minutes to warm up before you move on to the complicated stuff
4 Divide the page
When you're ready to draw your new masterpiece, the best approach is to first divide the page to get the overall proportions down on paper.
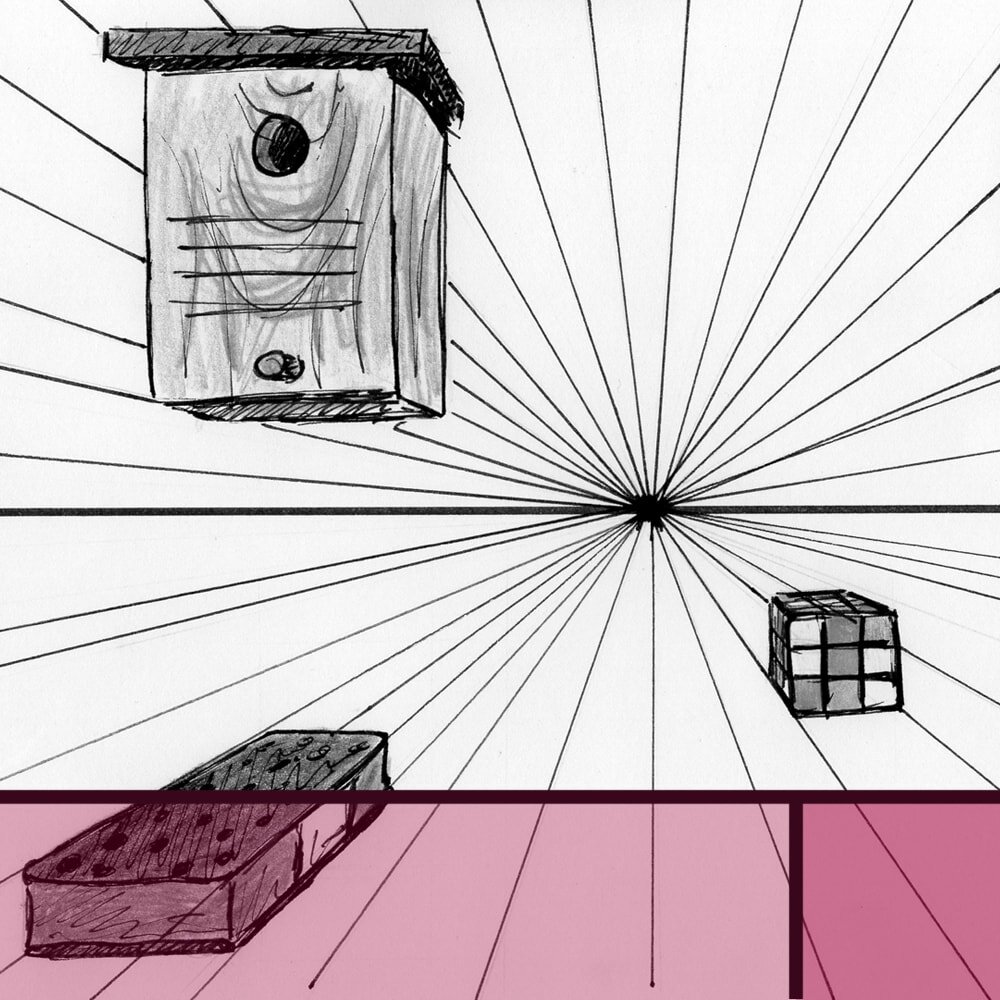
The easiest way to get this right, I find, is to simply imagine all of your objects to be inside invisible boxes. Then, when you've got that image clearly in your mind's eye, draw the squares on your paper. Use very thin lines, as you'll want to erase most of them again later.
Imagining your objects in invisible boxes can be particularly helpful if you're dealing with an unusual perspective.
If you have many different objects it can help to start with just one of then, perhaps the biggest, or most prominent. When you're sure you've got it in the right spot on the page and in the right size draw all the other ‘boxes’ in relation to that one.
It often helps to imagine your still life objects in boxes and draw these first (lines darker here for clarity).
For the next part it helps to think of your project less like a drawing and more like papier-mâché. I'm sure you'll remember that from school, where you used ripped-up newspaper, mixed with glue, to build 3D shapes, such as animals or lanterns.
The first thing you did then was to build the wire frame. Because that's what gave your objects their form. And it's the very same with a drawing. You'll want to start with an imagined wire frame, the basic outlines and shapes of the objects, before you give them surface area or details.
Most importantly, always think of your objects as three-dimensional. Don't be tempted to stick to a two-dimensional view just because you're not doing any shading yet, your object should never be flat, shadows or no.
That'll mean that you're going to draw some very light ‘construction lines’ that you'll erase again later on because they would not be visible in reality. Or you can leave them shine through lightly, which can add extra interest to a sketch.
If your object is a vase or a bowl, imagine it as entirely transparent, even if it isn't. That way, when you draw, you'll include the ellipse (squashed circle) of the bottom and top, which is all that is needed to move your object from two to three dimensions.
Imagine your objects to be transparent, so you can better draw them in their original 3-dimensional shape. (lines darker for clarity)
And you can do the same with anything box-shaped, such as books. Include the lines on the back that you would not see normally. It'll help your brain to do a better job getting the three-dimensional original onto the two-dimensional paper while retaining its actual form.
This can be a very tricky topic, I'll admit, and we'll talk more about this sort of perspective drawing at a later point, but for now just observe your objects well and draw their ‘wire frame’ as good as you can, you’ll get better with practice.
5 Light and dark
Now it’s time to give your objects more form with some shading. For the moment we’re just going to worry about where the most noticeable shadows are located, not the subtle differences in intensity.
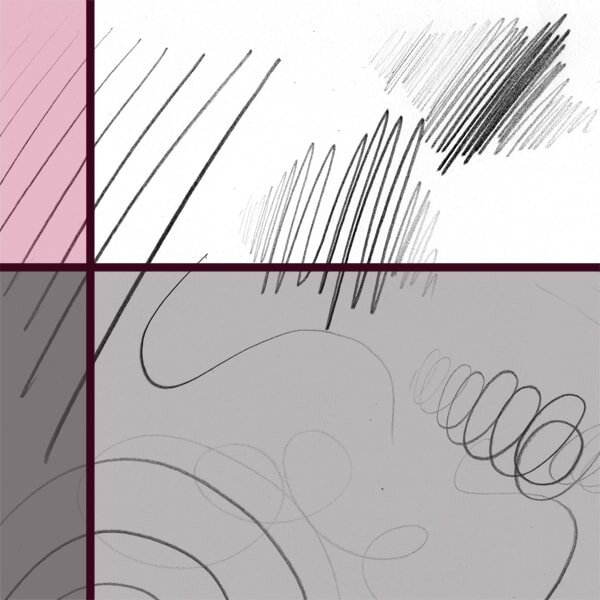
So, have a look at your subject and find the most prominent shadows, then draw them onto your paper in whatever style you have decided you will shade (hatching, smudging etc).
I find it easiest to just draw them all in a medium shade for now, maybe some parts a bit stronger if they're particularly dark. Don’t forget your background either. If it’s quite dark now is a good time to get started on that.
It helps if you indicate the basic areas of shadow first, then fine-tune them later.
You should not take more than a few minutes for this, it's just to give your objects more of a three-dimensional structure. Once you know where your main shadows are located it’ll also help you plan your next steps.
At this point naturally you’ll also want to correct the basic shapes of the objects, see if some outlines need adapting (they almost certainly will) and remove unwanted construction lines.
When this step is done you should have your basic framework, which will have the correct placing of your objects on the page and an indication as to their general three-dimensional form via lines and basic shading.
6 Go into detail
This last part is really the one that’ll take the longest, as we’re going to tackle all the details now.
First, you’ll want to continue working on your object’s basic shapes, also illustrated in my post How to create a Drawing or Painting in 9 simple Steps.
If the lines are not quite right yet, correct them. Then you can adapt the basic shading you did in the previous step, add more subtle shadows, correct the intensity of the existing ones and smooth out the edges between one shadow and another.
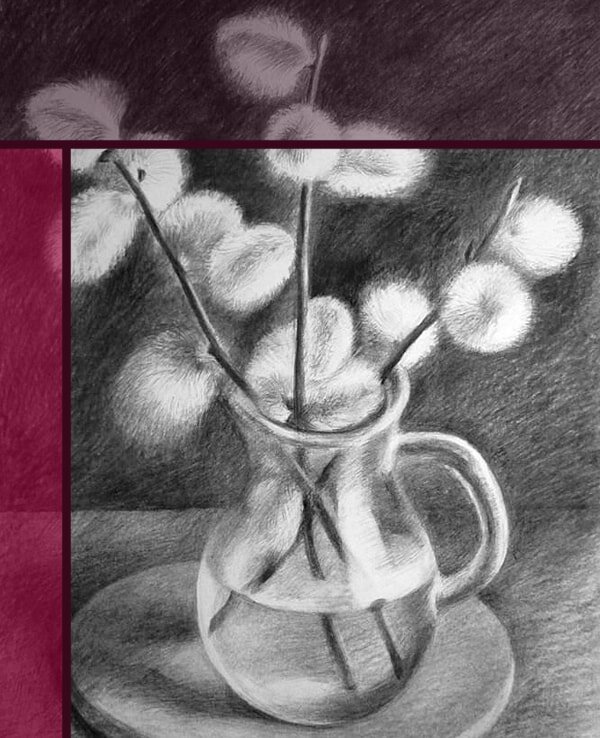
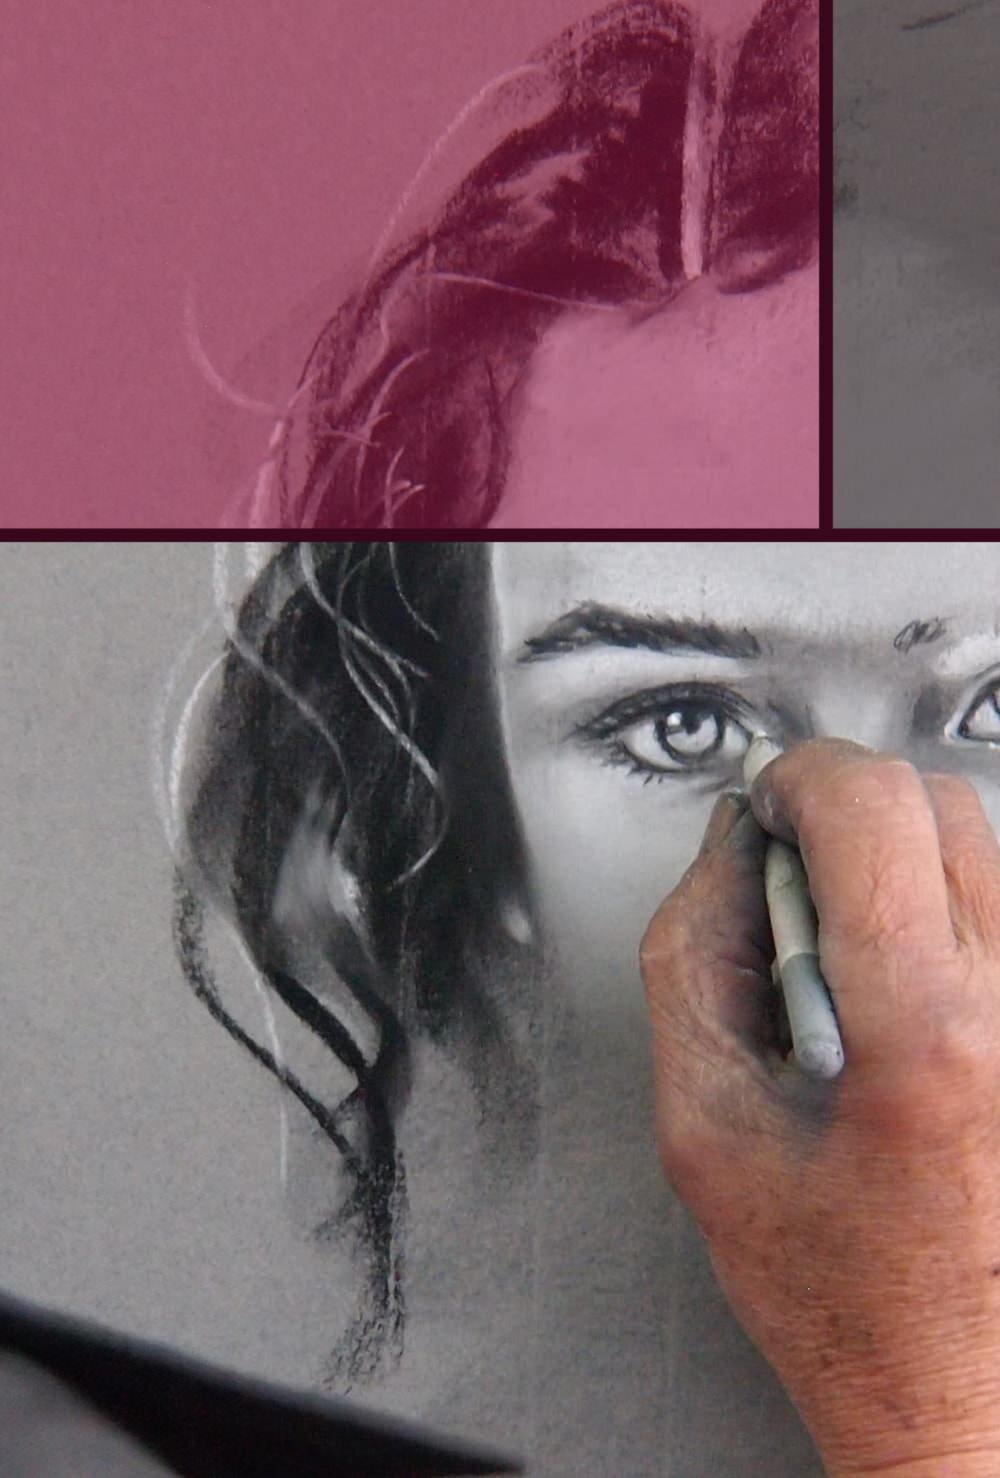
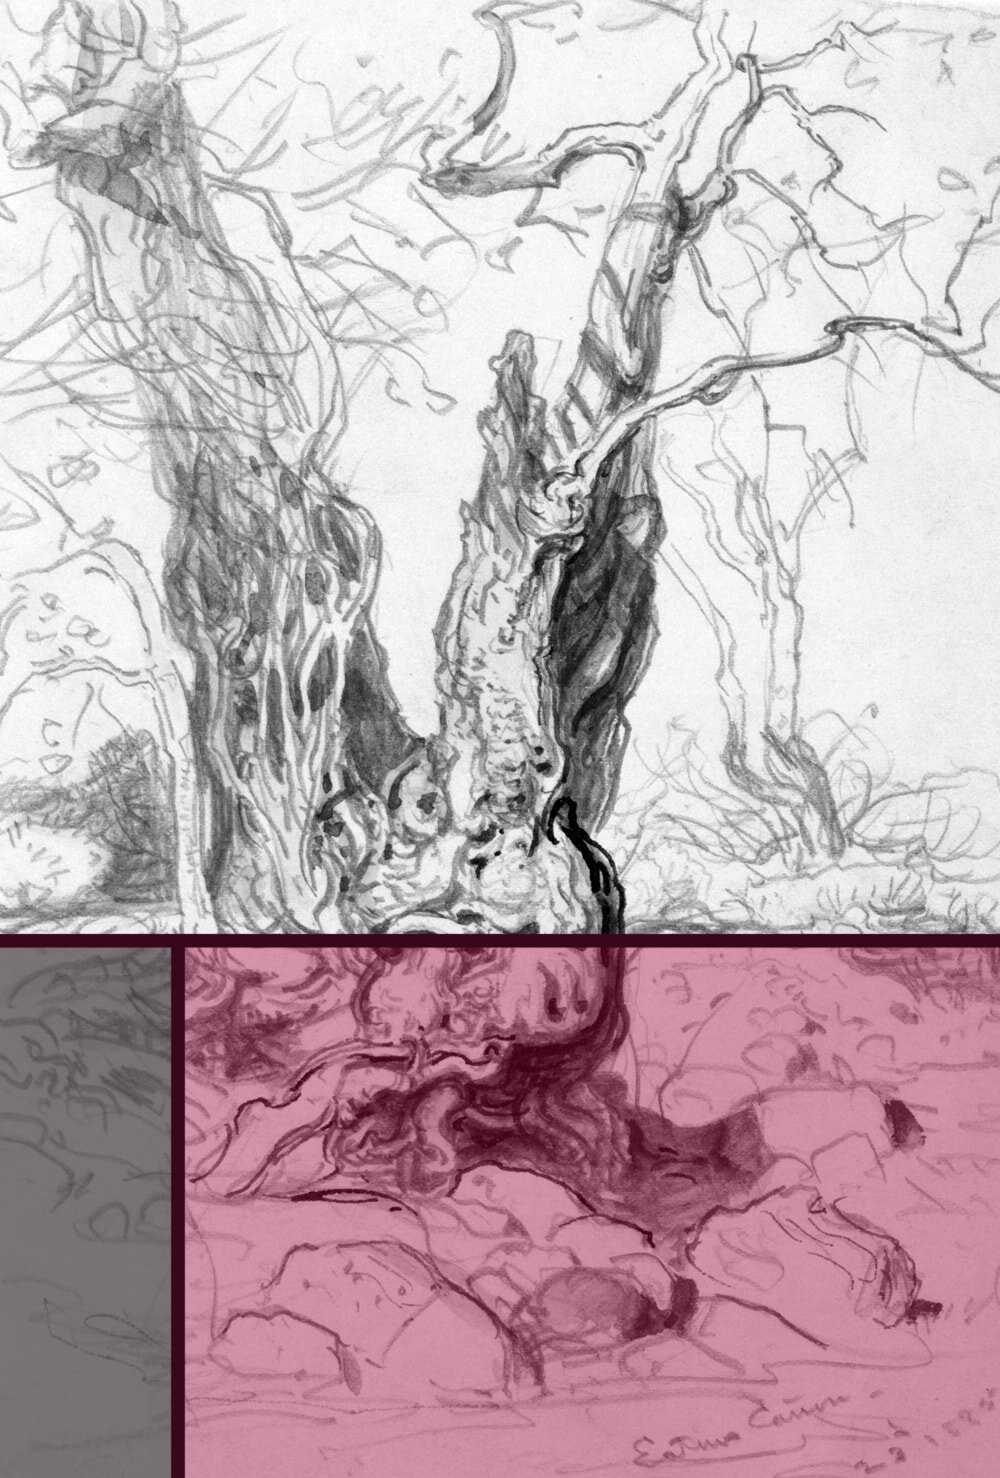
Pussy willow still life in charcoal by Eva Vejražková.
At the same time, you’ll work on the materials and textures. No point including that fabulous copper pot if no one can see its metal. You want your wood to look like wood and your fur to look like fur. And all of these need to be drawn (and shaded) in a slightly different way.
If you’ve just started with still life drawing, you’ll likely run into some trouble with a few of these, as some materials are harder to get right than others, especially if you don’t have colours to help you out here.
For fur, for example, it’s all about the linework, you’ll want to build it up gradually. For shiny materials, like metal, the reflection of light on its surface will do most of the identification work and if you have glass, you’ll want to practice your transparency and refraction skills.
Not to worry, a lot of it is a matter of experience, and once you’ve worked out how to draw a certain material in a convincing way you can re-use that knowledge for every future drawing.
My 15-Minutes-a-Day Drawing Exercise Routine has a fabulous exercise for you to practice different strokes and materials.
And that’s really already it. A few simple steps and a gradual building up of the drawing, bit by bit, will give you the best structure for any still life.
Don’t be scared to challenge yourself and occasionally mess up a piece. Experiment with different materials, compositions and drawing styles. But most of all, have fun with it!
For more tips and tricks have a read through my other still life-related articles.


Did you enjoy this article or feel like you have anything else to add? Feel free to leave me a comment below!
If you like this post, please share it, so others may like it too!