
8 handy Tips for Drawing and Painting Outside (and actually enjoying it)
Drawing and painting on location, that is, en plein air, has long been extremely popular. Especially now, with the huge Urban Sketching movement, it's again much practised and talked about.
Especially since the 19th century many professional artists swear by it. Impressionism changed the focus of art from mainly studio work to a desire to capture a moment in time and its current, natural light conditions. Monet, Manet, Renoir, and later van Gogh or Cézanne were all huge advocates.
Naturally, working on location includes more than just landscapes. It could be street views, buildings, people, animals, whathaveyou.
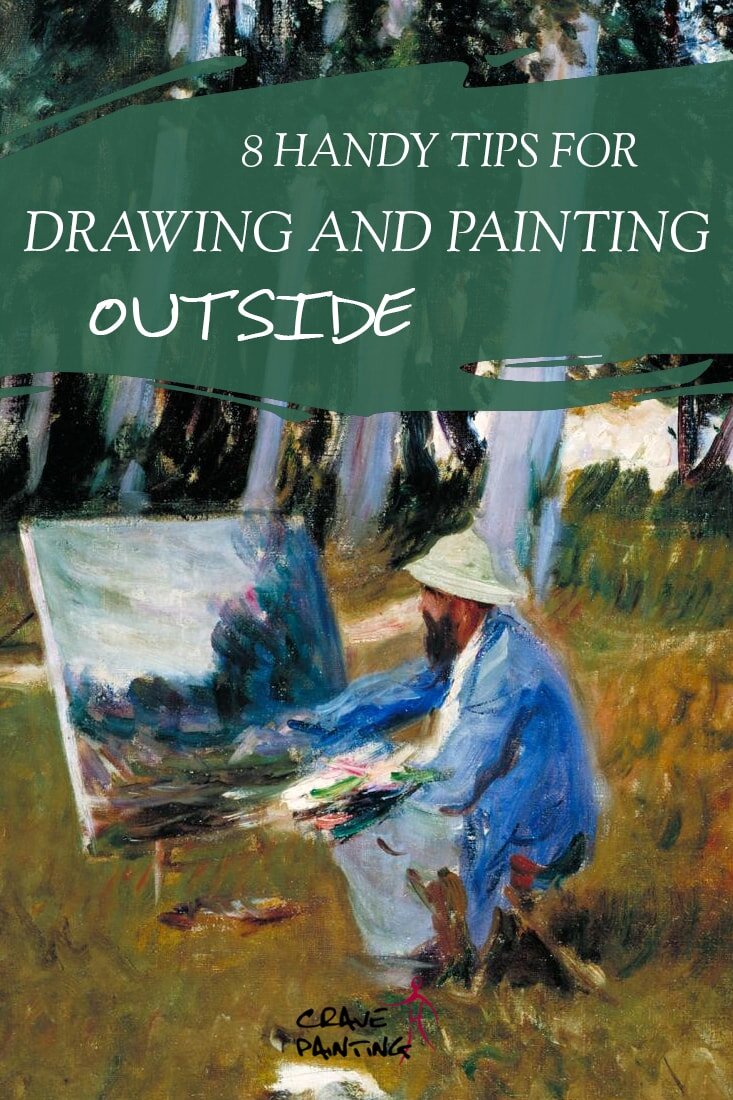
Claude Monet Painting by the Edge of a Wood (1885) by John Singer Sargent
It doesn't even always mean ‘outside’ outside. Think of it as outside your home-setting instead. Urban Sketching on the train or in a café is equally as beneficial.
There are many advantages to working outside. But good preparation and a few tips and tricks are key to do it right and avoid common pitfalls.
Why you should work outside
There are many reasons why drawing and painting outdoors is great for your art.
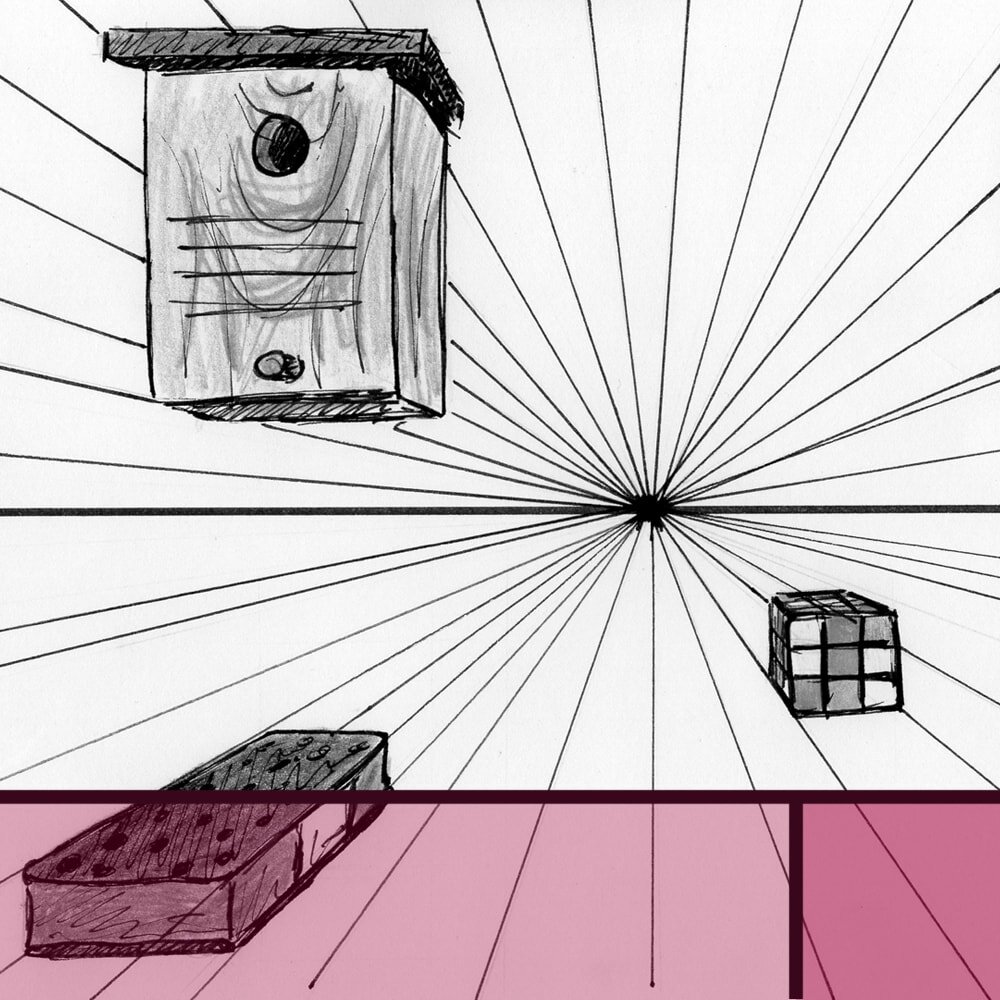
For one, it makes a huge difference when you’re looking at your subject in a natural, 3-dimensional setting, rather than drawing it from a photograph. You'll be able to grasp its full shape better, shadows are more visible, convergence lines will make more sense.
You can move around, if ever so slightly, to change the angle for a better composition.
No way would van Gogh’s Wheatfield with Cornflowers (1890) be as vivid had he painted it in his studio. You can practically feel the wind and hear the corn rustling.
The setting also entirely changes your relationship with your subject and does wonders for your artistic progress and the quality of your work. You're not just a distant observer, you're part of the scene.
When you’re immersed in your subject outside, be it in your garden, in the woods or on the footsteps of an enormous cathedral in the city, you'll naturally employ more of your senses.
You won't just see what you're drawing or painting, you'll hear the noises around, like birds, water from a nearby stream or people talking. You'll feel the wind on your face and the sun on your skin, smell whatever is in the air.
And all that will give you a more complete experience of your subject, which will naturally flow into your linework and make it all the better.
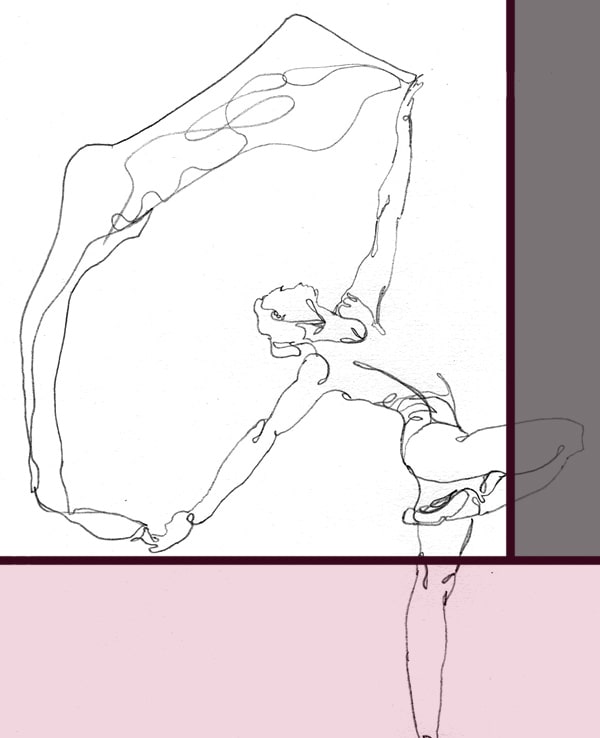
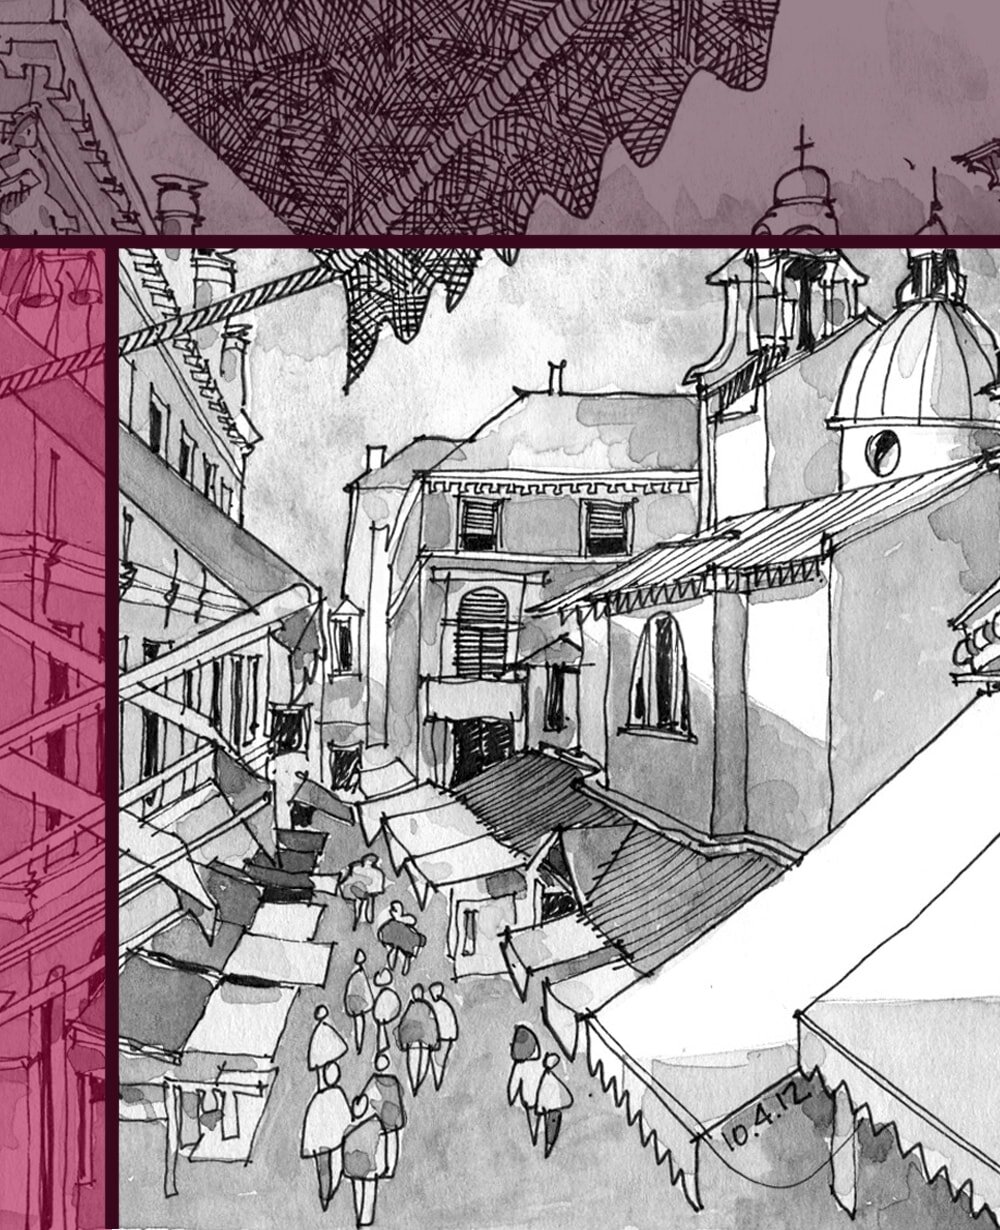
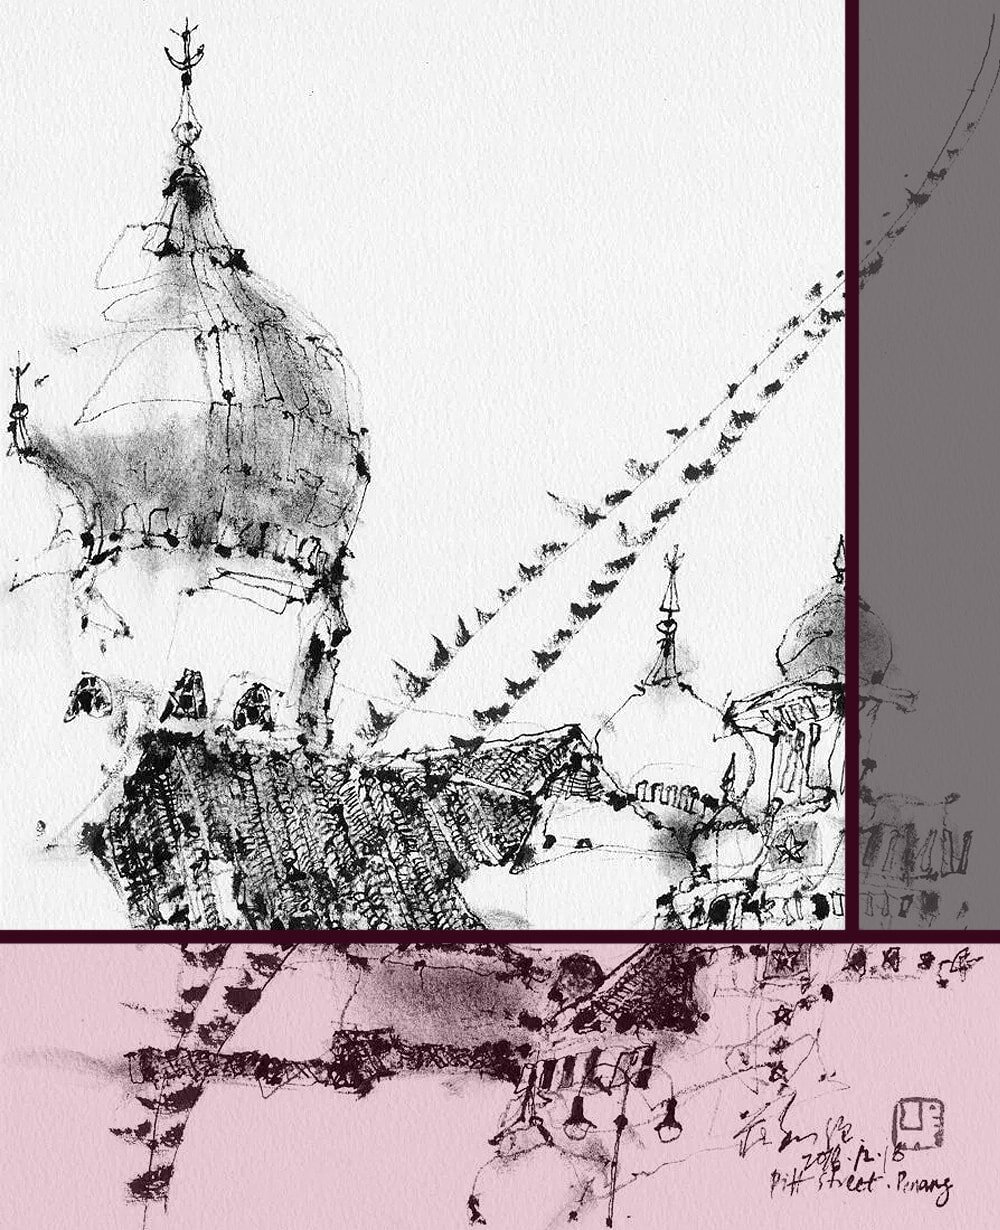
Have a look at the drawings of popular urban sketching artist Ch'ng Kiah Kiean and you’ll see what I mean.
You'll be able to hear, smell and feel, not just see. You're no longer a distant observer, you're part of the scene.
Unless you paint near a busy road or you suffer from terrible hay fever spending the time outside in fresh air will also massively benefit your overall health.
You'll sleep better, boost your immune system, improve your memory and generally feel well. You can read more about the health benefits of being outside in this article from the Harvard Medical School.
Now that we’ve established why working outdoors is so great, let’s have a look at how to do it right.
1 Give subject and style some thought at home
This is excellent advice when you travel particularly to paint, rather than do a quick sketch or two when you're out anyway.
Have you ever wanted to order takeout but just couldn't choose between Italian, Indian or Chinese? It's the same with choosing what to draw and how to draw it when you're outside, with all these possibilities.
Spontaneity is one thing. Wasting a good part of an afternoon trying to decide what to draw is not. Before I leave the house, I usually choose at least a kind of subject and how to draw it.
Just a little bit of mental preparation can go a long way and help you make the best of the painting time you have.
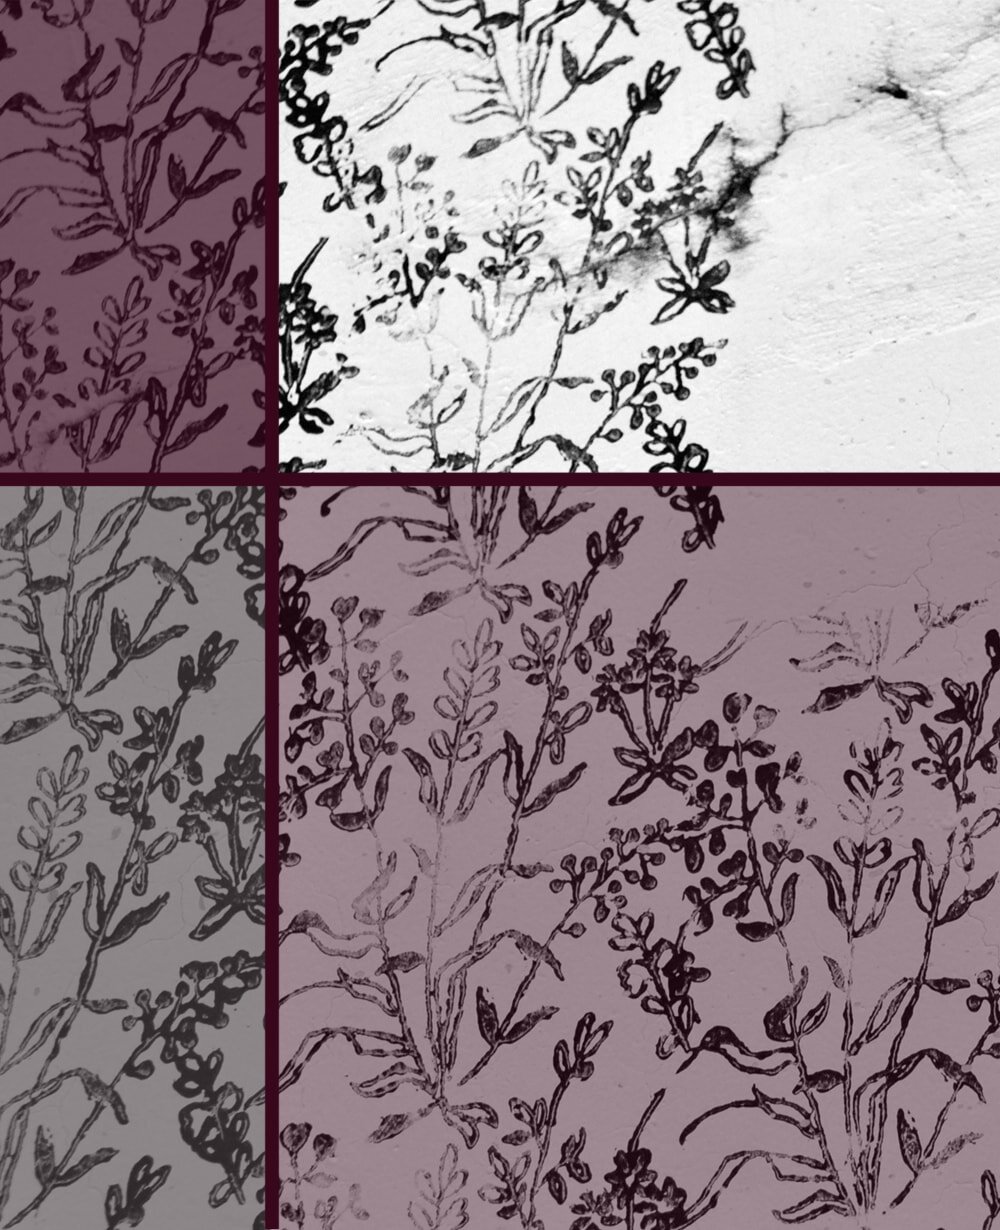
Usually that's a pretty rough idea, like ‘a street view with pen and ink’, or ‘a realistic closeup of woodland plants with acrylics’.
That's specific enough that you’re not entirely overwhelmed by the possibilities but not so precise that you feel restricted. It also helps you work out what to pack, especially if you tend to switch between media and might work with oil just as well as with charcoal.
That said, sometimes inspiration strikes and takes us an entirely different route. That's fine. If you suddenly walk past something you didn't plan to paint but you cannot seem to resist, go with it. Inspiration will and should always have the last word.
Planning makes it easier for you to decide what to paint when you find it difficult. But sometimes the decision makes itself.
2 Get the right materials
That is, materials that are right for you and your way of working. Of course, if you only draw with pastels in your garden, you'll need different things than if you plan to paint in oil in the middle of nowhere.
Here are some materials that I found most useful over the years.

There’s just nothing like a Moleskine for some nice pen, pencil or watercolour sketches on-the-go. They’re super robust and don’t mind a bit of rough handling (for example in your backpack all day everyday) and the paper quality is first rate.
Winsor & Newton make some really nice (and super cute) travel-sized watercolour kits. Remember to take enough water to paint but also to give your brushes a quick rinse after.
You could also build your own with an empty tin box and a small glass jar for the water.


If acrylics or oils are your paints of choice you could invest in a French easel. They’re super portable and not too heavy.
And you’d be looking and feeling like Monet, out to paint his waterlilies!
A good artist bag needs to be easy to carry, waterproof and have lots of pockets.
This bag has all that and it also looks really nice.


No need to sit on the damp grass or hot asphalt with this lightweight and super sturdy folding stool.
The Urban Sketching Handbook: 101 Sketching Tips by Stephanie Bower has been one of my favourite reads this year. Lots of super useful tips and tricks on composition, materials and other practicalities.


For a bit of on-the-road inspiration or at home preparation I highly recommend this super pretty Experimental Landscapes book.
If you work on paper, rather than canvas, definitely also bring some bulldog clips to secure the pages when things get a little windy.
A viewfinder is also a very handy thing to have, since an outdoor view with its four cardinal directions can make it difficult to figure out what to include on the canvas.

You can obviously buy one, but in the spirit of sustainability and avoiding plastic waste you could just make one out of two overlapping pieces of leftover cardboard. Oil artist Teresa Bernard has a quick tutorial.
3 Pre-pack
It's a good idea to always have your travel-kit packed - as far as possible - so you can grab it and head off immediately, if your afternoon opens up and you find yourself with a few hours spare.
If you don't have separate materials for home and outdoors you can also just make a list of what to pack, so you're less likely to forget something essential.
If you’re always packed or have a list, you’re less likely to forget important materials and find yourself at the perfect spot but without brushes.
It can take some attempts to get the contents of your outdoor drawing or painting kit just right, so don’t worry if the first time you’re out you find you packed way too much or not quite enough.
Always remember to bring your mobile phone or camera and take some pictures before you start. The weather conditions might suddenly change or you have to leave for another reason, before you finish your piece. This way you can complete your work at home.
4 Make a mini pack
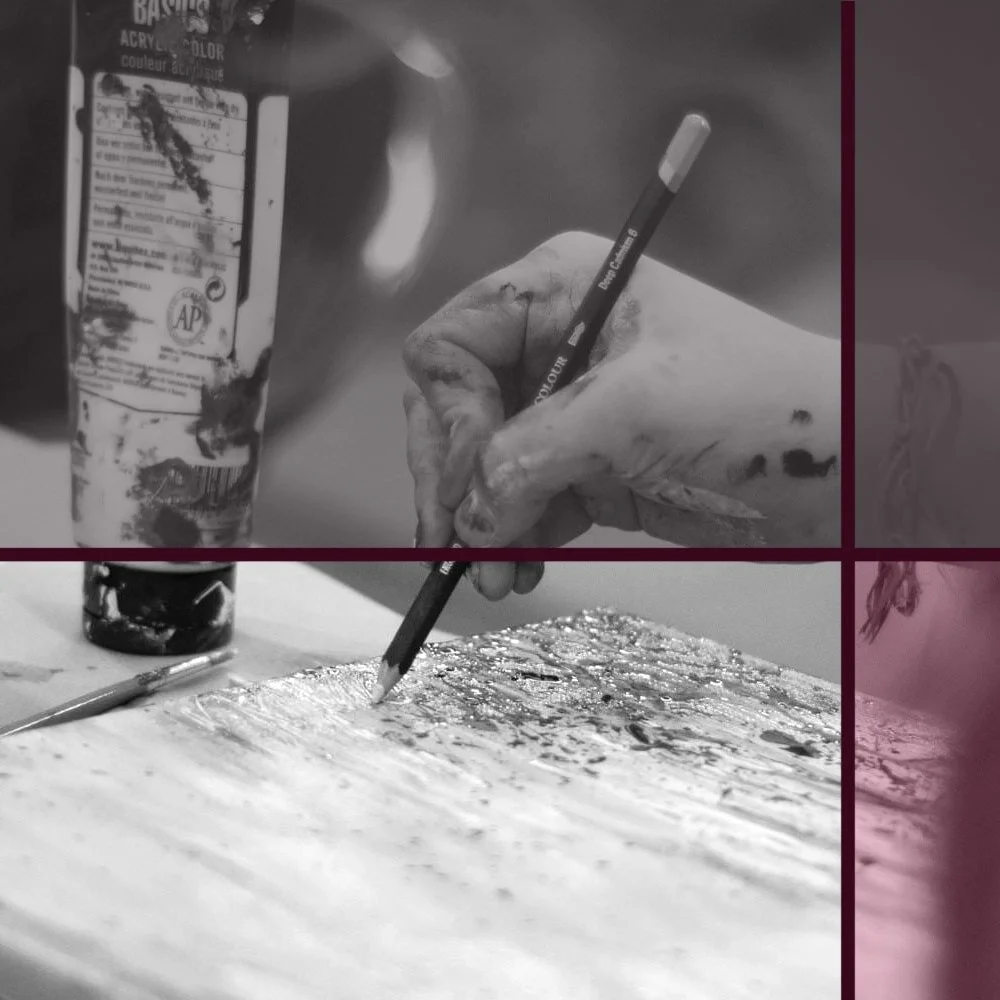
One of the best bits of drawing advice I ever got was to carry a scaled-down art kit with you at all times. Treat art like a diary of your everyday life, and as such you'll always want to be ready to take (visual) notes.
In which case it comes in handy to have two outdoor-kits. One with everything, for specific, planned drawing or painting trips and one smaller pack with just about the very basics for some quick sketches on-the-go if the occasion arises.
A pocket-sized sketchpad is ideal to carry around and use when inspiration strikes.
That might be if you're waiting for the train, or you're on your lunch break and walking past something you just got to draw.
This mini kit will look different depending on what materials you need for your art, of course. It might contain just one or two pencils, a sharpener and a pocket-sized sketchbook. Or one of those small watercolour boxes I talked about earlier.
Or it could contain a small selection of mini tubes of oil paints and a few brushes. Throw it all in a waterproof zip bag and you'll always be ready to let the artist in you have a little fun.
A pocket-sized kit will allow you to treat art like a diary, so you’re ready to take (visual) notes whenever you have time or feel inspired.
Naturally I'm not taking my mini sketch-pack to the opera, or grabbing a quick bottle of milk from the corner shop, but in most other situations you can be sure that it's catching a ride with me in my handbag or backpack.
5 Plan for terrain and weather
Different locations can present different challenges. Of course we're not talking about dangerous survival situations here (hopefully), but with just a little bit of thought you can avoid even the smallest inconveniences that might distract you from making your best art.
In the city you'll want to avoid working too close to high-trafficked roads, due to the noise and CO2 you'd be breathing in. You can find a lot more advice on drawing in cities and towns in my article The Ultimate Guide to Urban Sketching.
Contrary to working in urban settings in the countryside you'll need to take a few more things, especially if you're planning to stay out for quite a while. Bring enough snacks, and water (for drinking and to paint with) if you’re nowhere near any shops or bistros.
Not moving much for a while will make you feel colder, so even if you think you're fine with a thin shirt, bring that jacket anyway.
In the summer best not forget your sunglasses, as the sun reflects quite drastically from the white of your canvas or paper.
Lastly, a little tip for working outdoors in the winter. As long as you dress appropriately and your paints don't freeze you can definitely still work in minus degrees. In fact, wearing gloves while you draw or paint might seem restricting at first, but it can create a super interesting, unique style.
6 Find the right balance when packing
It's generally best to travel light, which will enable you to walk further with less hassle. However, you should never sacrifice safety or even just comfort for a lightweight pack.
You'll regret it less having to carry a little more than ending up uncomfortable and freezing. "I wish I had packed my jacket, so I could stay another hour, but it's getting too chilly now." is not something you'll want to think when you're having a really good painting session.
Never sacrifice comfort or safety for a lightweight pack. It’s better to regret taking too much than to miss crucial items.
A good rule of thumb is to always pack for two hours more than you're planning to stay. That includes clothing but also food and water (we all get the munchies when we're out in fresh air).
If you use a variety of different media for your art, it's also smart to pack at least the very basics of the ones you don't plan on using that day. You know, just in case inspiration changes your mind and requires a different approach.
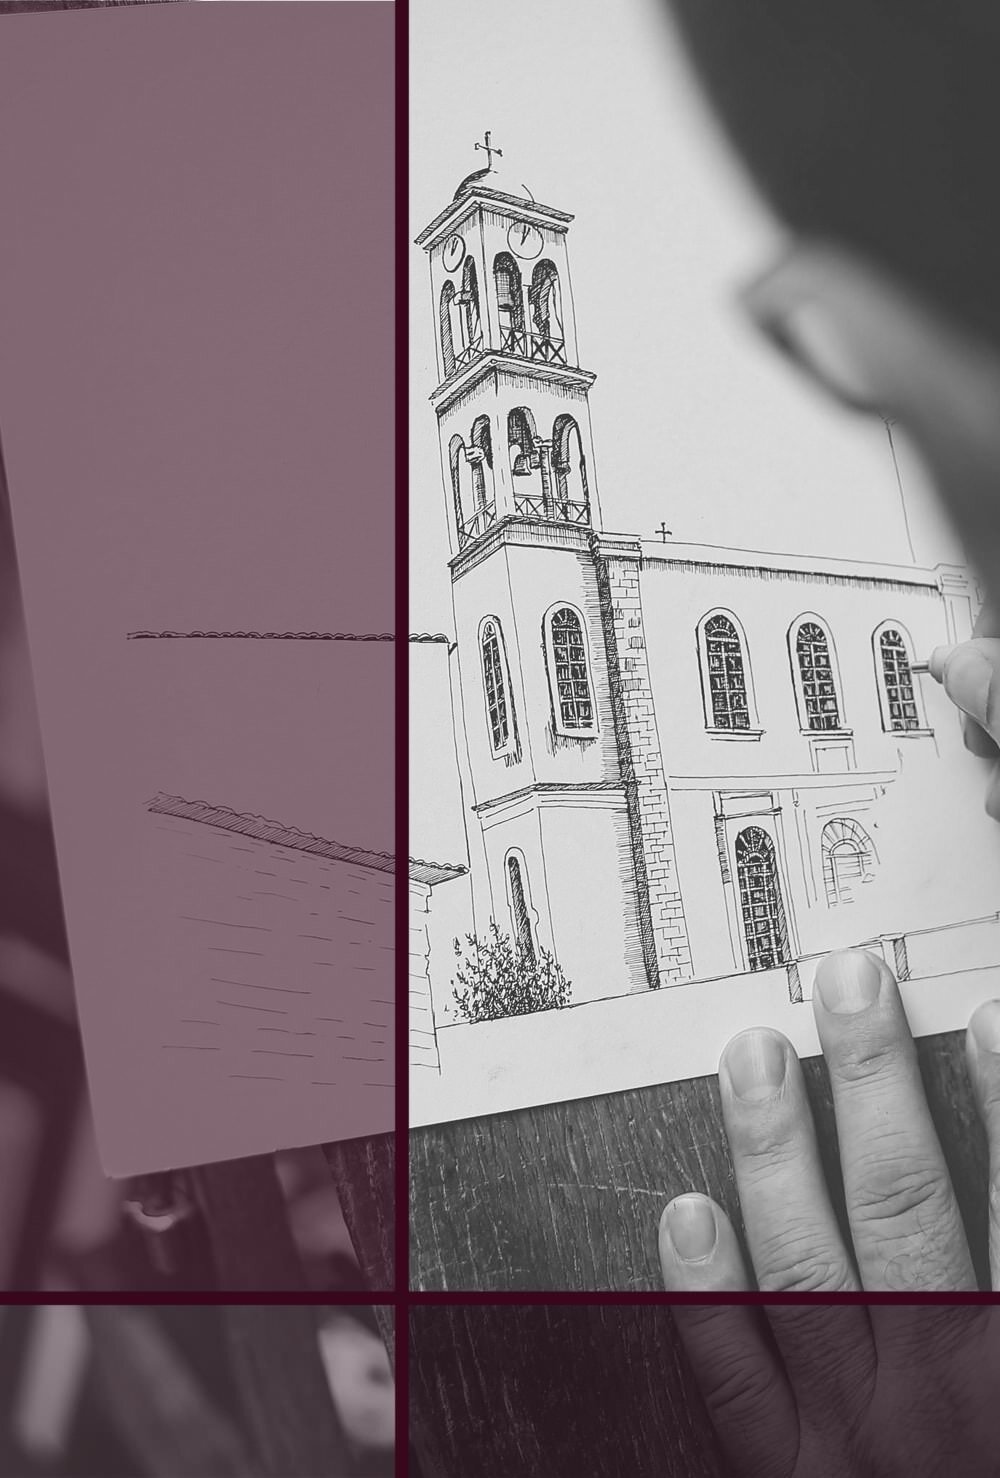
7 Find a good spot
When you're actually out there you need to find a good spot to sit for a while and observe your subject.
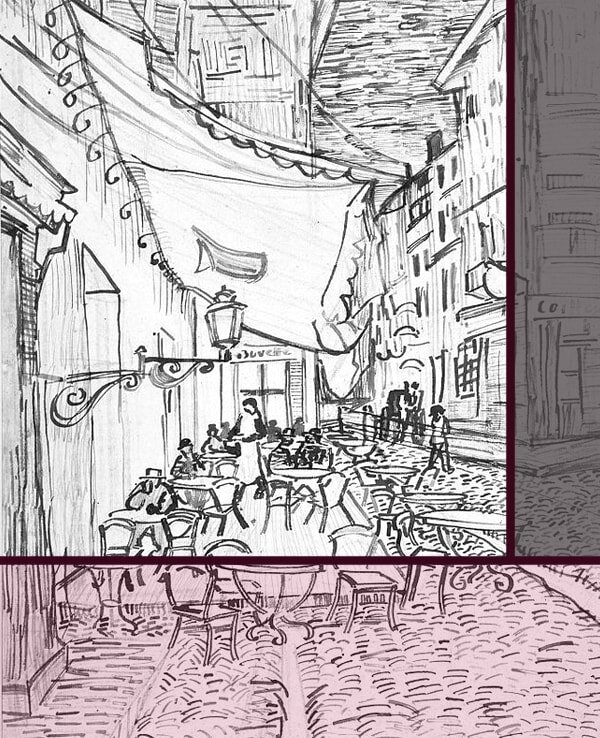
When in an urban setting I find any place where people are too busy with their own lives than noticing you is ideal. Train stations are great for that. Though that obviously depends on how much it disturbs you if people stop and look at you working, or distract you with a conversation.
If you’re shy or easily distracted a quiet corner with your back against a wall is ideal for drawing in the city.
As mentioned above, do keep away from the high CO2 presence at high-trafficked roads and crosswinds that will send your brushes flying through the neighbourhood.
When using people as subjects you'll need to be unobtrusive, respectful and above all else don't stare at strangers and make them uncomfortable.
Venice Sketch (1908) by Paul Signac
In the countryside avoid places with no shelter around. The blazing sun is hazardous for your health and a sudden rain shower with nowhere to hide is hazardous for your painting, I can assure you.
In general, observe common sense (a bit of camping knowledge can go a long way here). Old branches may fall from trees, lakes are breeding grounds for midgets, low tide doesn't stay low all day.
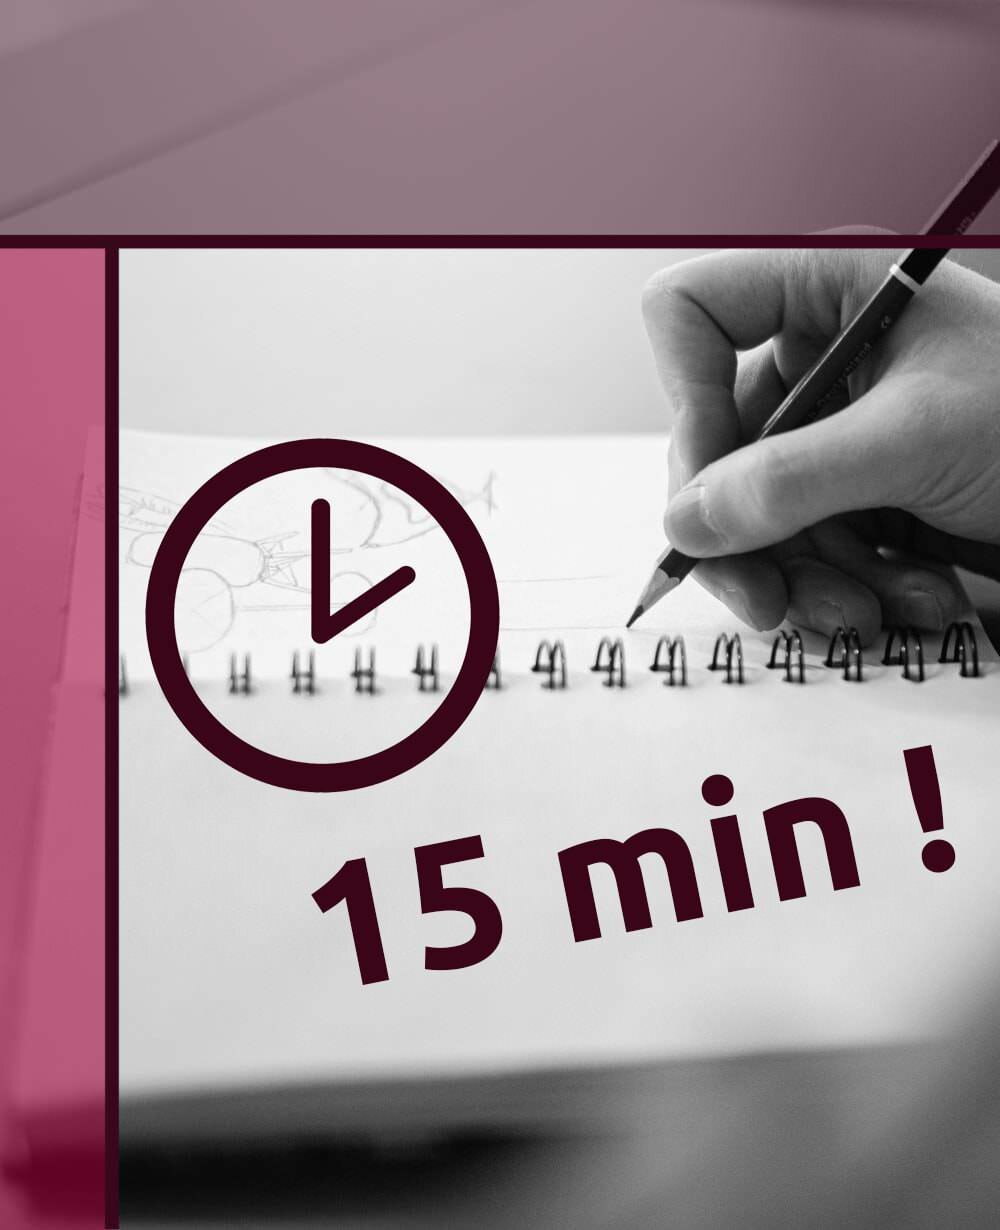
8 Set yourself a time limit
Finally, it's a good idea to set yourself a rough time limit before you start your sketch, be that ten minutes or three hours. It will help you plan your piece and not work to meticulously.
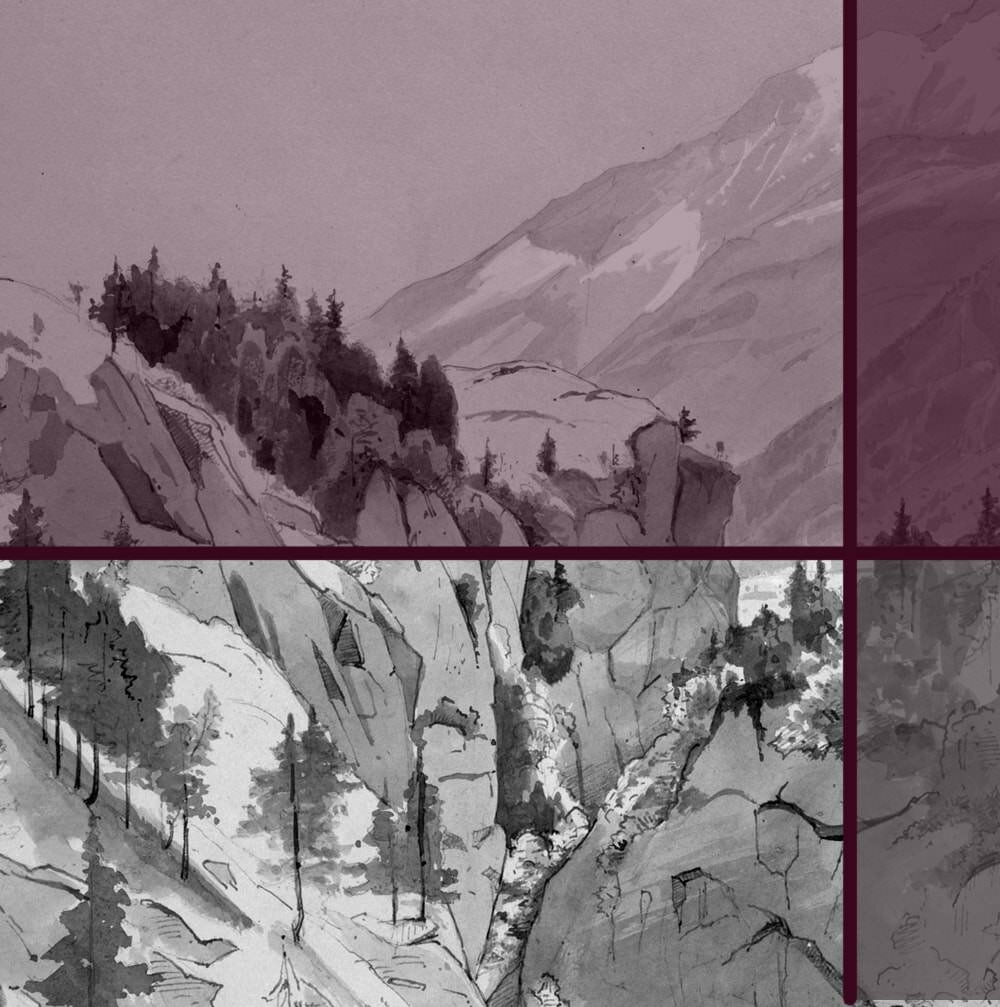
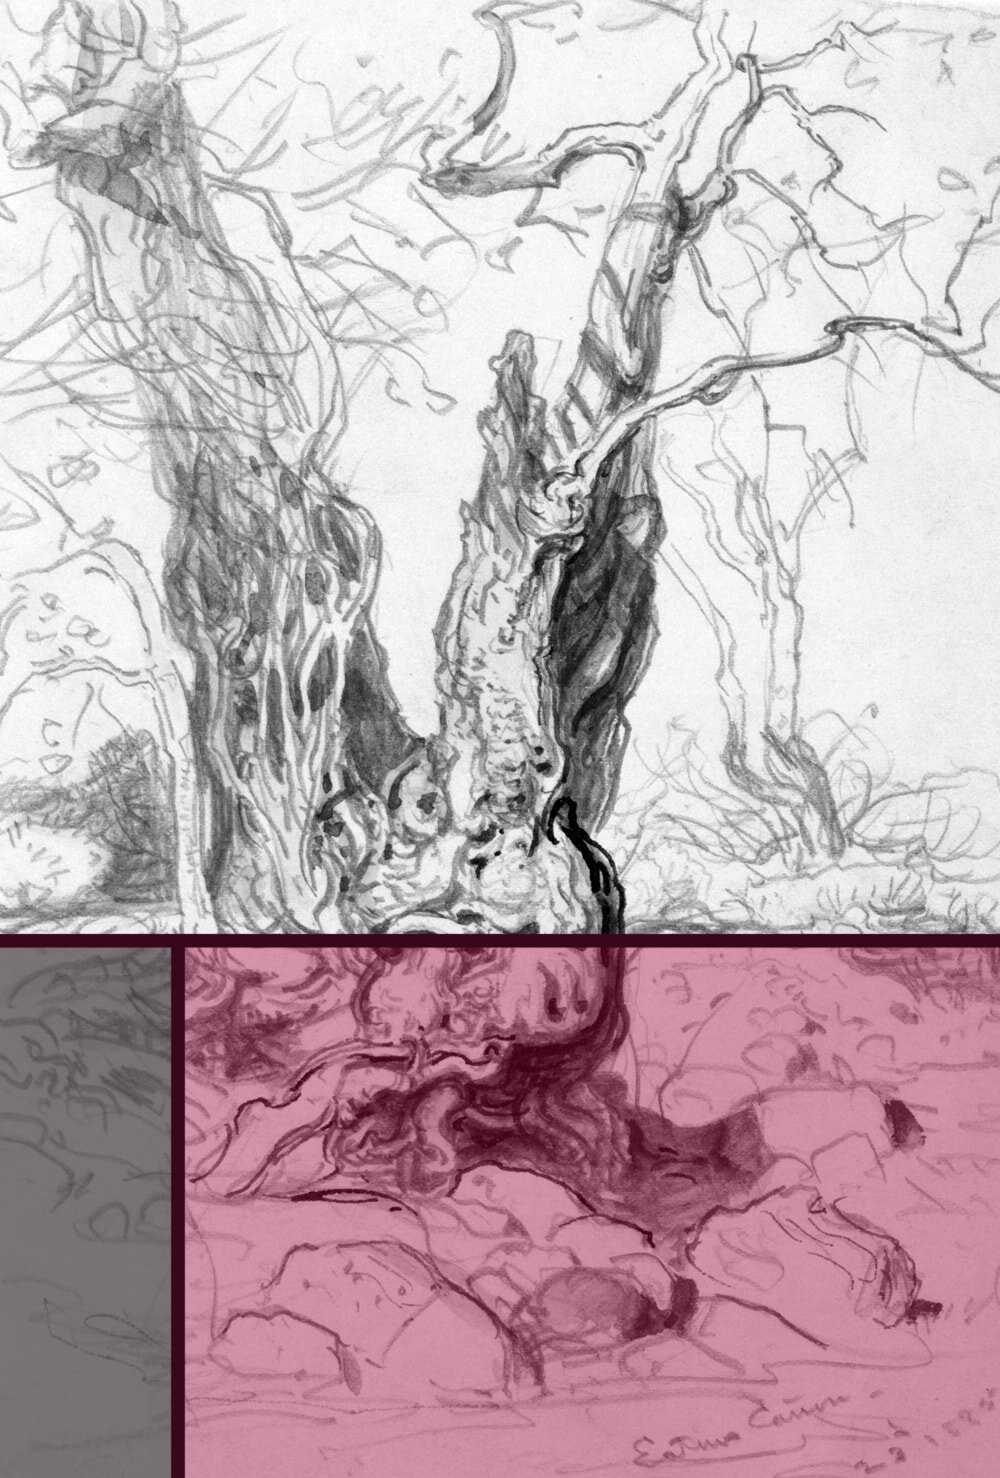
Outdoor artwork isn't meant to be hyper realistic and produce an exact replica of what you see. It's about capturing the essence of a scene and its effect on you, at the very moment that you are observing it.
For more useful tips for sketching on-the-go have a look at my collection of Urban Sketching articles.


Did you enjoy this article or feel like you have anything else to add? Feel free to leave me a comment below!
If you like this post, please share it, so others may like it too!

