6 fun Still Life Exercises to boost your Drawing Skills
Isn’t it great when you start something that you’re sure is going to be a bore, but it turns out to be one of the most enjoyable things you did in weeks? That’s what happened to me when I recently discovered my love for still life.
To be quite honest, when I started still life drawing as the first topic in my Sketching Project I was not looking forward to it. I thought it’s one of these obligatory basics that everyone has to go through, almost like a chore, before you can move on to the more interesting topics.
But my goodness, was I wrong. Just like many of us I’ve grown up with the notion that still lifes are bowls of fruit and bottles of wine. What poppycock.
As I’ve mentioned in my post How a Still Life can improve your Drawing Skills, there is just so much more to still life than apples and grapes. So much more, in fact, that I’ve been staying with the topic much longer than I initially anticipated.
If you want to learn a bit more about how to actually draw a still life, from choosing the subjects to planning out the page, have a look at my article 6 Easy Steps to Draw a captivating Still Life. And if you feel like moving on to pretty flowers, here’s my post on How to draw beautiful Roses for a Still Life.
Without further ado, here are 5 exercises around still lifes that’ll help you improve your drawing skills even more and get as much out of the topic as you possibly can.
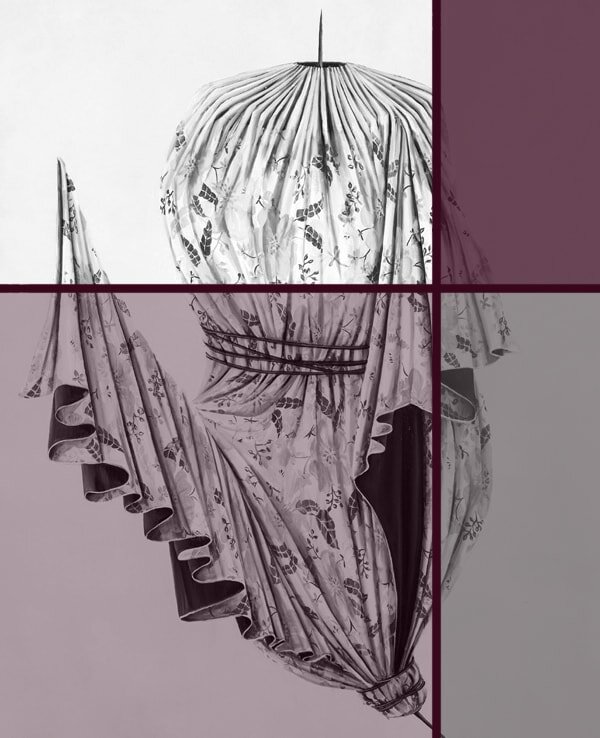
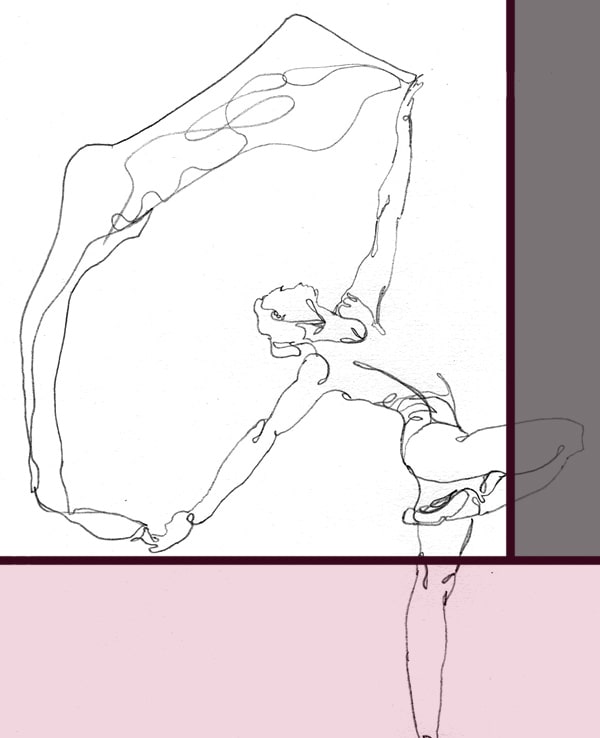
1 Messy origami
Let's start out with something a little tricky. Why? Because this exercise will help you to improve your proportion and shading skills quite drastically.
All you need is some (relatively blank) white paper. And then you just crumble and draw it. That’s all.
But of course it’s by no means as simple as it sounds. Every time you do this exercise your paper will turn into a new shape and your brain has nothing to compare it to, so you’re on your own with getting those proportions down right.
And as there’s no colour or particular texture involved, all that will give your paper ball its three-dimensional form is the shading you draw on it.
It’s weirdly difficult to work out which shadows to draw in which intensity and how to give this odd shape its form.
I recommend you start out with a relatively simple “crunch”. Perhaps fold it or press it together just a little, and draw a couple of those, before moving on to the more complex ones. You can also use lined paper to make things a little easier.
This exercise is ideal for on-the-go as well, there’s always the odd Starbucks receipt to be found in one’s handbag or wallet that can be used for some quick sketches when waiting for the train.
2 Dramatic lighting
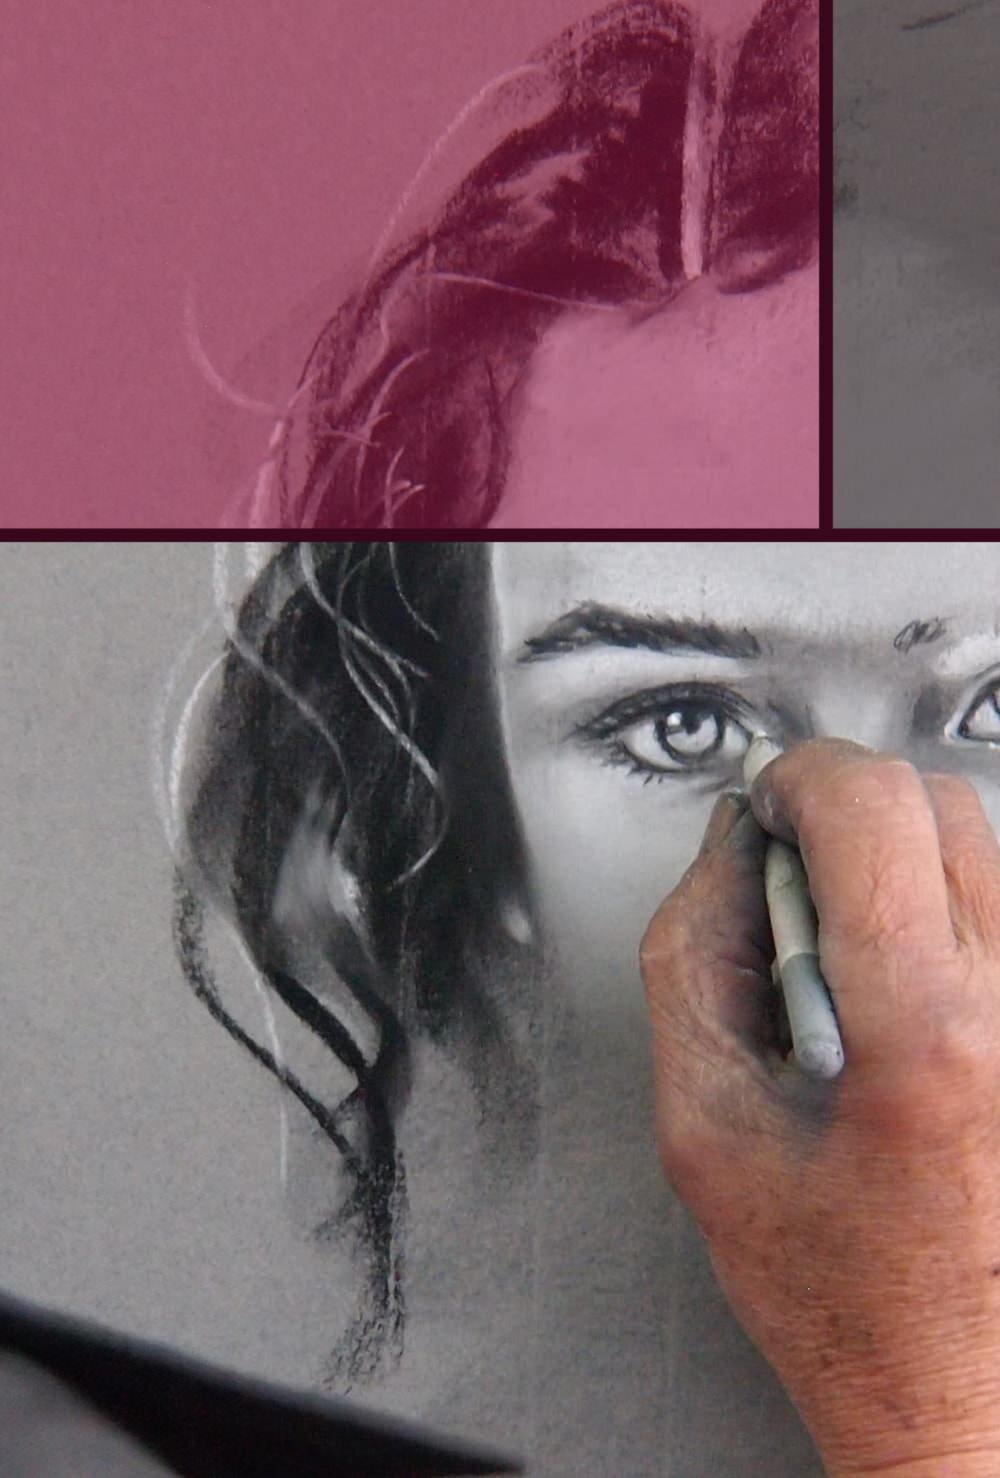
One of the most crucial skills, in still life as in any other drawing, is shading. While there is some technical knowledge we’ll get into at a later stage, such as how to hatch, crosshatch or smudge, for now let’s concentrate on just learning how and where to place shadows in general.
For this you’ll need a very simple object, such as a mug or an apple, and a light source you can move around, like a table lamp or a flashlight.
Place your object on an even, light surface (you can use a piece of paper underneath it if your desk is dark) and shine the light onto it from one side. Then draw your object with the shadows that this produces.
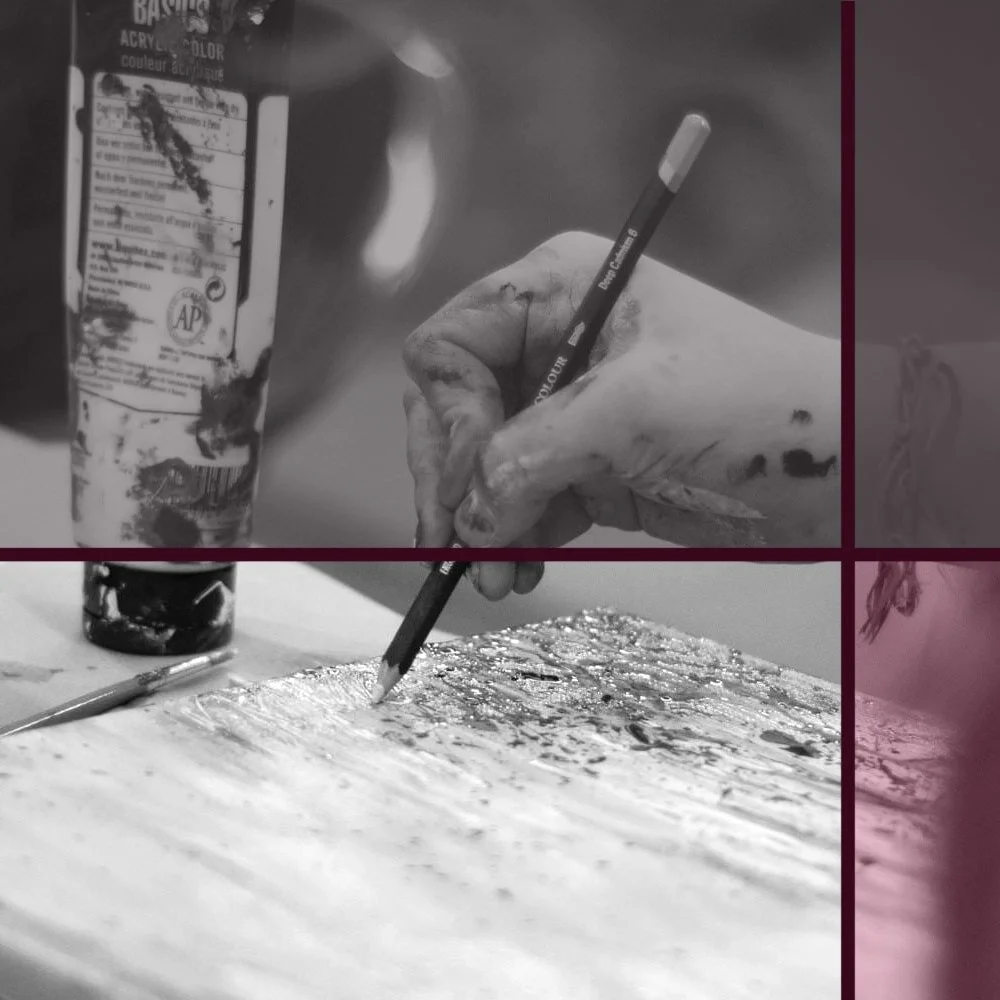
Moving a light source around an object can help understanding form and shadows.
Note especially the differences between shadows on your objects surface and shadows on the ground being cast by your object. Make sure you understand which parts of your object cause which shadow, why the shadows are the shape that they are and why they have a certain intensity.
Where is the lightest part, where the darkest? Do the shadows have clear shapes or do they gradually diffuse? Do some shadows overlap to create an even darker area?
When you’re done, move your light source to the other side and repeat. Continue this, playing around with your lamp and the shadows it creates. You can shine it onto your object straight from above, or a very low angle, far away or very close.
In the end you should be so aware of the form of your object and the way that shadow affects it (or it affects the shadow) that you can draw it without looking at your original.
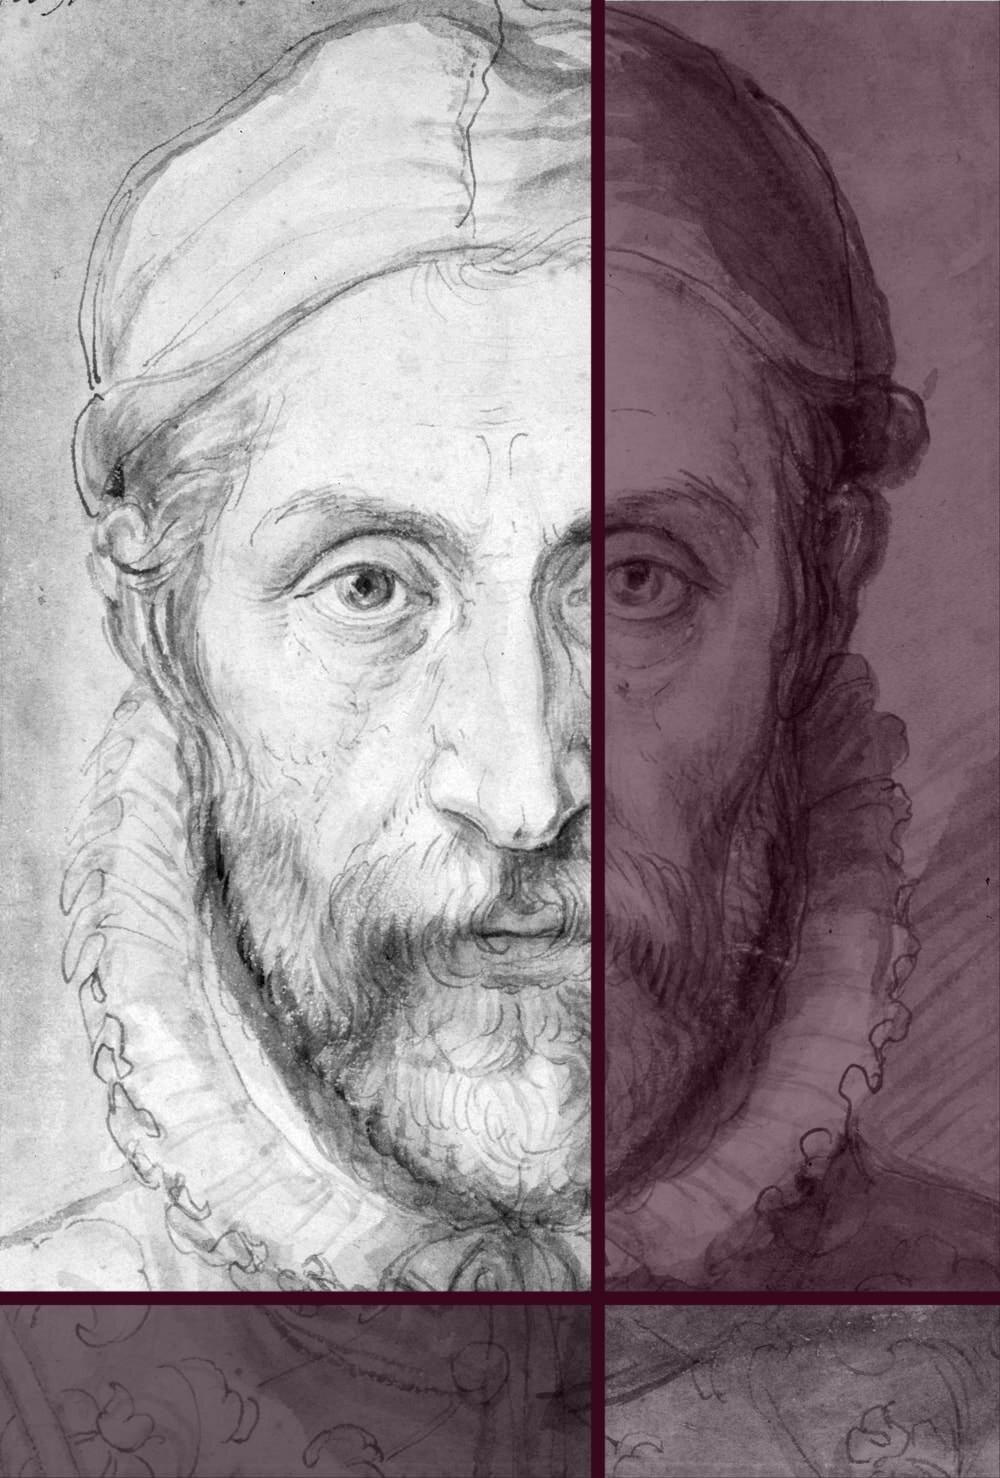
3 Shapes and sizes
Some objects, plants, animals and even people have such distinct shapes that they can be recognised by simple silhouettes alone. Since we’re working on still life we’re going to concentrate on objects for now.
Have a little wander through your house and choose five random objects for this exercise.
Arrange your objects on an even surface, in any way you like. For more interest and added difficulty some could overlap a little, some being slightly in front of others, but don’t have them so close together that they’ll appear as one messy shape in the end.
Now draw the outline of the first object, as accurately as possible. When you’re done, use your pencil, or any kind of dark marker, and colour in the shape you’ve just drawn.
Then draw the remaining four objects, one by one, until your sheet is filled with five more or less separate and hopefully distinctive black shapes.
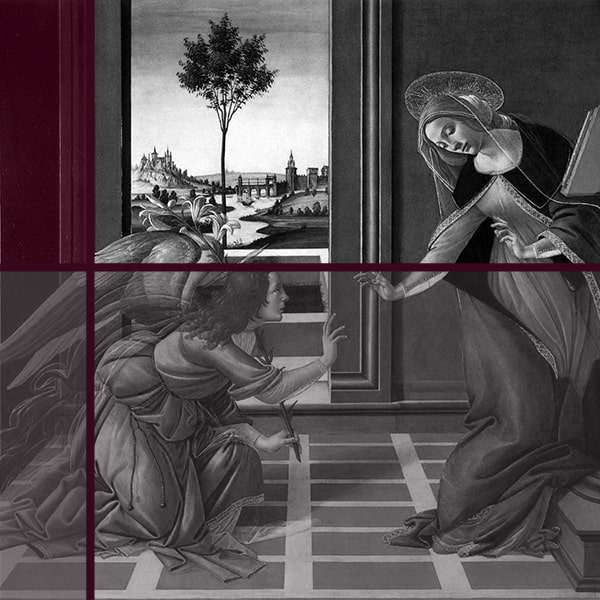
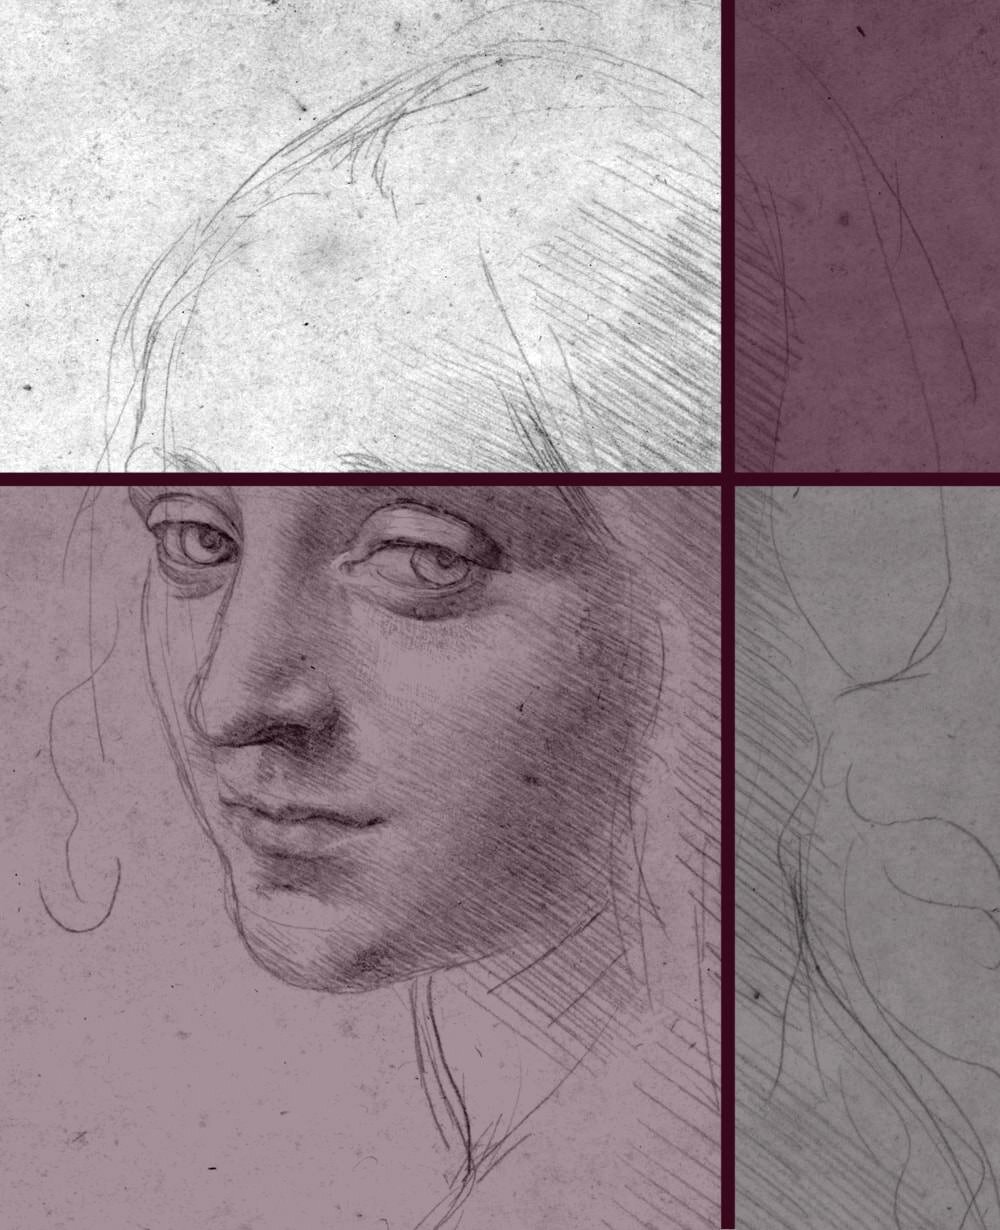
Not technically a Still Life but a wonderful example for a very successful silhouette
Once finished show your drawing to someone else and have them guess what objects they were, then evaluate the answers. Can they identify all five? Can someone recognise them that has never been to your house and seen your belongings?
Also consider moving the objects around a little and repeat the exercise. You’ll likely notice that some objects are only (or much easier) recognised from a certain angle or view, such as the mug when the handle is to one side, rather than in front or behind it.
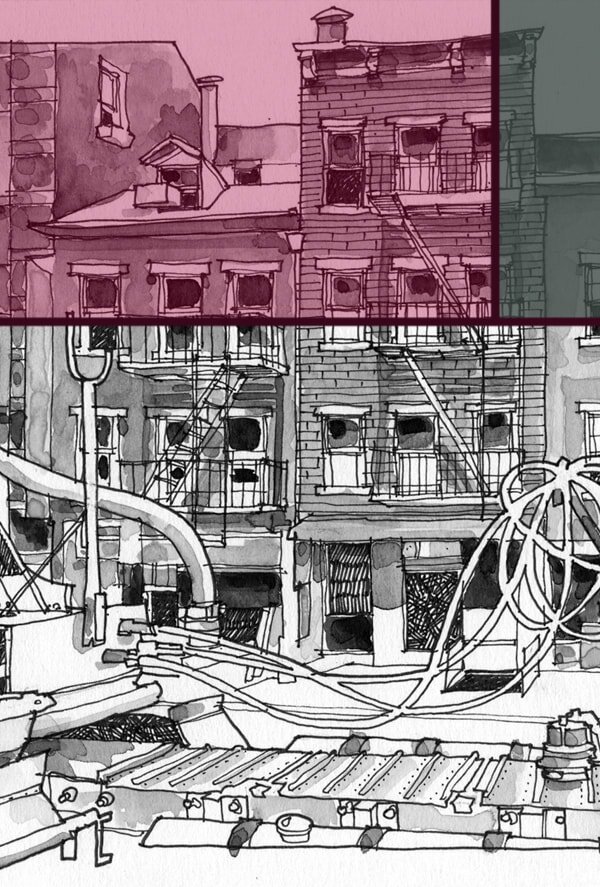
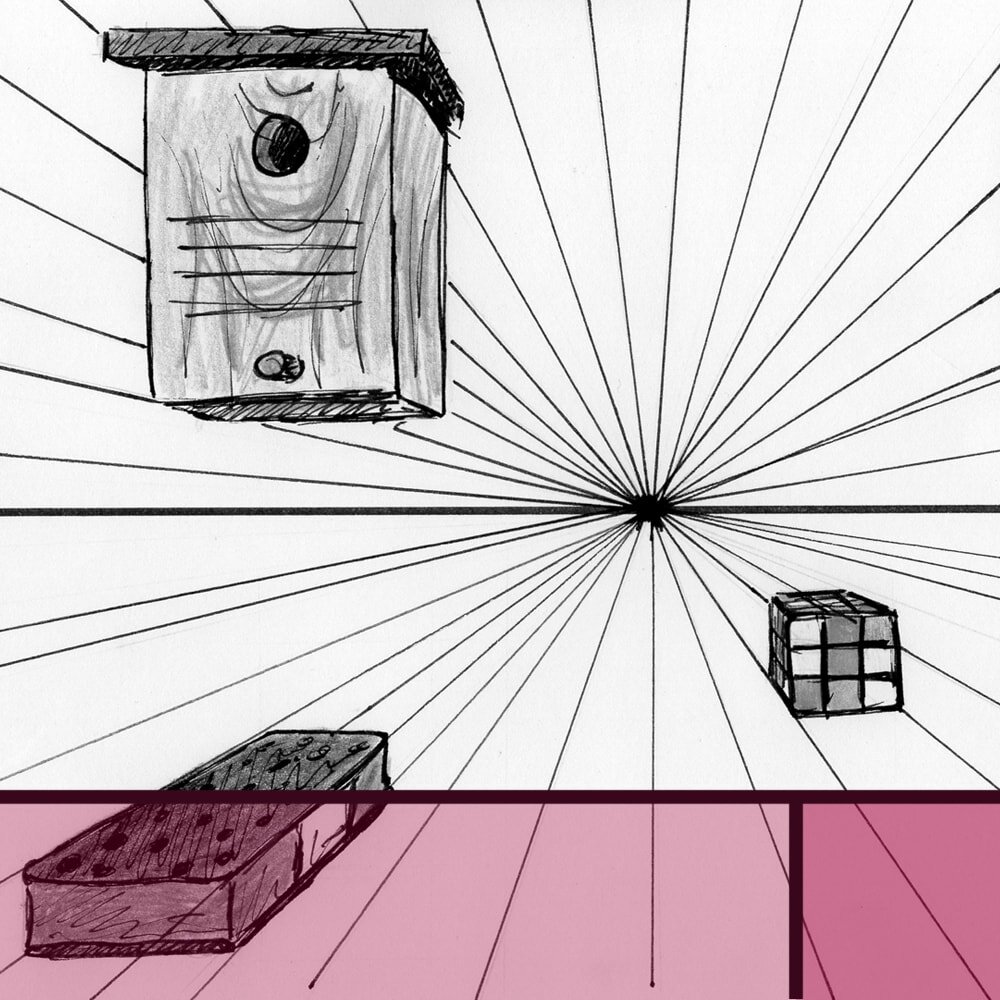
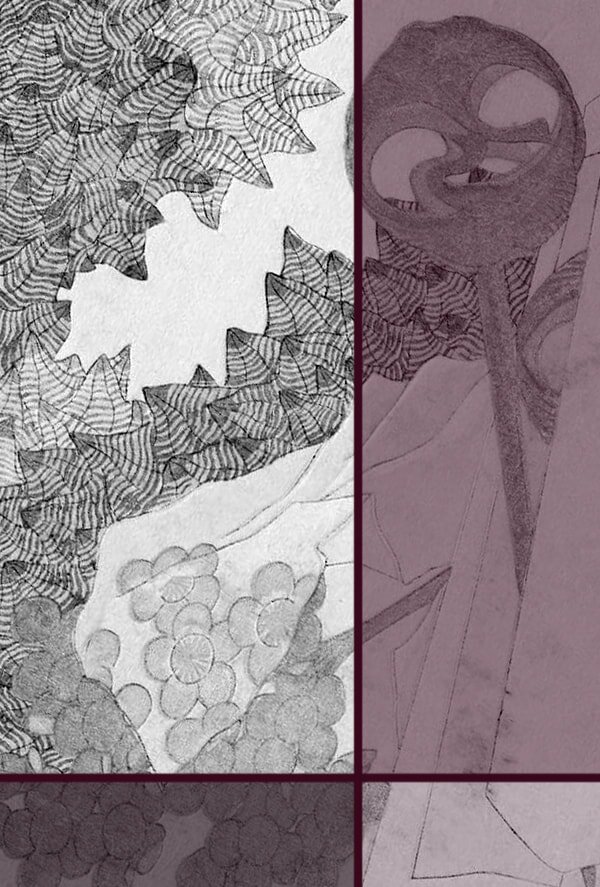
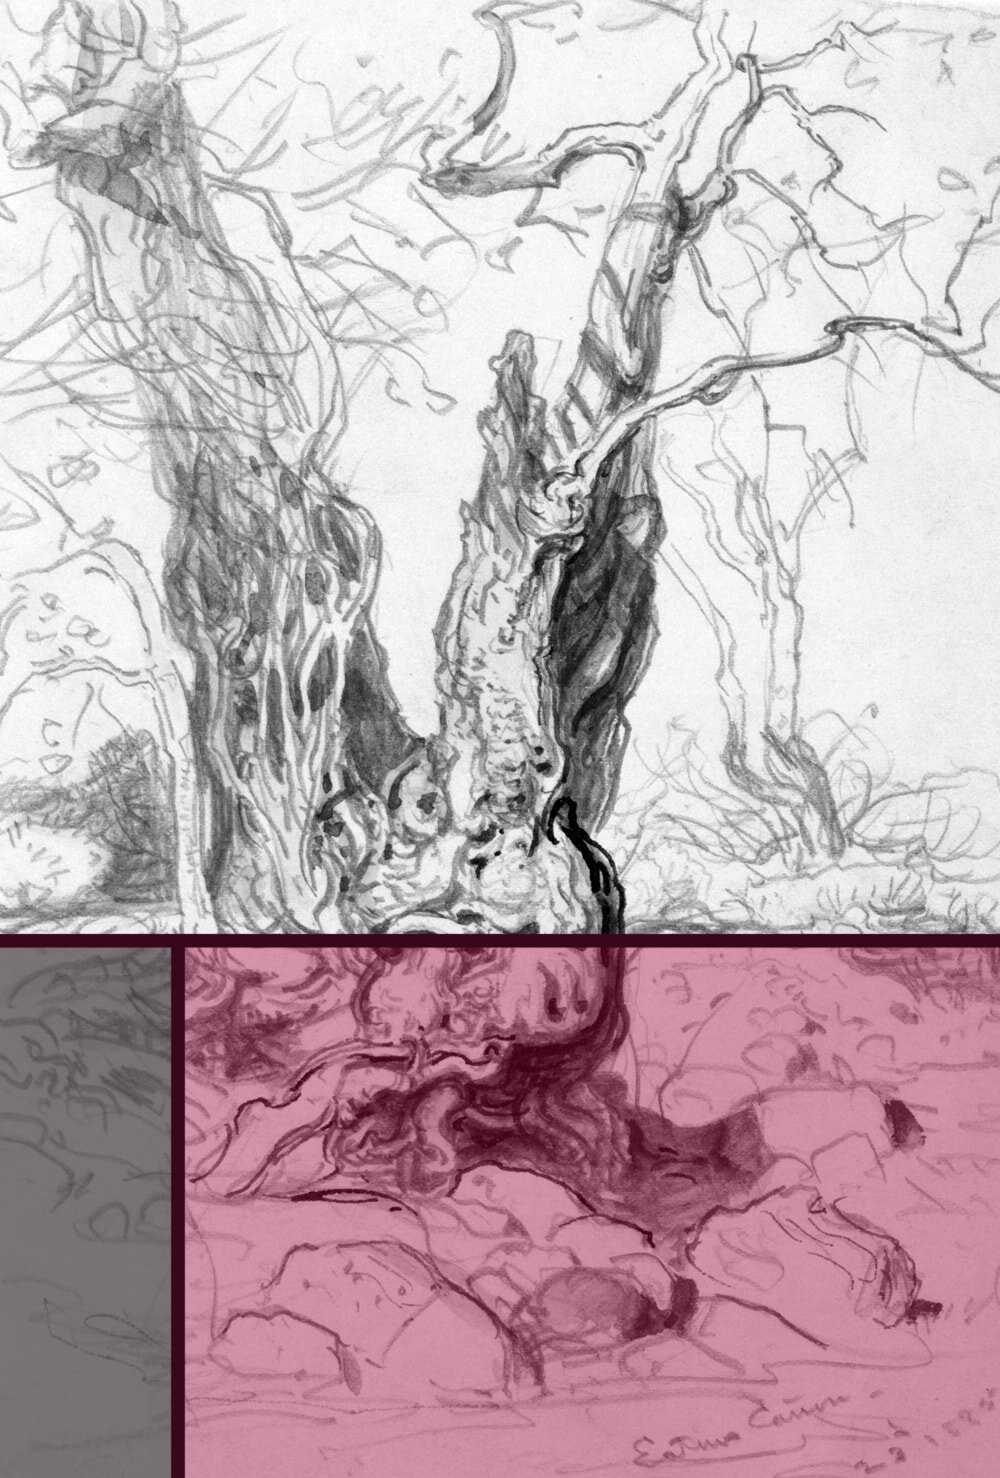
4 Materials
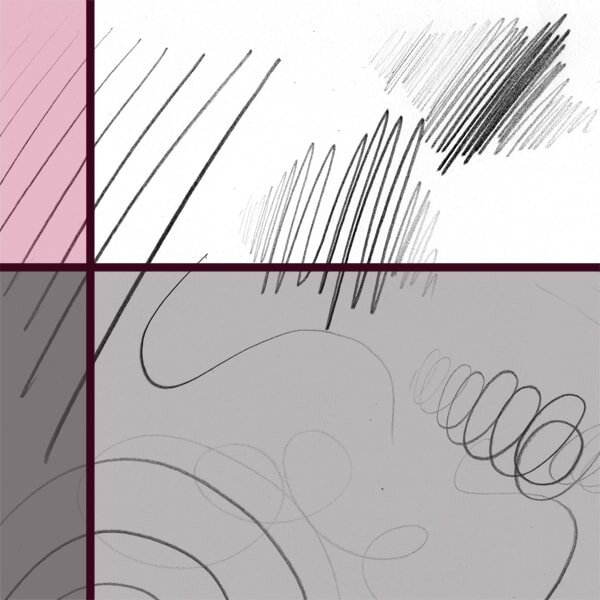
The key to drawing different kinds of objects all with the same monochrome colour (such as with your graphite pencil) is practice.
Especially in a still life there isn’t always context that would give the viewer a hint as to what kind of material, surely, this particular vase or box must be. In order to make it clear anyway, you’ll need to practice your mark-making skills.
But what reveals the material, if not the colour? Well, it can be the texture, for one. Is it smooth? Or is it rough? Is it matte, or is it shiny? And more importantly, how do you draw smooth, rough, matte and shiny?
For this exercise you’re going to choose a couple of different materials and try to work out what makes wood look like wood, or fur look like fur. Try glass, metal, plastic, wool or cork. Anything you can find that doesn’t have a too distracting pattern on it.
You might have to try the same material several times, to figure out the best way to portray it. See if you need to use long lines or short, marks or smudges, where the shadows need to be and how reflective the surface is. All those are things that’ll help you make it clear what you’re drawing.
For this exercise don’t worry too much about the actual proportions of your objects. In fact, you can just divide your paper into a couple of equal squares and draw the material into those instead, rather than bothering with the actual shapes.
Remember, this is something you really only need to work out once (unless you’re switching drawing style or medium). Once you’ve learned out how to draw leather, or copper, you can use that knowledge for any future work.
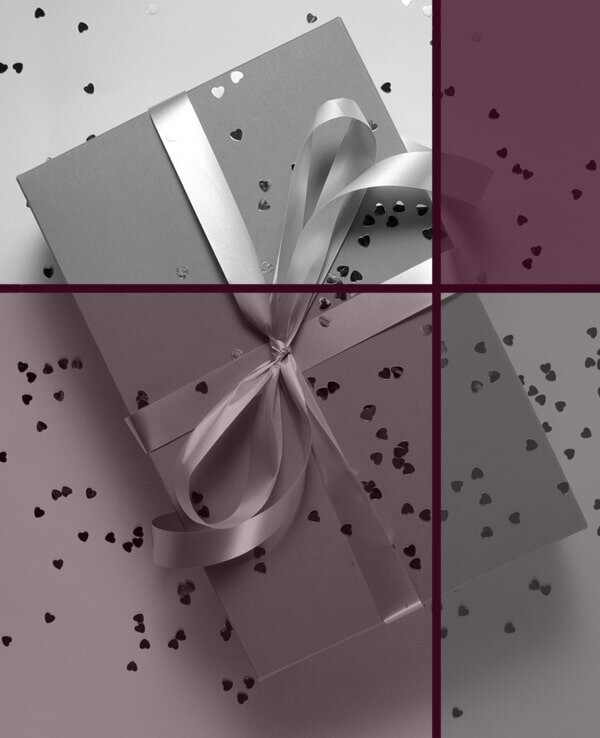
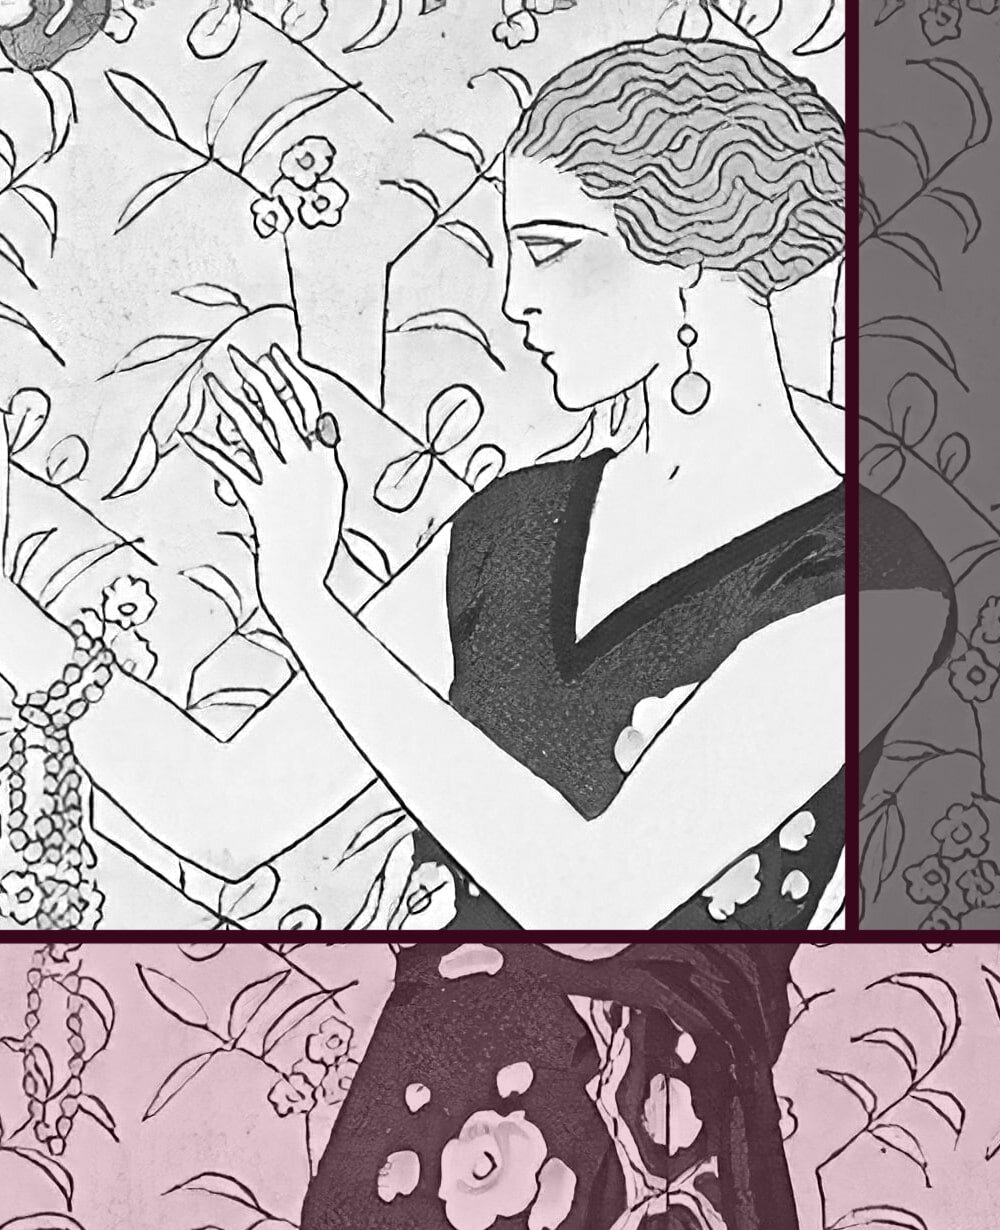
5 Five objects, five compositions
This exercise is one of my favourites, as it's a very analytical and fun thing to do. You’ll need your five objects from one of the previous exercises, or any others.
The goal of this exercise is to draw five still life sketches, of no more than ten minutes each, of five different compositions. But all of them will be showing the same five objects.
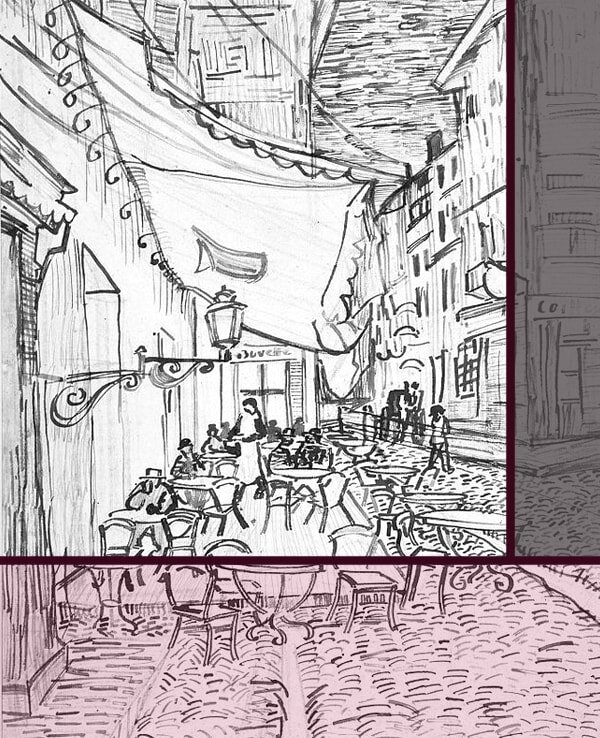
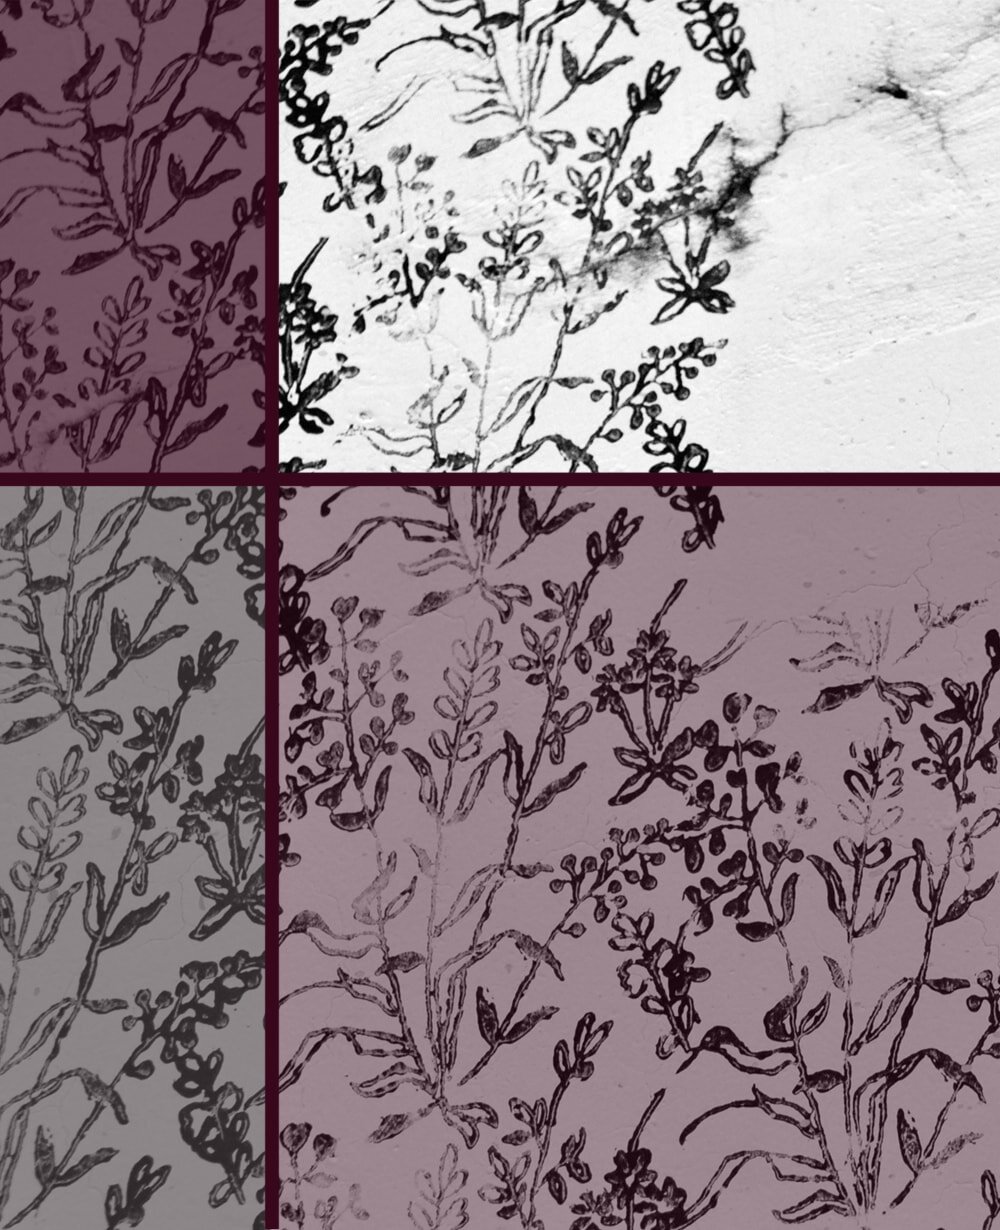
Different still life objects can be combined in different ways for interesting compositions.
Naturally, in order to create five different compositions and relaying five different ‘messages’ but using the exact same objects in each drawing you’re going to have to change some other aspects.
Think about it, how, other than by using objects that symbolise certain things, can you get your message across? How can you make the viewer understand something, feel something a certain way, lead their thoughts into a specific direction and come to the conclusion of your choosing?
You might remember some ways from my posts about How a Still Life can improve your Drawing Skills and General Composition in the Arts. You can change the arrangement of the objects, move them closer together or further apart, have some stand up, others lie down.
You can use different lighting, bright or dim. You can draw your objects very close up or from further away. You can even change drawing styles, or colours if you like.
But while you do, try to keep in mind what you want to say with this composition. What would your message be? Do you want the viewer to feel comfortable or threatened? Should they feel as part of the image or are they a distant observer only?
How you create the compositions is entirely up to you and you can be as creative with it as you like.
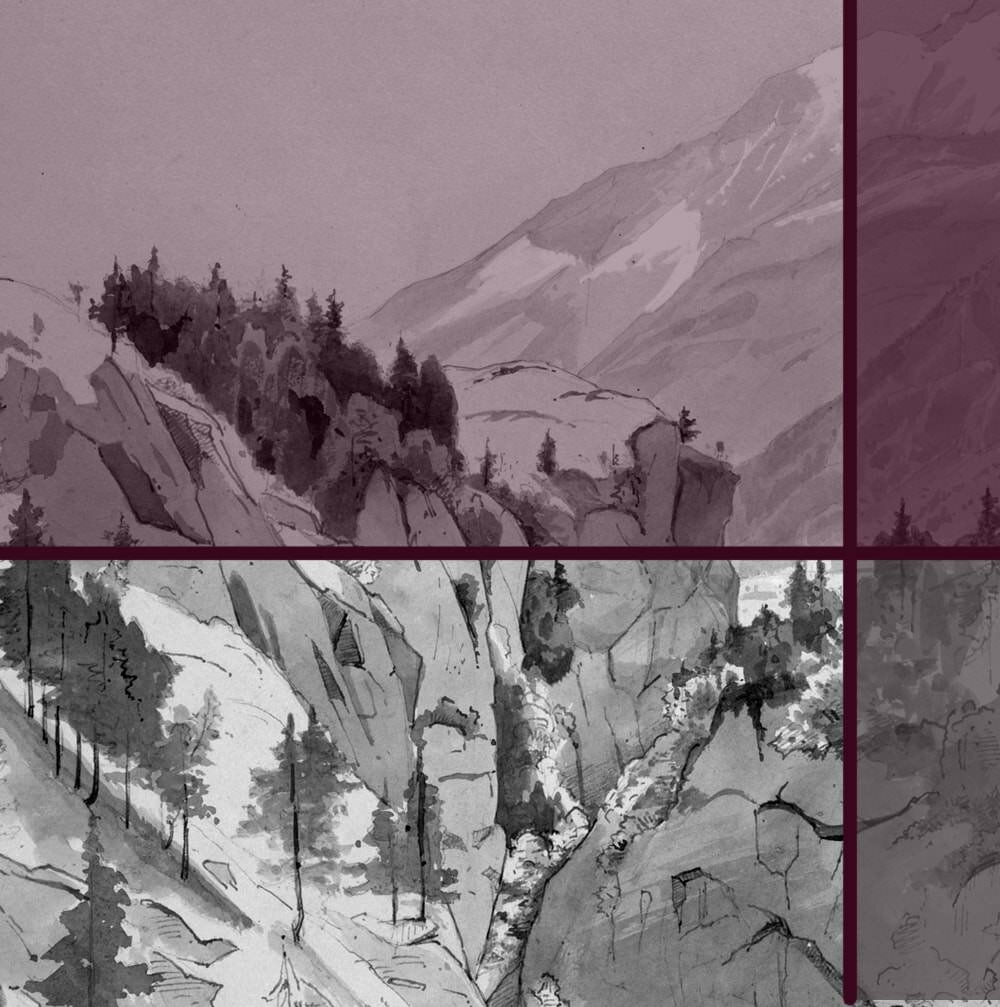
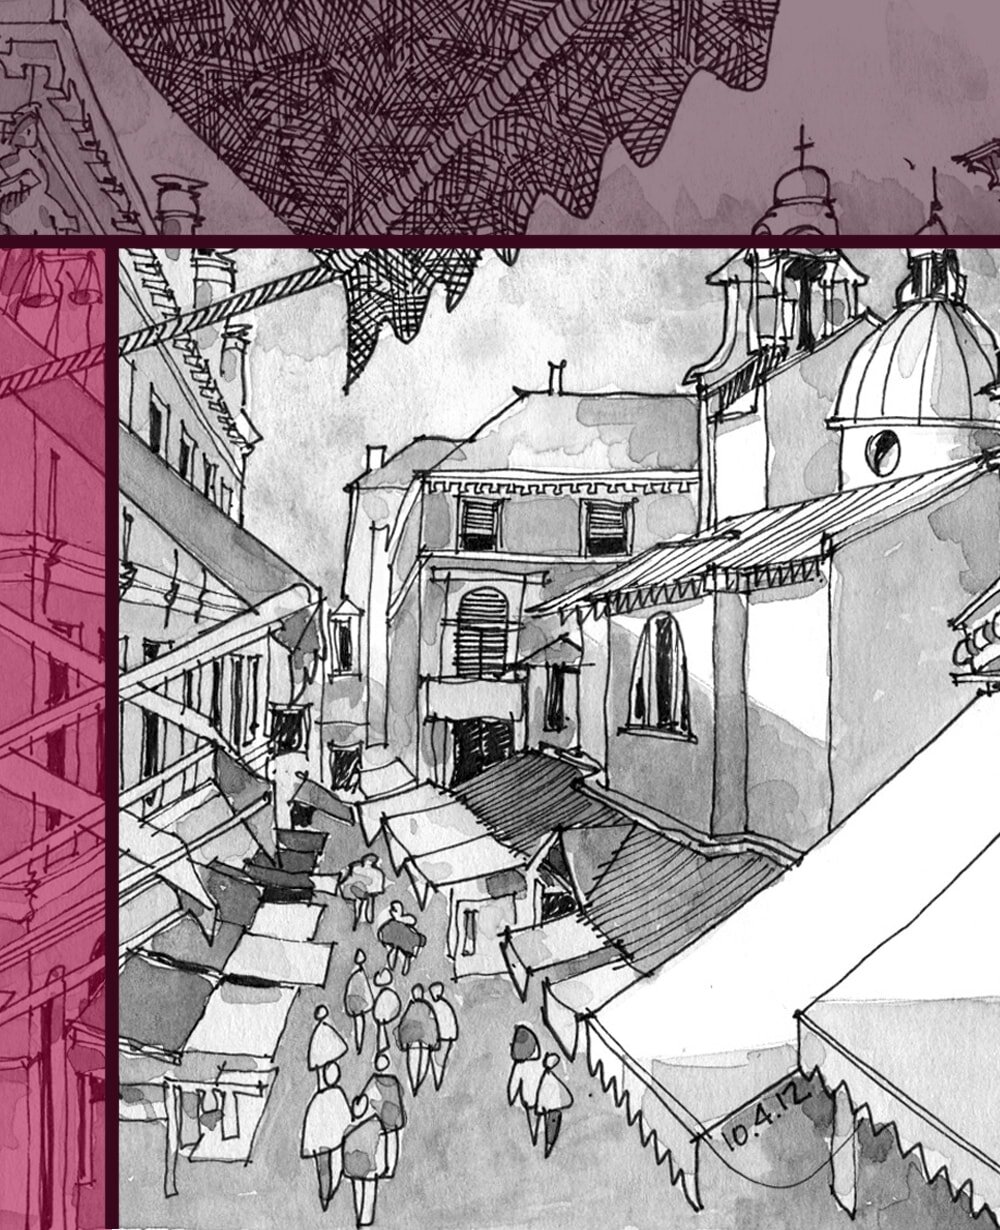
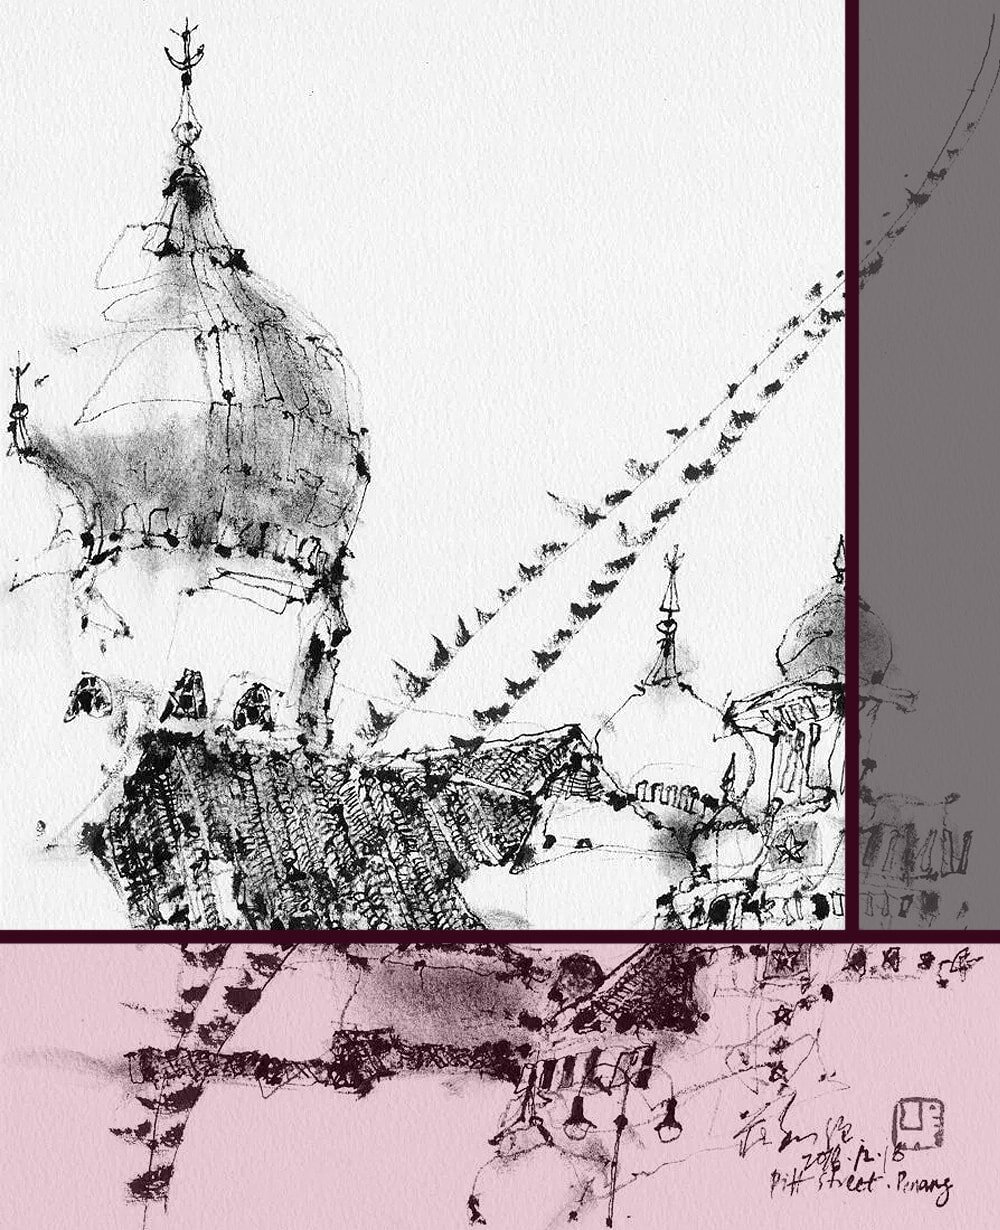
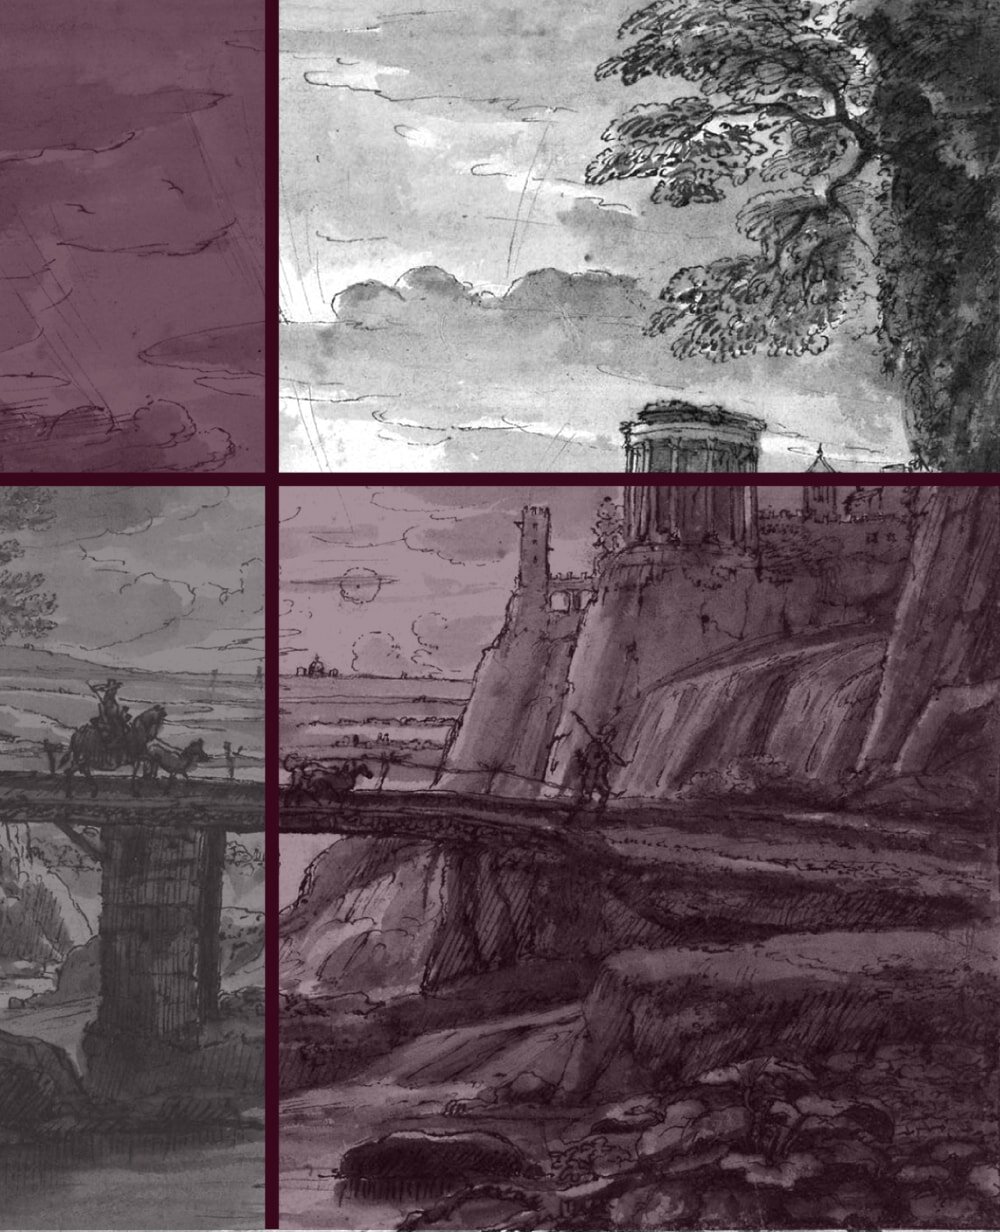
6 As the day progresses
The big advantage of drawing still lifes is that one is not dependent on daylight. Most compositions can be arranged indoors, with the help of artificial light sources, which can be as bright as you need it, from any direction and angle you like. You can even influence the colour of the light.
But once you move on from still life to other things, such as landscapes or architecture you'll quickly find that you are dependent on what light nature is willing to provide for you. And sunlight can be challenging to work with in many ways.
For today’s exercise we’ll practice understanding and getting used to these challenges. Choose a very simple object, such as an apple or a mug and place it on a light, even surface, somewhere near a window, or even outside if you're sure it won't rain that day.
Then draw your object in the morning. Keep the sketch itself simple and concentrate more on shadows than details. During the cause of the day, such as every 2-3 hours, draw the object on another sheet, until it gets too dark outside.
Next to every sketch note the time of day and weather conditions. You'll soon realise that not only the shadows direction will change as the earth moves around the sun, but also their intensity and sharpness of the edges, for example when you compare a morning of bright sunlight with an afternoon of overcast sky.
For more tips and tricks have a read through my other still life-related articles.


Did you enjoy this article or feel like you have anything else to add? Feel free to leave me a comment below!
If you like this post, please share it, so others may like it too!