Pencils: What am I even Drawing with?
Let’s start off with a fun fact. According to Lewis Dartnell: “Not a single country in the world has all the resources and processes available to make a simple pencil.”
They all need to either outsource parts of the production or import materials. Imagine that. If this sounds odd to you remember you don’t just need the materials for the pencil but also the materials to make the tools to make the pencil, so things can get very complicated very quickly.
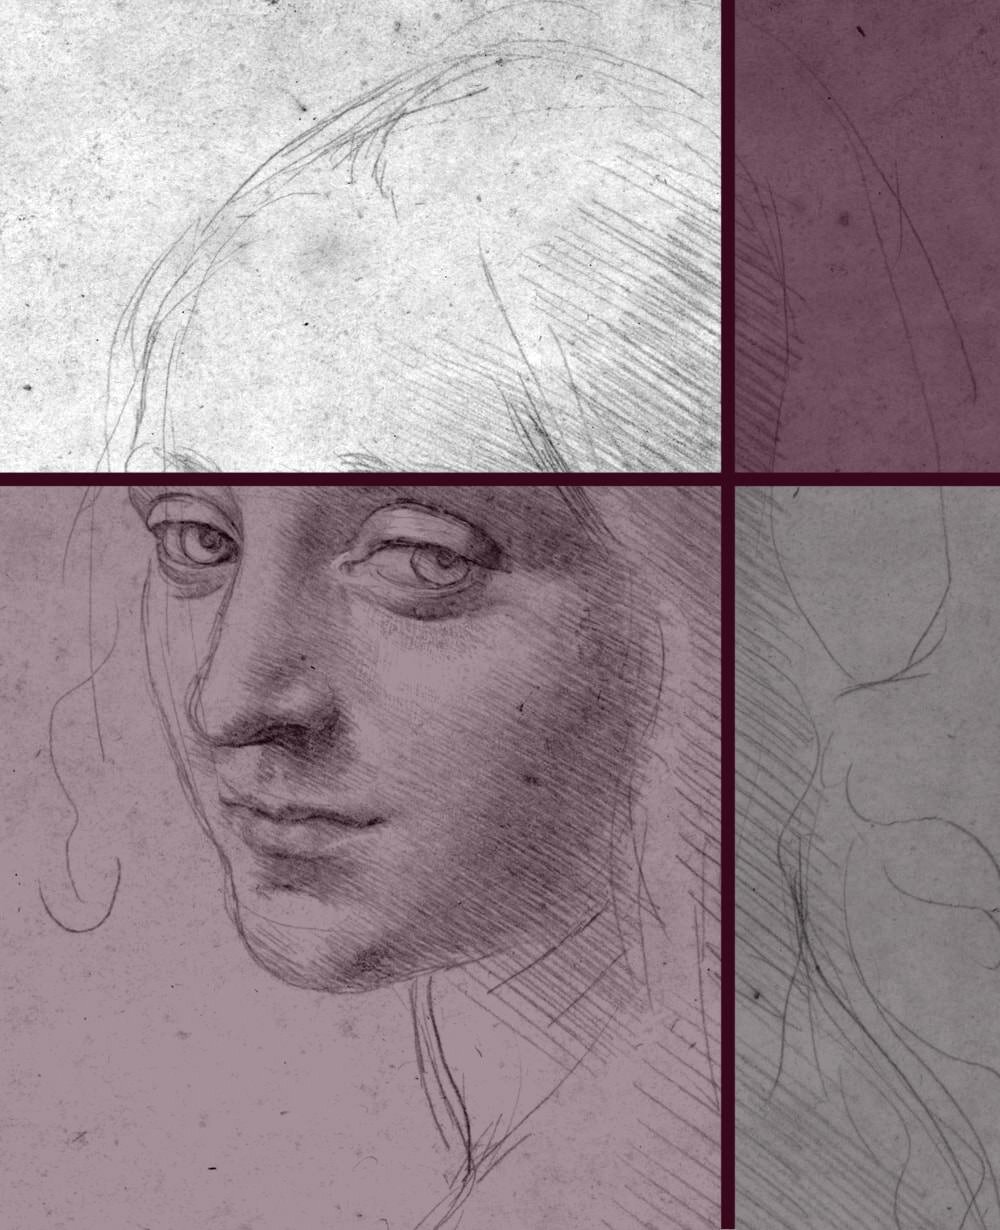
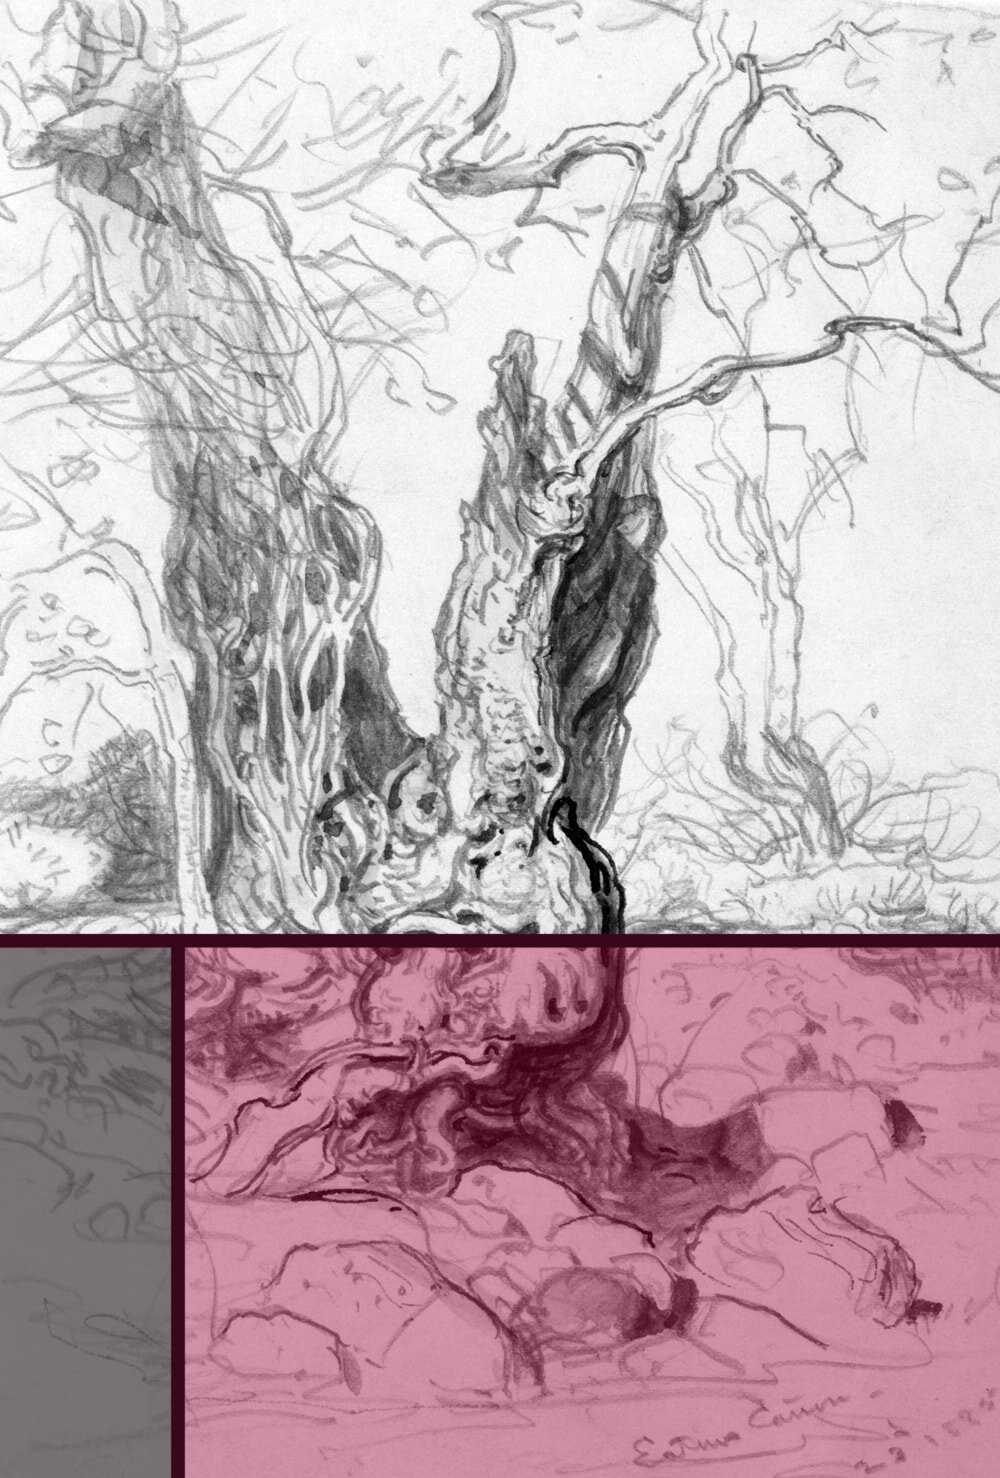
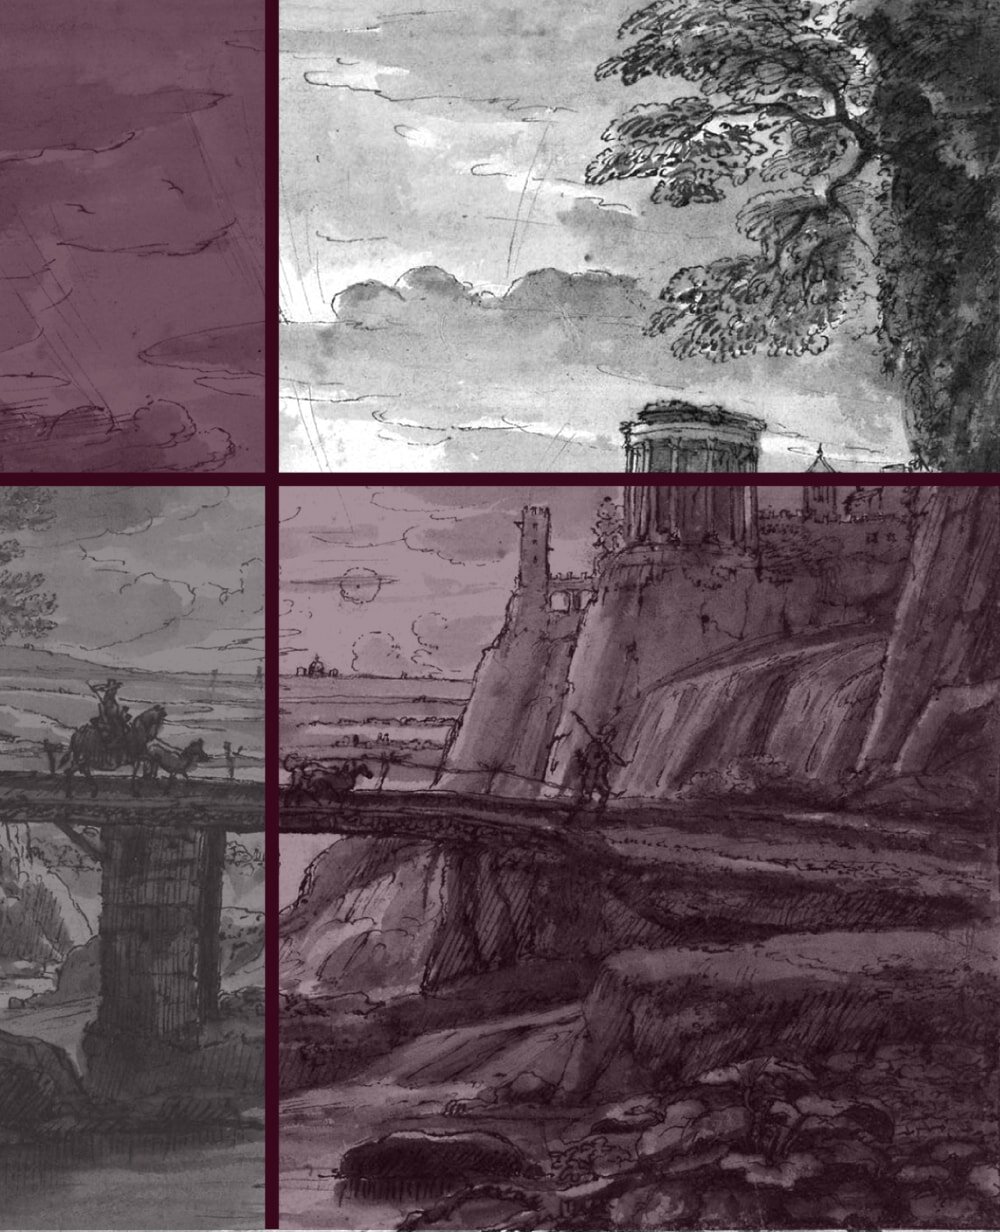
Today we’ll have a look at all things to do with ‘grey’ pencils (we’ll do the coloured kind another time), from the fancy art store kind to the mini versions we fill our pockets with at IKEA.
Let’s find out how to pick the right pencils of the right quality for the amazing artwork we’re going to make.
What's the black stuff inside?
At first sight what pencils are made of doesn't appear to be very complicated. There's obviously wood, some form of coating on the outside and whatever makes the marks on the inside.
That stuff is not lead, like many believe. It's graphite, which is simply carbon powder, made from mined rocks or coal. And coal is nothing other than dead plants that have been buried by the elements, where heat and pressure transformed them over millions of years into black, hard lumps.
So basically, you're writing your shopping list with a piece of pressed prehistoric fern.
To form the graphite into rods it is mixed with clay and water and baked at very high temperatures. The more graphite powder is in the mixture the softer the pencil, the darker the mark. Of course, too soft makes the rod break too easily, which is why we need the clay.
Then there's the wood that holds the graphite. Its entire function is to make sure the rod doesn't break or blacken your hands. Most commonly it's cedar, which is the higher quality option (so your piece of prehistoric fern is wrapped in a piece of modern conifer).
But it can also be poplar or another species. And it doesn't have to be wood either, you can find graphite rods held in plastic or paper casings.
Last but not least, there may be a several coatings of lacquer around the wood for a smooth finish and for visual purposes.
How are they made?
There are a lot of steps involved for something so small, but I’ve simplified it a little for you. Of course these days the whole process is done by machines.
Graphite, clay and water are mixed and pressed into rods, then dried at 1000°C (1832°F) to harden. Afterwards they are dunked into a wax bath. The wax fills the pores in the rods, making their surface glide smoothly over paper.
The wood is cut into little flat boards. Grooves are carved into these and the rods are inserted and glued inside. Another board is glued on top, creating, basically, a ‘graphite sandwich’.
After that the boards are carved into pencils, coated with lacquer and imprinted with brand name and pencil strength. And finally, they are sharpened by running them over grinding paper.
Did Caesar use pencils?
A little warning, after you’ve read the following fact you’ll ever look at a pencil the same way again. The word ‘pencil’ is derived from the Latin word penicillus, meaning ‘little tail’. Which, incidentally, is also where the word ‘penis’ comes from. There, you’re welcome.
However, the word originally referred to a fine brush used for writing, before today’s pencil was named after it.
In fact, the pencil as we know it is a surprisingly modern invention. The story goes that in the mid 1500's some shepherds found large lumps of a black substance near the roots of a fallen tree in Cumbria (North of England).
They discovered its value for making marks, so they used pieces of it wrapped in sheepskin to write (realistically, I doubt shepherds at that time could write, so perhaps they just drew pictures with it).
Chemistry wasn't very sophisticated back then, so people took their best guess and assumed the stuff was a form of lead, which got stuck in our heads until today. When, in fact, what they had discovered was an extremely pure and solid graphite deposit.
From then on several graphite mines were opened around the UK. Some wise Italians discovered that wood makes for a better casing than sheepskin and the Germans started experimenting with graphite powder, which is easier to transport and can be mixed.
So our modern pencils are a group effort, so to speak.
Types of pencils for sketching
Graphite pencils
These are probably what you think of when you hear the word 'pencil'. They're your standard graphite and clay rod in a wooden case. They're easy to find, easy to work with and relatively cheap.
Personally, I use mostly Derwent, an English brand, mainly because I like the feel and look of the matte, black coating.
However, the Faber-Castell option, a German brand, might even be of slightly higher quality, with a smoother core and better wood.
Graphite sticks
That's basically the rod without the wood (are we all still thinking about that Latin origin?). These pencils are simple graphite and clay, pressed into the shape of a pencil.
They often come with a paper or plastic wrapping, so you don't leave black fingerprints all over the place.
Personally, I find them a bit messy, even with the wrapping, but they do come in handy for shading bigger areas, especially since you can use all sides of the pencil, not just the tip. I like the Faber-Castell version.
Charcoal pencils
They're normal pencils but with charcoal instead of graphite. Sooo messy, since charcoal smudges much easier than graphite, but the lines are much darker, a real black, rather than a dark grey.
Though, truth be told, the "scratching" they tend to do on the paper (like any charcoal product) makes me feel oddly uncomfortable, so they're not something I use regularly.
If I do feel like it I use the Derwent pencils, rather than just pieces of charcoal without wood, to keep the mess to a minimum.
Carbon pencils
I must admit, I've never used these. Mainly because I've never noticed them before. They seem to be the best of two worlds.
Their graphite/clay percentage makes them run smoothly over paper, the charcoal part makes the lines nice and dark. Which sounds awesome, so I'll definitely try these out soon.
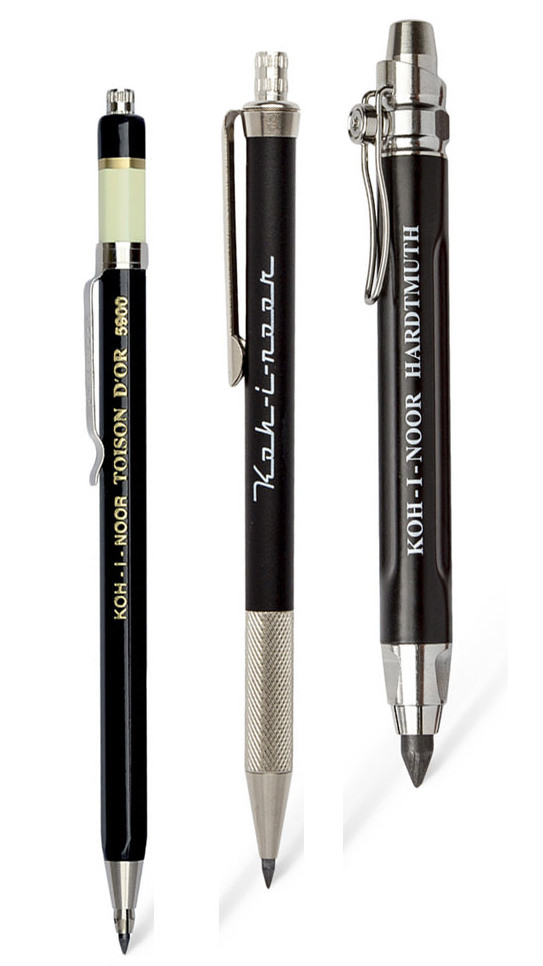
Mechanical/clutch pencils
Personally I prefer the more "traditional" wooden kind, but I am aware that that's entirely in my head and there's a lot to say for the plastic/metal alternative. Especially since I see many famous artists (such as Luis Royo) using them.
The graphite leads (yes, they’re still called lead) are sold separately and inserted into the casings, though you need different cases for different size rods.
They don't really need sharpening, unless you want to scratch the very tip into shape a little for a finer line.
You can find out more about the materials I like to use for my own art on my Recommended Materials page.
Hardness ratings
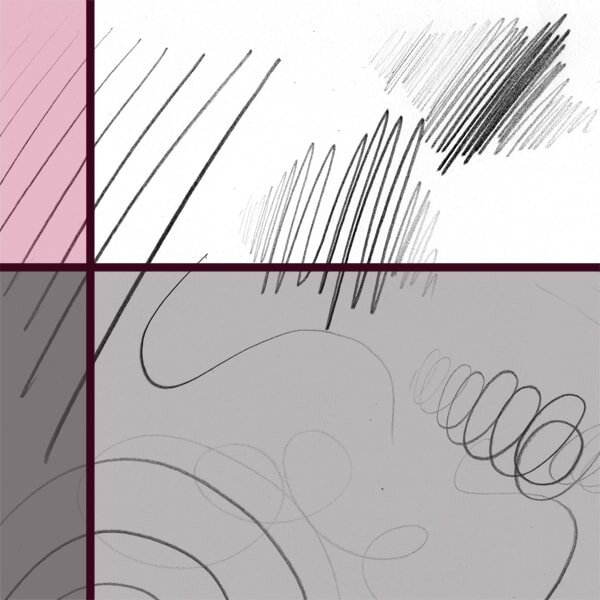
Pencils usually come in grades from 9H (Hardness) to 9B (Blackness), with 9H being the hardest (high clay percentage, lighter lines) and 9B being the darkest (high graphite percentage, darker lines). There's also F, which is somewhere in the middle.
In the US there's also another scale based on numbers 1 to 4 (and 2 1/2, for some reason), with 2 usually equalling an HB pencil. Those pencils aren’t designed for drawing though, as five grades wouldn’t quite be enough variety for that.
Here comes the fun part: There’s no common standard for pencil grades. They vary from manufacturer to manufacturer, because of course they do. But no matter, just find a common brand you like and try out a few to see which ones you end up using for what.
Of course you don’t need all of these variations. I live quite well with a 2H, 2B and 5B, to keep things simple.
How to sharpen a pencil (the proper way)
For the occasional sketch a normal pencil sharpener is perfectly sufficient. It’s quicker and there’s less chance of hurting yourself, especially if you’re naturally clumsy, like me. But the proper artist’s way would be to use a box cutter (or another blade of some sort) and sandpaper.
You can buy the fancy sandpaper at the art store that comes on a little stick of wood. Or you can just pop by your local hardware store and buy a sheet with fine grit (like a 400) for a lot cheaper.
Basically, all you do is cut part of the wood in the back and expose the rod, then sharpen that with the sandpaper. This way you use up less of the graphite when sharpening it and you can use the side of the rod for some shading techniques.
Here’s a great YouTube video that’ll show you how to do it. But one quick word of caution: as always with sharp objects make sure you’re legally old enough to use them, do be careful and try not to hurt yourself.
What makes a good drawing pencil?
Ah, now here's the winning question. And the answer is neither as simple as you'd like, nor as complicated as you'd imagine.
Some things even an amateur can work out right off the bat. If the graphite isn't centred in the pencil, the wood looks rough and the lacquer coat is cracking it's probably not a quality you want to use for making art.
You'll want the wood soft enough to be able to sharpen it, but strong enough not to bend. Cedar is the superior option, because it's smooth, straight grained and doesn't splinter.
Cheaper versions will be made of fir, poplar or tropical species, that can splinter, cause your sharpener to wear too quickly and might not always be sustainably farmed. Since you can't really know what wood is used for a pencil just go with common sense and what feels right in your hand.
In terms of core make sure the graphite is smooth and glides over the paper, rather than scratching it. It should also be strong enough not to break, for example when you're sharpening it or the pencil rolls off the table.
On that note, while it makes little difference for comfort if the pencil is round, triangular or hexagonal, do remember the round ones roll.
While good quality material is just one less thing to worry about, the method is always more important than the device. Even the cheapest pencil can still make beautiful drawings.
Drop by my article Sketchbooks: Your most valuable utensil for the arts for more tips and info about great art materials.
Did you enjoy this article or feel like you have anything else to add? Feel free to leave me a comment below!
If you like this post, please share it, so others may like it too!


